
Ok… we have this post as a warning to other would-be concrete floor stainers. We have effectively discovered nearly everything not to do.
Before we began the process, we had looked around online and in local stores to find good products to use. During our visit at the Lowe’s in Carlsbad, the paint dept. manager convinced us that their Valspar products would work very well on our house interior. Well… the etching product seemed to work fine, so we thought all was good.
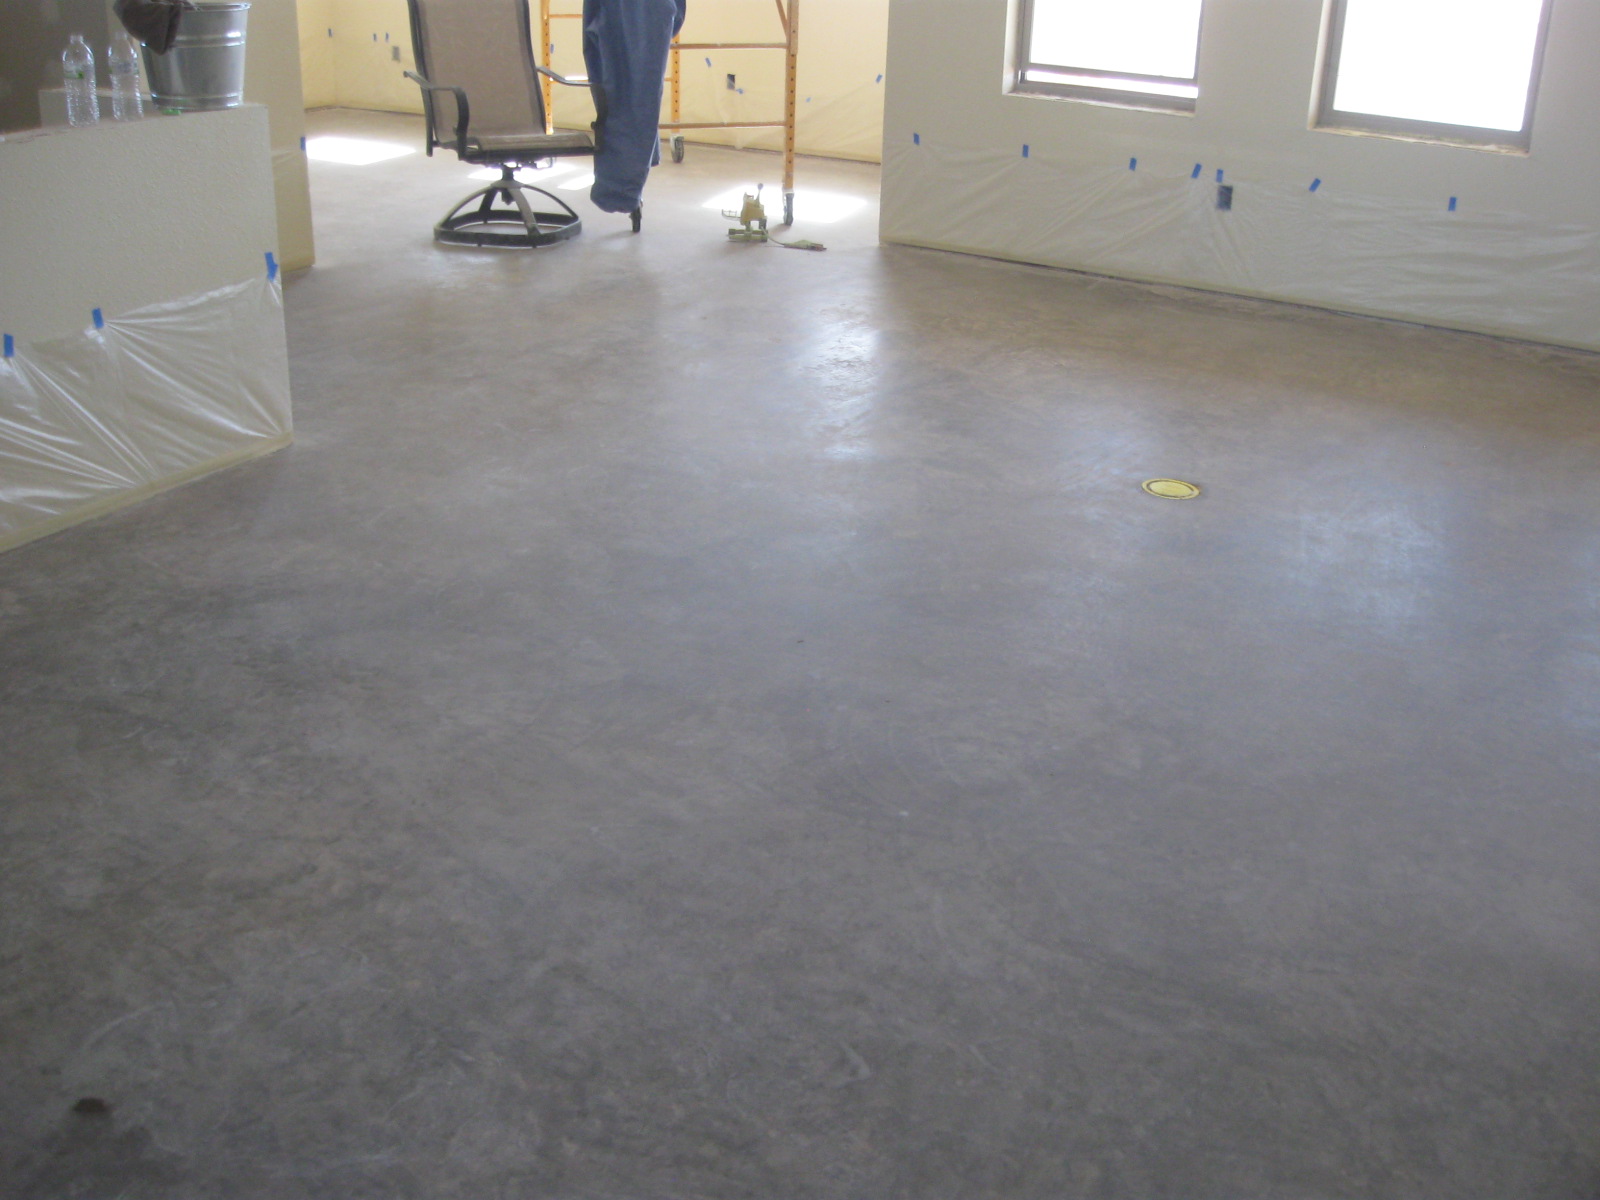
Yesterday morning, with plans for an easy day, we began early spraying the “stain” on the prepared floors…


Mistake #1: Failing to test a small inconspicuous area before continuing with the rest of the house.
Yes, being generally optimistic and very hopeful, we sprayed the entire house in quick time. As we were checking it out as it dried, we were concerned that the stain didn’t seem to be penetrating the concrete at all… the more it dried, the worse it looked.
Mistake #2: Believing the sales personnel when they said products clearly marked as exterior products were fine for interior use.
When we called Valspar, we discovered (to our dismay) that the products we had just covered our floors with were not suitable for interior applications, even though the sales staff at the Lowes had heartily recommended them.

Mistake #3: Thinking that product labeled “Semi-transparent Stain” would actually be either semi-transparent or a stain. It looks like concrete floor paint, sprayed over concrete in a (very ugly) spray pattern.
Conclusion: We are now in the process of removing all the “stain” from the floors with a rented buffing machine, TSP solution and bristle brushes. This is not an easy process. We are about 1/3 finished with the removal project, and guess we have another 10+ hours of hard labor before we get the floors back to the way they were before our staining adventure.
Tips on Removing Concrete “Stain”:


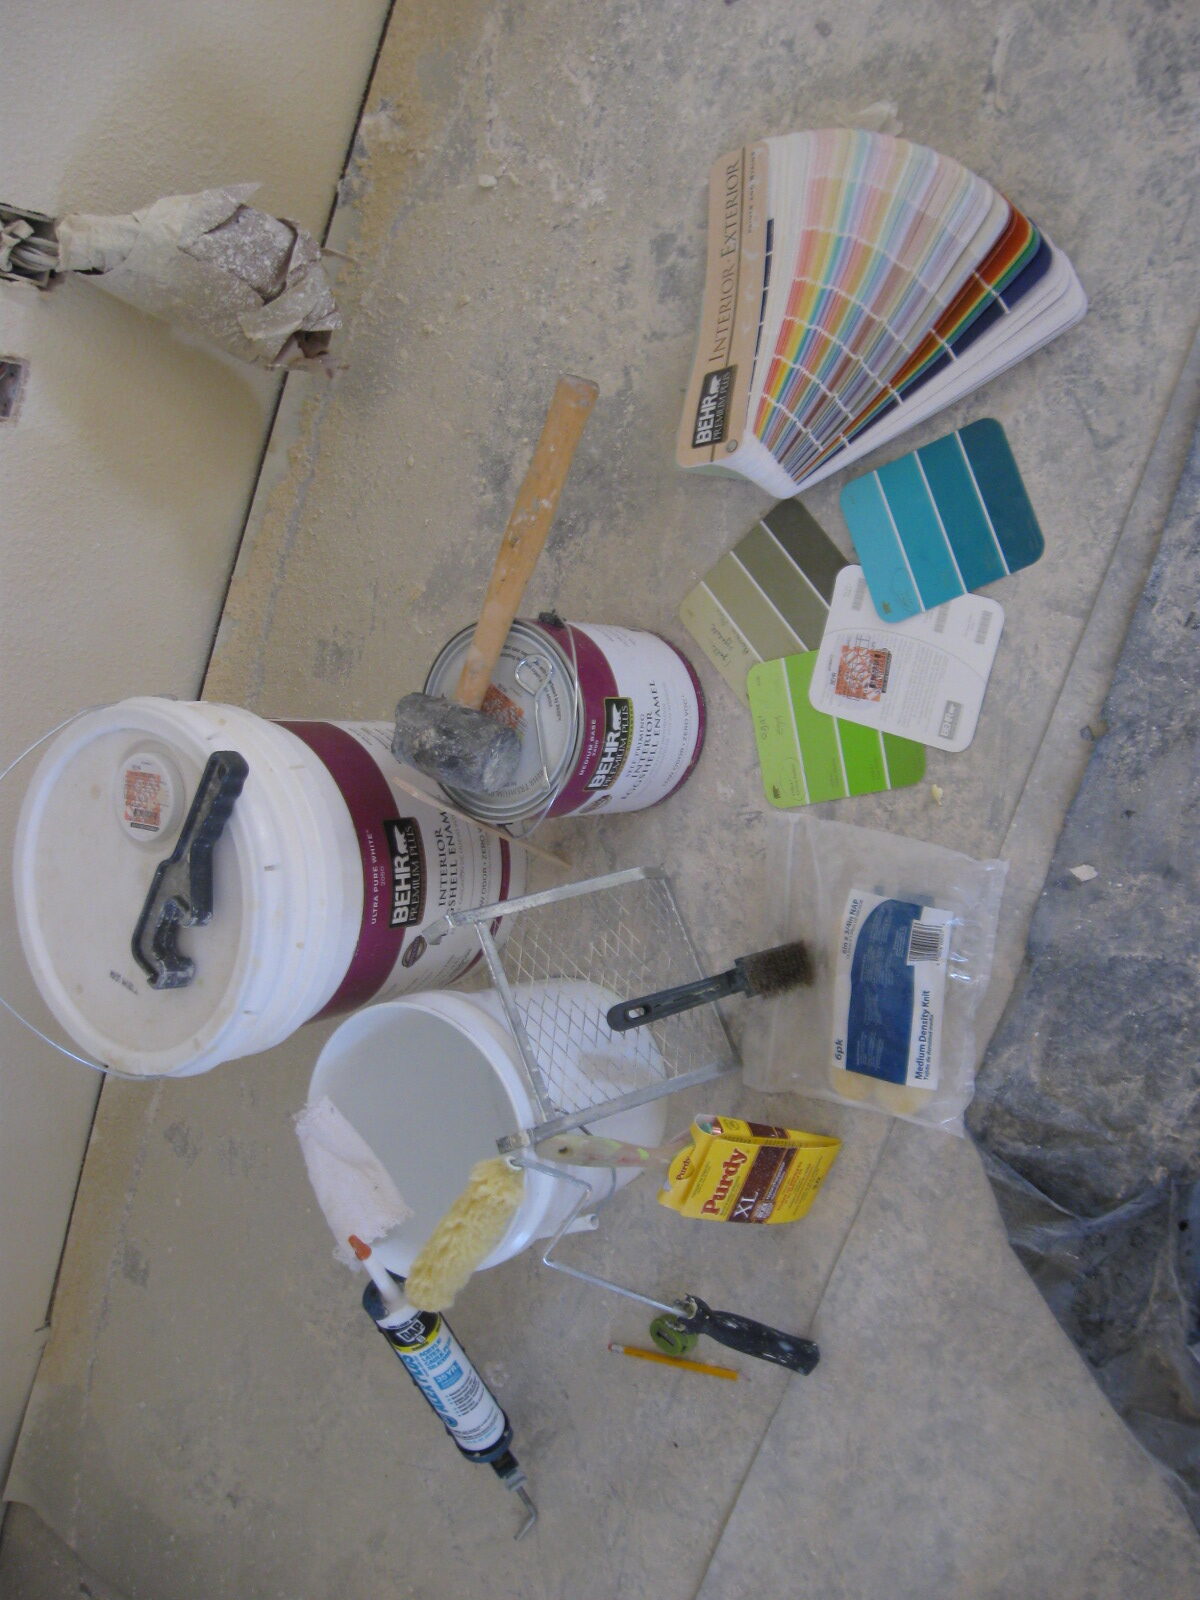
Needed tools/materials:
Rented buffer
Stripper pads (buy at a janitorial supply place — here it was the Southwest Cash and Carry — at the rental place it was nearly $10 apiece. At the Cash and Carry, they were $14.50 for FIVE)
Squeegee
Wet/Dry Vac
Mop and bucket
Palm Sander
Scrub brushes
TSP (trisodium phosphate — sold in the paint section of hardware stores)
1. Use commercial style buffing machine to remove stain. Use TSP solution (1/2 cup to 2 gallons hot water) to lubricate the buffer.
2. Buff a section, then squeegee the buffed floor to assure complete removal before moving on.
3. Use wet-vac to remove liquid from floor.
4. (VERY IMPORTANT) Mop any remaining drips, residue before it dries. If you fail to do this last step, you’ll find yourself redoing parts of the section again later (Ask me how we know this!).
5. Remove remaining paint around edges of the rooms with hand scrubbers or palm sander.
NOTE: This assumes you have not applied any sealer to the stain. It will require other products and be much more difficult to remove the stain if you have already sealed it.
Going Forward
We have ordered products from thestampstore.com, which we are confident will work better. We spoke to a salesperson at the Okla. location and got his advice on what to use and how much to buy.
And… do you think maybe we’ll try out a small, inconspicuous area before we stain the entire house next time???