
Here is a YouTube vid of a quick walk-through of the house.
Archives
Painting Like a Professional
Now that the entire house is primed, we are preparing for the rest of the paint project. However, here are a few tips about the priming phase:
1: Especially when using a big pump sprayer, you will want to dilute the paint a bit for priming. To do this, you need a couple of empty 5-gallon buckets (no problem, since we did our own mudding and taping). Using the buckets, you will add 2 gallons of water for each 5 gallon bucket of primer. You will pour the water and paint back and forth, mixing the paint and water until you get a uniform consistency. This is a traditional painter method called “boxing”. In the old days, when paint colors were not mixed so precisely as they are today, painters would do this with the paint to assure a uniform color when working on a job. It is still a useful technique for today’s equipment and products…
2. The primer needs to be backrolled for good coverage after spraying. We used a very large roller on a long pole to get this done efficiently. The roller costs about $20, but is worth it in the time saved. You can wrap it well in plastic if you need to pause between priming sessions. This big roller takes a lot of work to clean, so wrapping it is a welcome time-saver.
3. Another tip: Even if you are buying the plain white paint, have them mix it for you at the store before you buy it. Saves you the time of mixing and assures the complete and even mix you want.
4. Preparing for spraying the entire house. Obviously, all doors and windows must be well masked. We used a roll of painter’s plastic for all the big areas, including windows, doors, wood pillars, etc. We also used tar paper to cover the entire floor before we mudded and taped, so it was ready to go for painting. Since this was the priming phase, we used regular masking tape on windows, etc. For painted surfaces, use the blue tape later on; the regular masking tape can sometimes pull off the paint when you remove it. We used brown paper to mask all the electrical outlets, can lights, light boxes, vents, etc. This will lessen the cleanup later.

Since we want our ceilings to remain white, instead of buying regular wall paint for the second coat – Behr’s Premium Plus ($125/5 gal), our painter friend recommended Behr’s primer ($50/5 gal) instead. He noted that Behr’s primer is not a completely flat white, but has a bit of sheen to it. He wouldn’t recommend this in areas likely to see high humidity (bathrooms), or kitchens or in homes with smokers. We decided to do this, since it looks great and will work fine in most of the house. Just a little note: Although they aren’t accustomed to doing it very often, primer paint can be tinted like any other paint. Our friend said that people have used primer paint (tinted to their color choice) for the entire house, walls and ceilings and had good results. It won’t hold up against heavy wear, so it would never work for us on the walls, but maybe for some folks.
Preparing for the Second Coat (color)
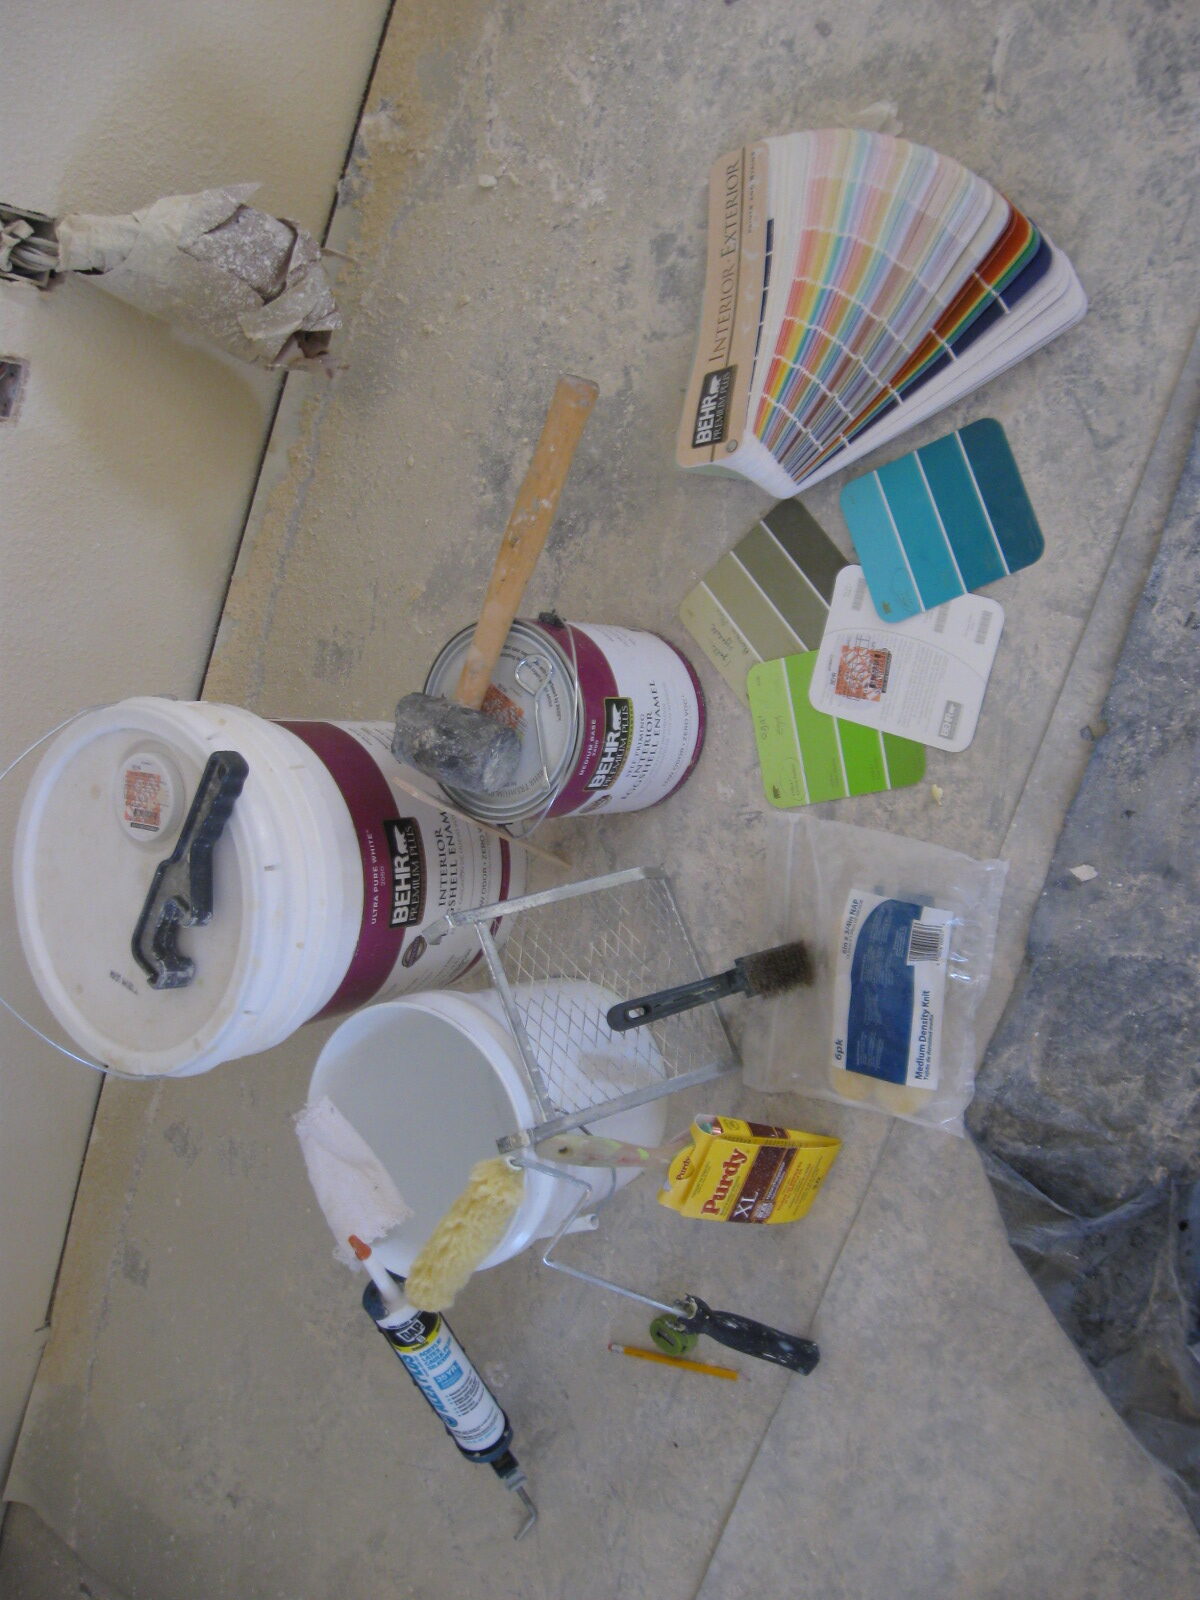
Getting all the equipment you need will help. Here is an array of the basics:

You’ll need:
1. Good 3″ brushes for cutting in
2. A small wire brush to clean the brushes well between uses (this really helps get the brushes looking like new)
3. At least a couple of 2 gallon plastic buckets (sold in most hardware stores)
4. 2 gallon size bucket grids (or screens) to use with the 2 gallon buckets
5. 6″ mini rollers and roller frames (these fit well in the 2 gallon buckets)
6. Good pencils and sharpener
7. All purpose caulk
8. Painters’ cloths (for the caulking and for wiping drips or mistakes when painting — keep them moist)
9. Paint, stir sticks, openers, bucket opener for the 5 gallon buckets
Note: When you buy your tinted paint, ask for an extra printed label with the exact ratio of the tints needed for your paint. Stick it to the back of a color card and keep it in your records. If you ever need to buy more for touch up, etc., they will be able to match it exactly.
Cutting in: Recommended on seams between colors (like between a white ceiling and colored wall): run a bead of caulk to get a nice, clean line. No matter how precise you are with a brush, the raised surface of the texture keeps the line from looking completely straight without caulk. We tried it both ways. When I have a strong wall color, I found the caulking absolutely essential for a nice look. To keep your caulk from drying out between uses, a small electrical cap works very well.
Even for the main color, some thinning is a good idea. Rule of thumb: 3 quarts of water added to a 5 gallon bucket. A little less than 2 1/2 cups of water can be added to single gallon cans. I pour the gallon can into the 2 gallon plastic bucket, add the water to the paint can, close it up and shake it well to get as much paint mixed in as possible. Then, add the water mixture to the bucket and mix well, returning the diluted paint to the paint bucket after mixing.


After the caulk has dried (about 2 hrs, in my experience), use a nice pencil to mark the corner line. Then, using a 3″ high quality paint brush (angled or flat as you prefer), cut in the paint along the line. Using a small roller, carry the color down about 1 foot from the ceiling to allow ease of spraying without risk of overspray.

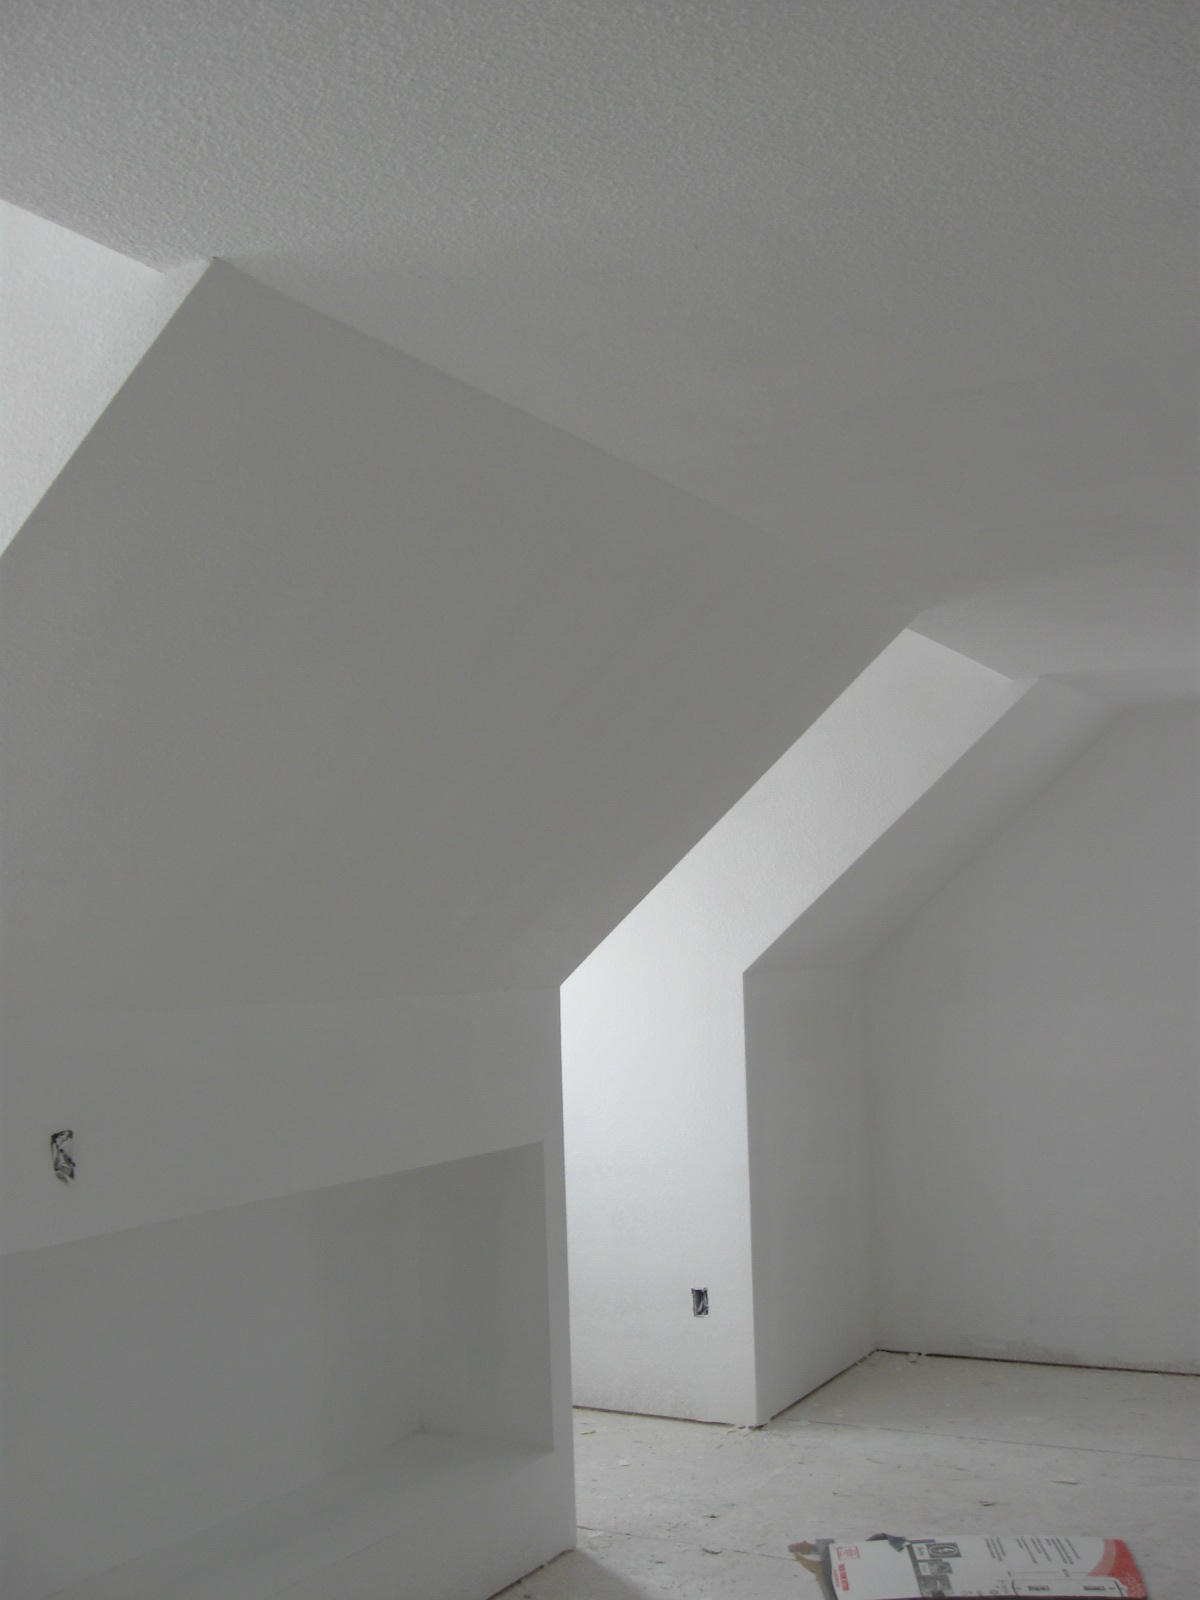
Here are a few photos of the cut-in walls, ready for spraying:


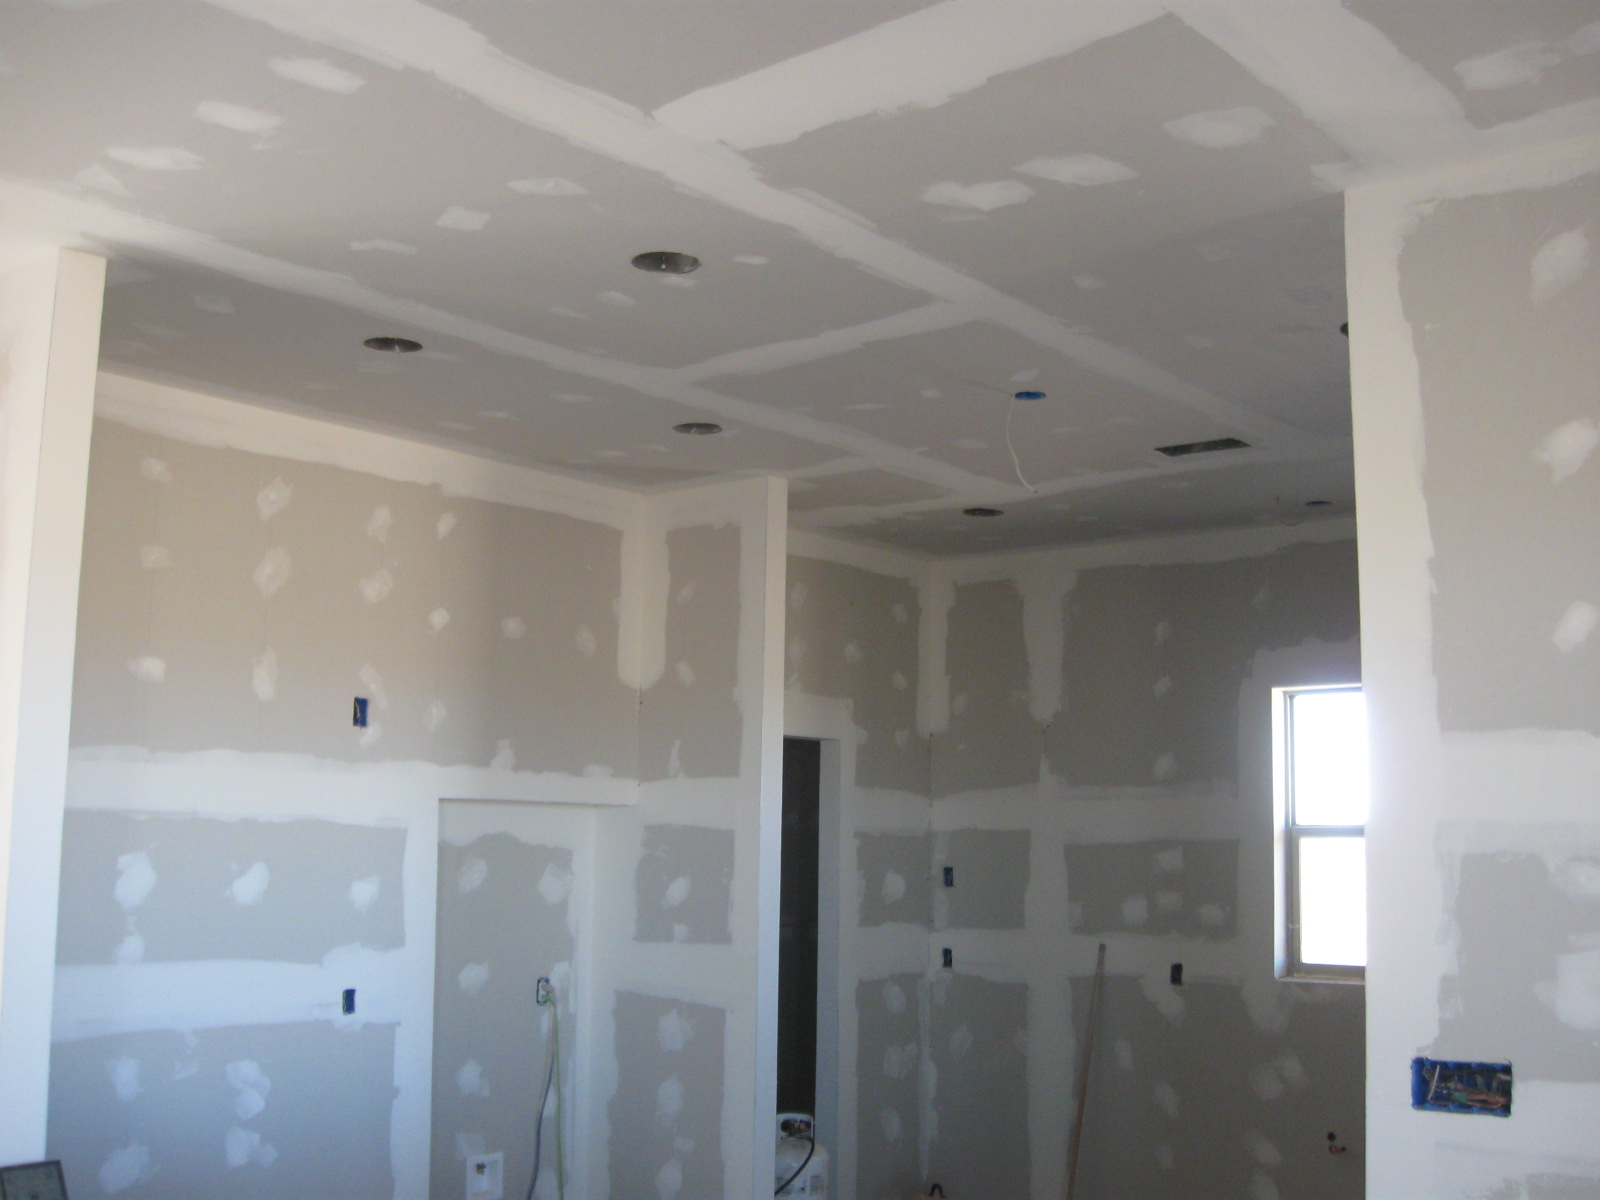
Texturing and Priming complete!
As of Wednesday (May 1st), we have the entire house completely textured and primed…

A few notes about mudding and taping and texturing. We found the buckets of Joint Compound (green mud) to be very convenient to use for banjoing and the first coat of mud. Mixing it well (and adding no water at all) was the key to smooth mud for the banjo and also for using to apply the first coat to screw heads and seams. Early on, we tried adding a bit of water to the mud to make it more easy to use… it was completely unsuitable for use in the banjo and ended up making more work for us. We had to cut out several strips of paper tape and re-apply it using regular green mud. We ended up with bubbles with the diluted green mud.
The blue mud (in the cardboard boxes) is more lightweight and easier to apply, get smooth and to sand. It, however required a bit of diluting to get it to the right consistency. We added two cups of water per box of mud to get it to work very well.
Texturing required the extreme dilution of the blue mud to work properly. We added 10 cups of water to one box of blue mud this purpose. The whole process was made pretty quick by the use of our friend (and contractor) Joe Tufano’s texturing machine. It was made by Graco and really worked well. It was very important to get the mud to the right consistency and to clean the machine thoroughly after the work was done.
We bought a pump for spraying the paint. It has already saved us so much time! Our pump is a Graco Tradeworks 170. With this pump, the painting goes so much more quickly. It really pays for itself. Considering what it would have cost us to hire a painting team, the investment in this machine was well worth it.
Here are a few more photos of the last part of the house we primed this week:


Gravenstein apple blossoms
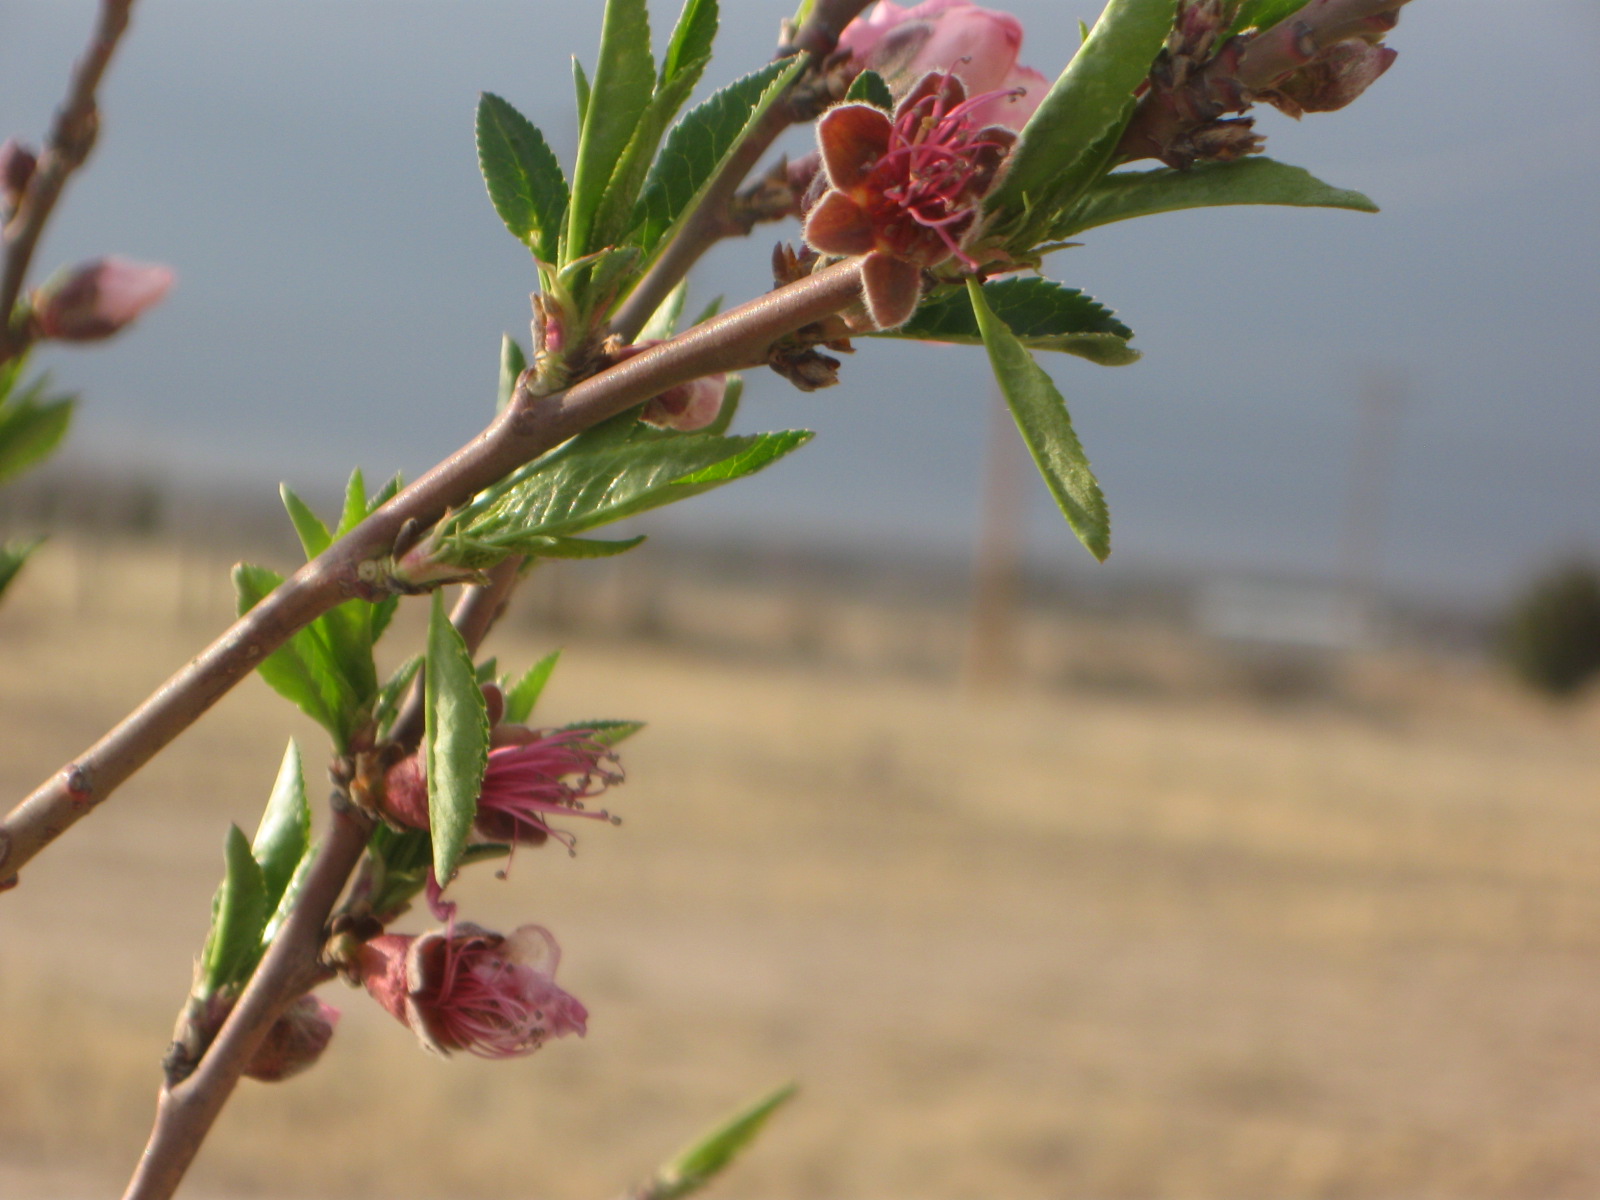
Early on this spring (before all the night freezes), we had the most beautiful blooms on our Gravenstein apple tree:


The trees from Peaceful Valley (with the exception of the fig) are all doing nicely…
Mudding and Taping
We have been working on the next part of the drywall experience the past two weeks. We began on our own in the garage (which was a good thing). Then, starting on Feb. 28th, we had the help of a professional to get things done right in the main living area of the house. In the past 7 workdays, we have made pretty good progress.
We began with patching the heads of the screws on all the sheetrock panels using “green” mud, also known as all-purpose joint compound. Apparently, this stuff is harder (and more difficult to sand) and is used on the first layers of nail/screw heads and the taped joints.

We found a great tool for applying the seam tape called a “banjo”. This simple tool allowed us to more quickly apply the tape and joint compound along the seams with much less muss and fuss than without.

After putting the tape on seams, beadboard on all corners, and a first coat with the “green” joint compound, we moved into the finishing up of feathering out seams to prepare for texturing.


For the finish coat (and also for texturing), the “blue” mud is used. This is lighter in weight, smoother and easier to work with than the “green” mud, and will be easier on the sanding process.


Fruit Trees Planted
We had a cold front move through the area, with the coldest night being last night… since we’ve been watching the weather forecasts since the bare root trees arrived, we decided to wait until that really cold night was past before planting.
I had the trees soaking in water before planting today. I had to clean out the holes again in preparation for planting. It has been so windy, that the holes keep filling up with blowing dirt. Yesterday, I had prepared wells around the tree locations, so things were ready to go.
Peaceful Valley was running a special when I ordered the 10 trees. They sent along 10- 3 lb. bags of their Primestart Booster Blend to help the trees get off to a great start. So… after cleaning out the pre-dug hole, I mixed a bag of the primestart with the remaining dirt and compost to backfill the hole as I placed each tree. We still have a pretty good supply of the pecan compost we bought last May, so it went in with each tree as well.
We have a very intense afternoon sun here, so I placed the rounded side of the graft toward the south. After planting, we watered each tree well…

Irrigation System in Place
We spent a good half day putting in the irrigation system for the garden and orchard. Since we are not in the house, so cannot really use the automatic feature of the system until all the finish plumbing is completed, we will have to manually turn water on to each zone in the meantime. However, it will be nice to have the biggest part of it done early and it does give us a more efficient way of watering trees and garden raised beds until then.
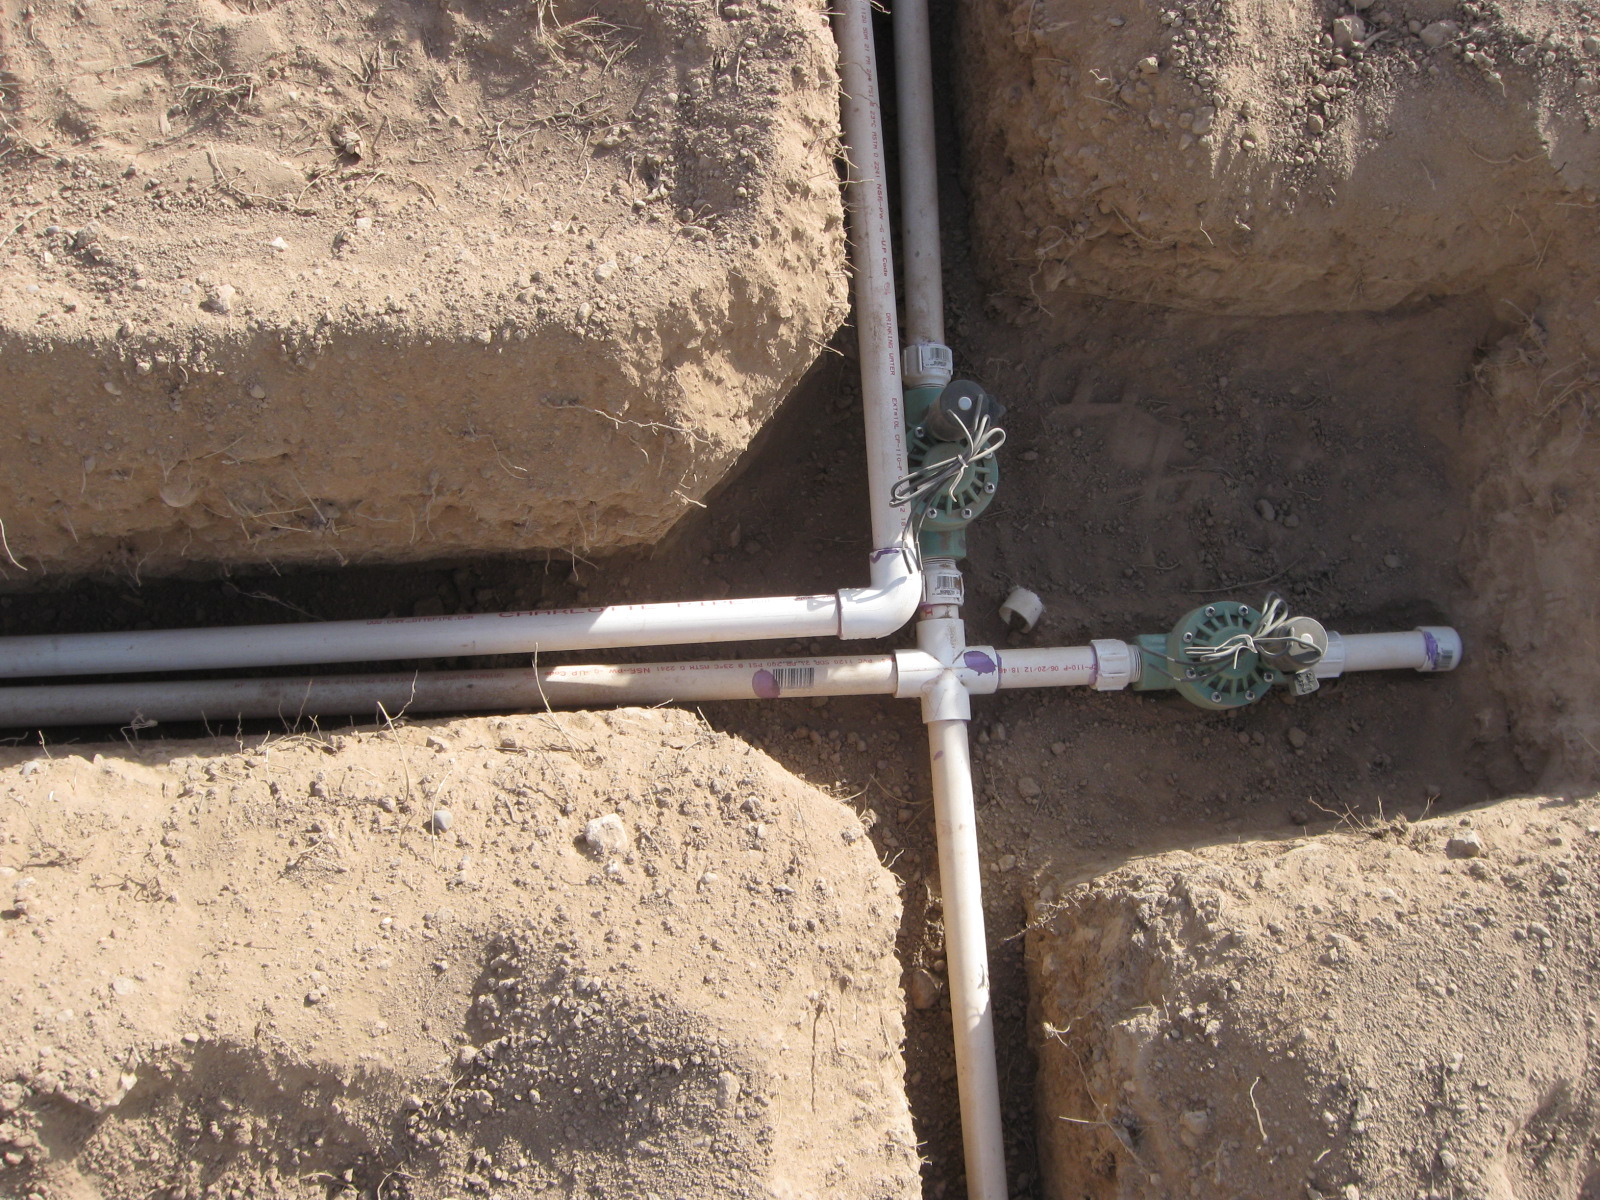
We planned the lines so that each zone covers a particular part of either the orchard or garden and ran a line and capped it for future expansion in the back patio area.
While Oz put the lines together, I was the ditch-digger, cleaning out all the trenches with a trenching shovel. Our first test of the lines showed that we had no leaks in the system, but that dirt and small pebbles were caught in the valves, keeping them from operating properly. After taking them apart and running water to clear the lines, everything works well now.
This project cost about $300, including the controller box. Easily it would have cost $1500 if we paid a subcontractor to do it… another example of the value of sweat equity.


Fruit Trees are on the Way
I got email notice earlier this week that our fruit trees will be here on Saturday! So… preparation of the orchard, including irrigation system, hole-drilling, etc. had to be done. We mapped out where we want the garden beds to be and planned the irrigation system for them and the grape arbor all at the same time. Together, Oz and I measured out where everything would be and tried to design an efficient system of valves and lines. First, we had planned the tree location (photos earlier); now we planned the layout of the raised beds, marking them with stakes. Using a 4′ x 8′ wood frame for a template, we marked the corners of the bed locations.


To begin with, we’ll have 6 raised beds, with planned space for 3 more when time and energy allow… we have 6 grape starts promised from a local retired Veterinarian who has an amazing garden, so we planned for those plants along the back garden fenceline, too.
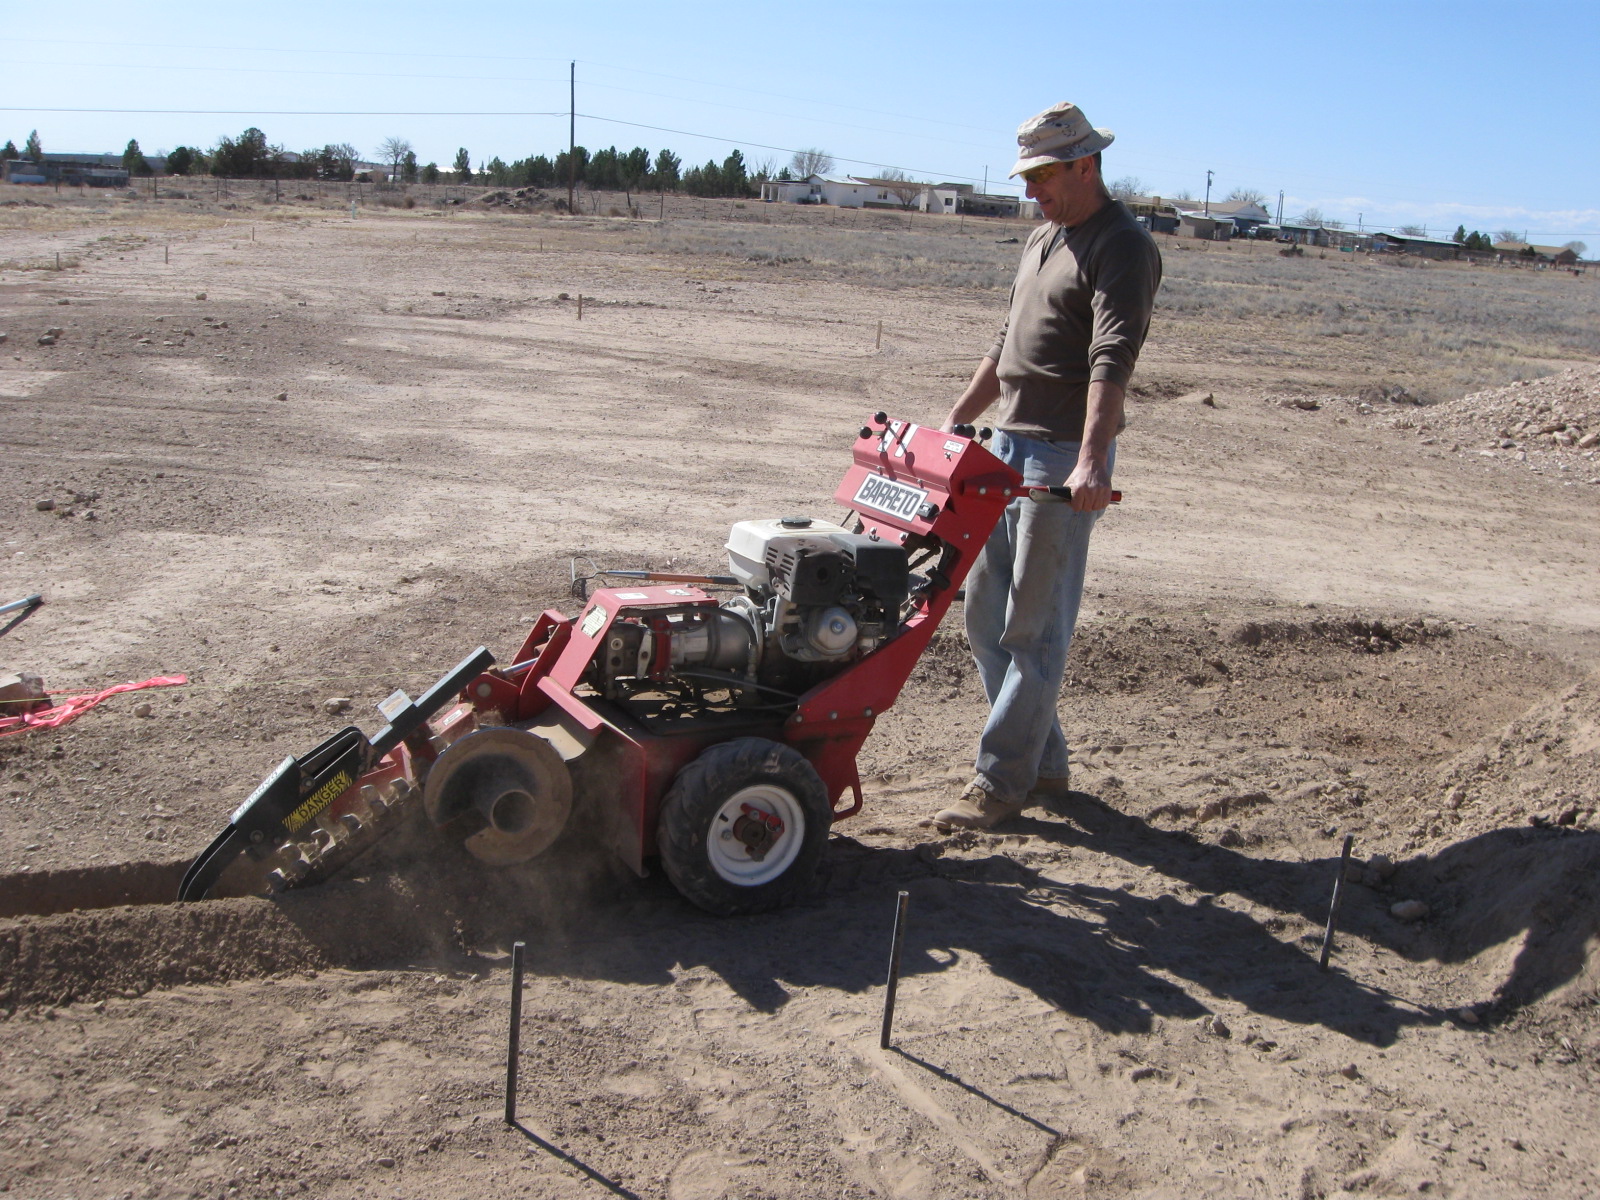
To make the trench-digging easy, we rented a trencher from Davis Hardware (great folks to work with) in Roswell. In only a couple of hours, we had all the trenches for this project dug and returned the machine.


After trenching was complete… we rented an auger to make hole-digging easier. With 11 fruit trees (yes, the number has increased due to the generosity of a friend, who purchased a fig tree to add to the orchard) and 6 grape plants, we’d never have gotten the holes prepared in time (and would have needed the pickaxe with the ground as hard as it is). In less than an hour, everything was done…


Shower Pans
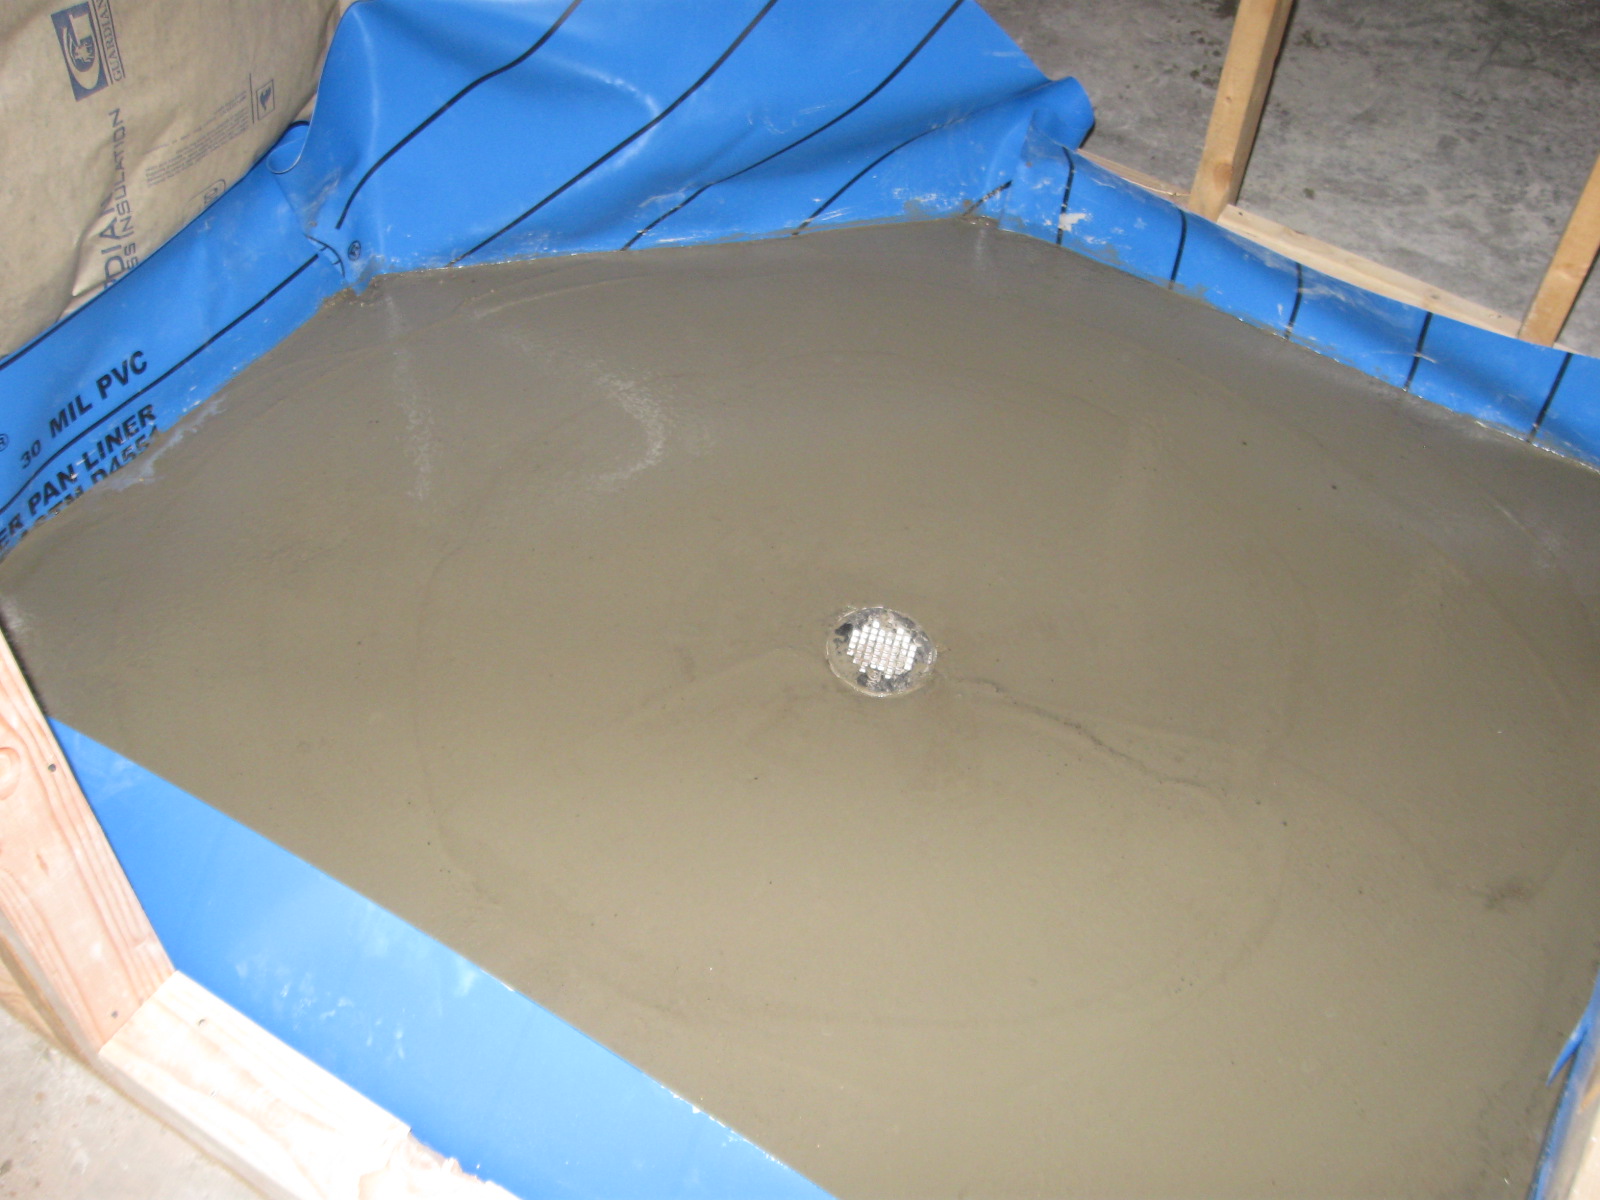
Being a bit uncertain as to how much time it would take to do these, we decided to hire this part… Having never done it before, and wanting to be very sure the shower pans don’t leak, we got a quote from the same fellow who did the workshop for us before we came here. For three shower pans, he charged $500 for labor (not including materials). In hindsight, we may have overpaid, considering that it took one guy (plus a little time by the boss) one day to do them (and it wasn’t an early start — 10 a.m.). But, we are happy to know that it was done correctly and it did save time and irritation (learning curve woes) to have it done by the subcontractor…
Photos of the process:


Fruit Orchard
So… even though the house progress isn’t to the point that we can concentrate on the outside, based on the urgings of a very good friend, we decided to go ahead and start the orchard. Peaceful Valley has a special going on right now on their bare root fruit trees — 10 of them delivered for only $199. Here’s what we ordered:
1 Honey Crisp Apple Tree (Semi-dwarf)
1 Gala Apple Tree (Semi-dwarf) (the gala is a good pollinator for some of the other apple trees that are not self-fertile)
1 Cox`s Orange Pippin Apple Tree (Semi-dwarf)
1 Gravenstein Red Apple Tree (Semi-dwarf)
1 Montmorency Cherry Tree (Standard) (wonderful pie cherries)
1 Craig’s Crimson® Cherry Tree (Dwarf)
1 Bartlett Pear Tree, European Type (Semi-dwarf) (pears do very well in our climate — the bartlett is a good pollinator for the D’Anjou)
1 Red D’Anjou Pear Tree, European Type (Semi-dwarf)
1 Harcot Apricot Tree (Semi-dwarf)
1 Late Santa Rosa Plum Tree, Japanese Type (Semi-dwarf)
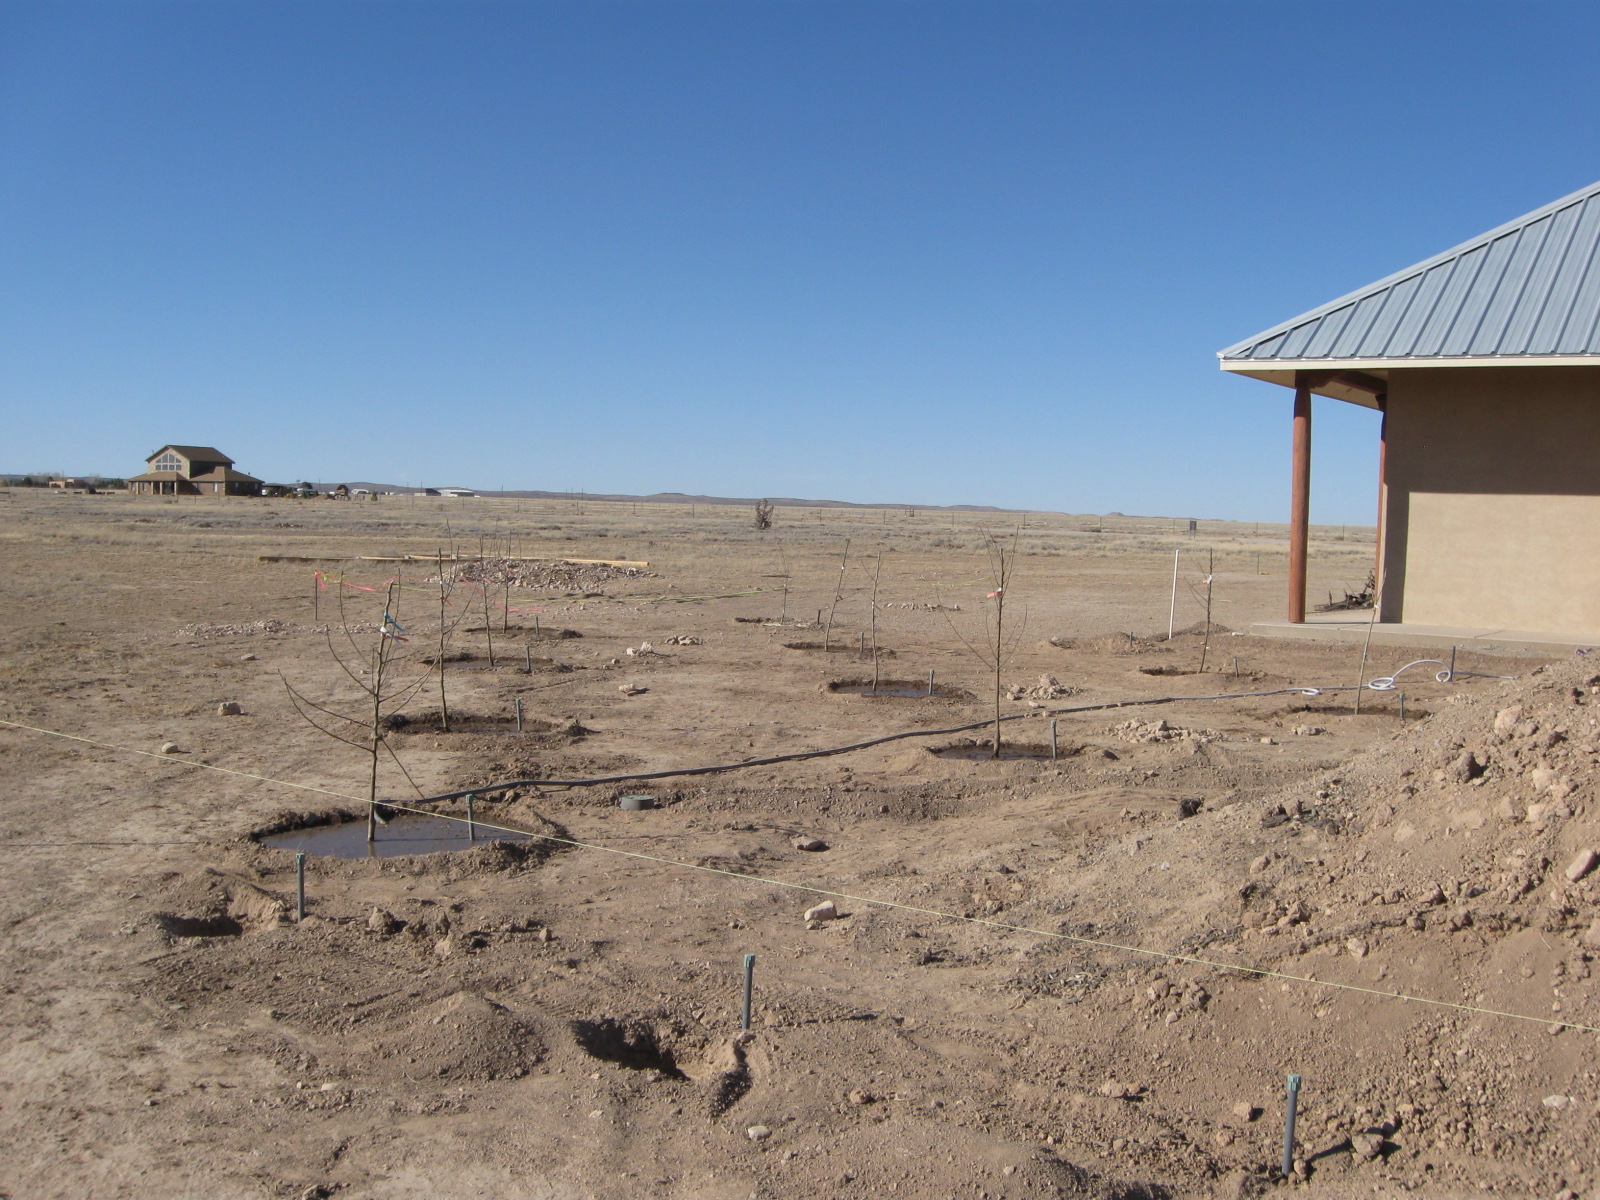
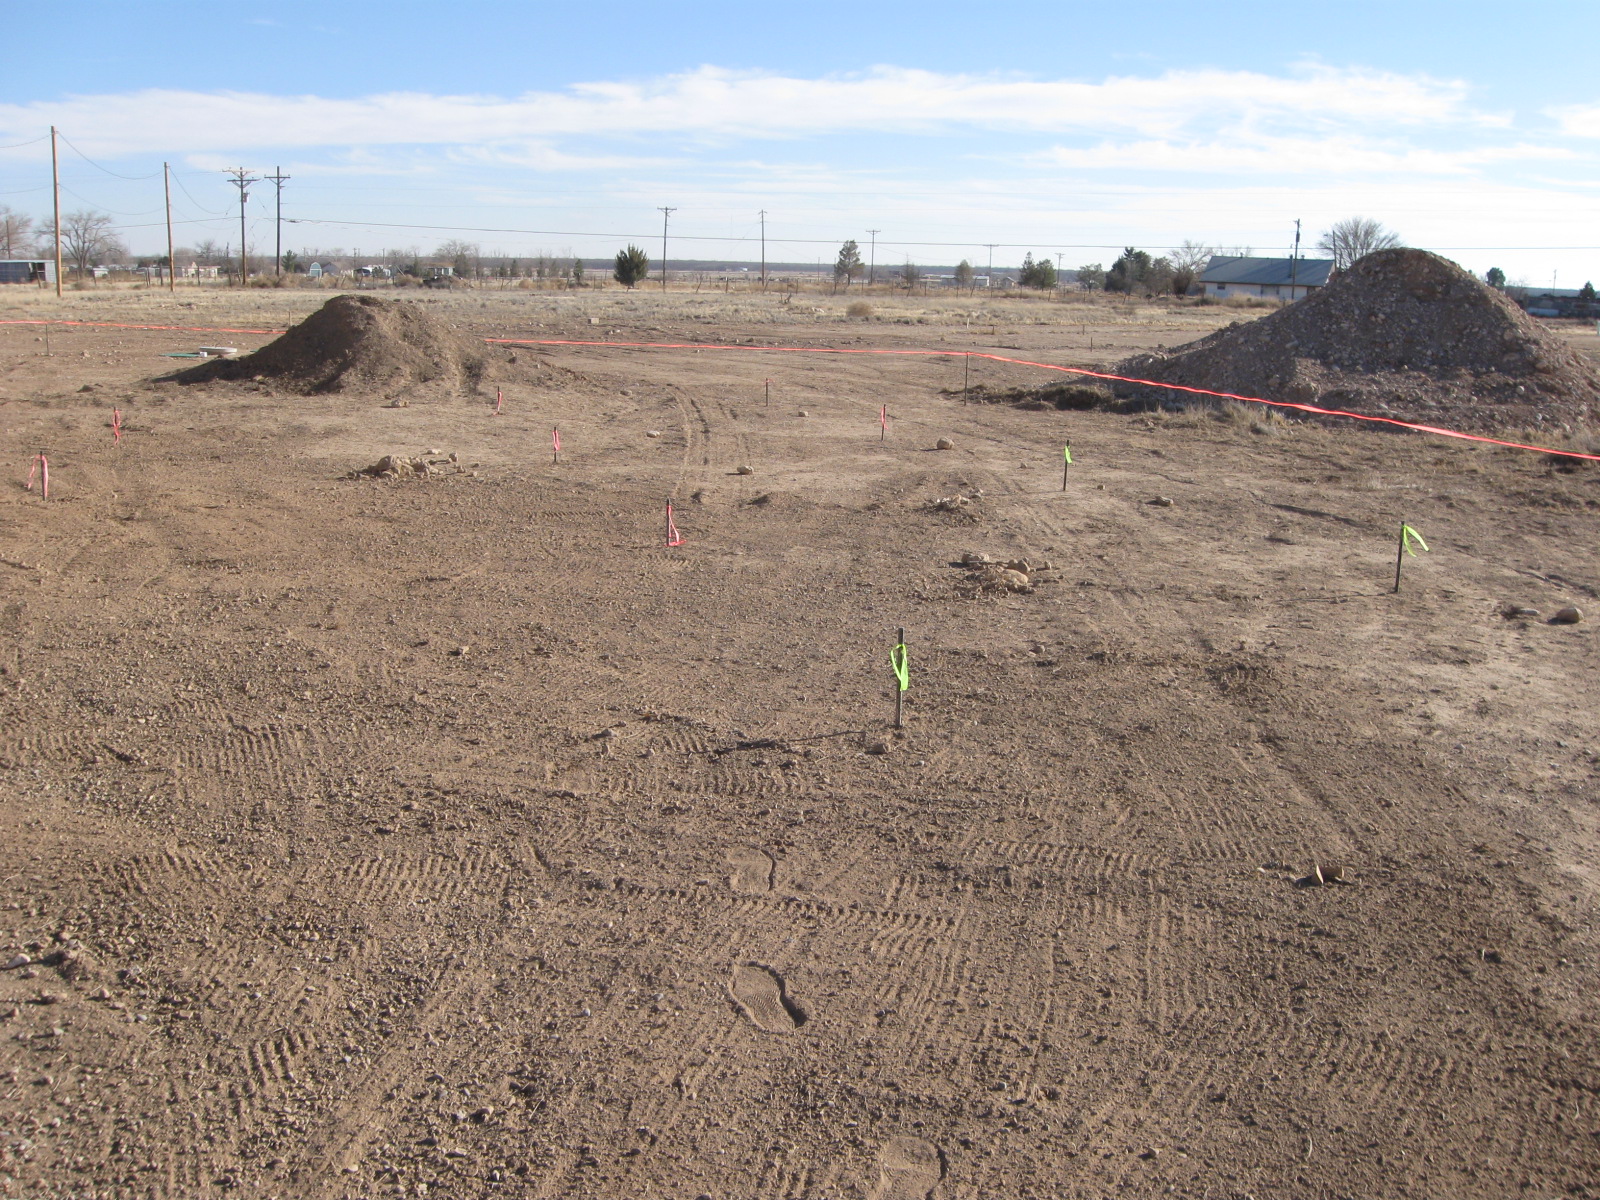
We took some time yesterday to mark out the planned planting locations for the 10 trees when they arrive. We are placing them approximately 12′ apart in a zigzag pattern to maximize efficiency. Most of the trees are semi-dwarf, so this should be adequate. The full-size Montmorency needs a bit more, so we’ll place it on the outside north-most spot. We’ll put in the watering system pipes and rig it so we can water on a timer until the entire irrigation system is finished after the house interior is done. We are in zone 6-7, so we made sure all of the trees do well in zone 6 to ensure we don’t lose them in a year with an especially cold winter.
Photos of the staked out orchard:

