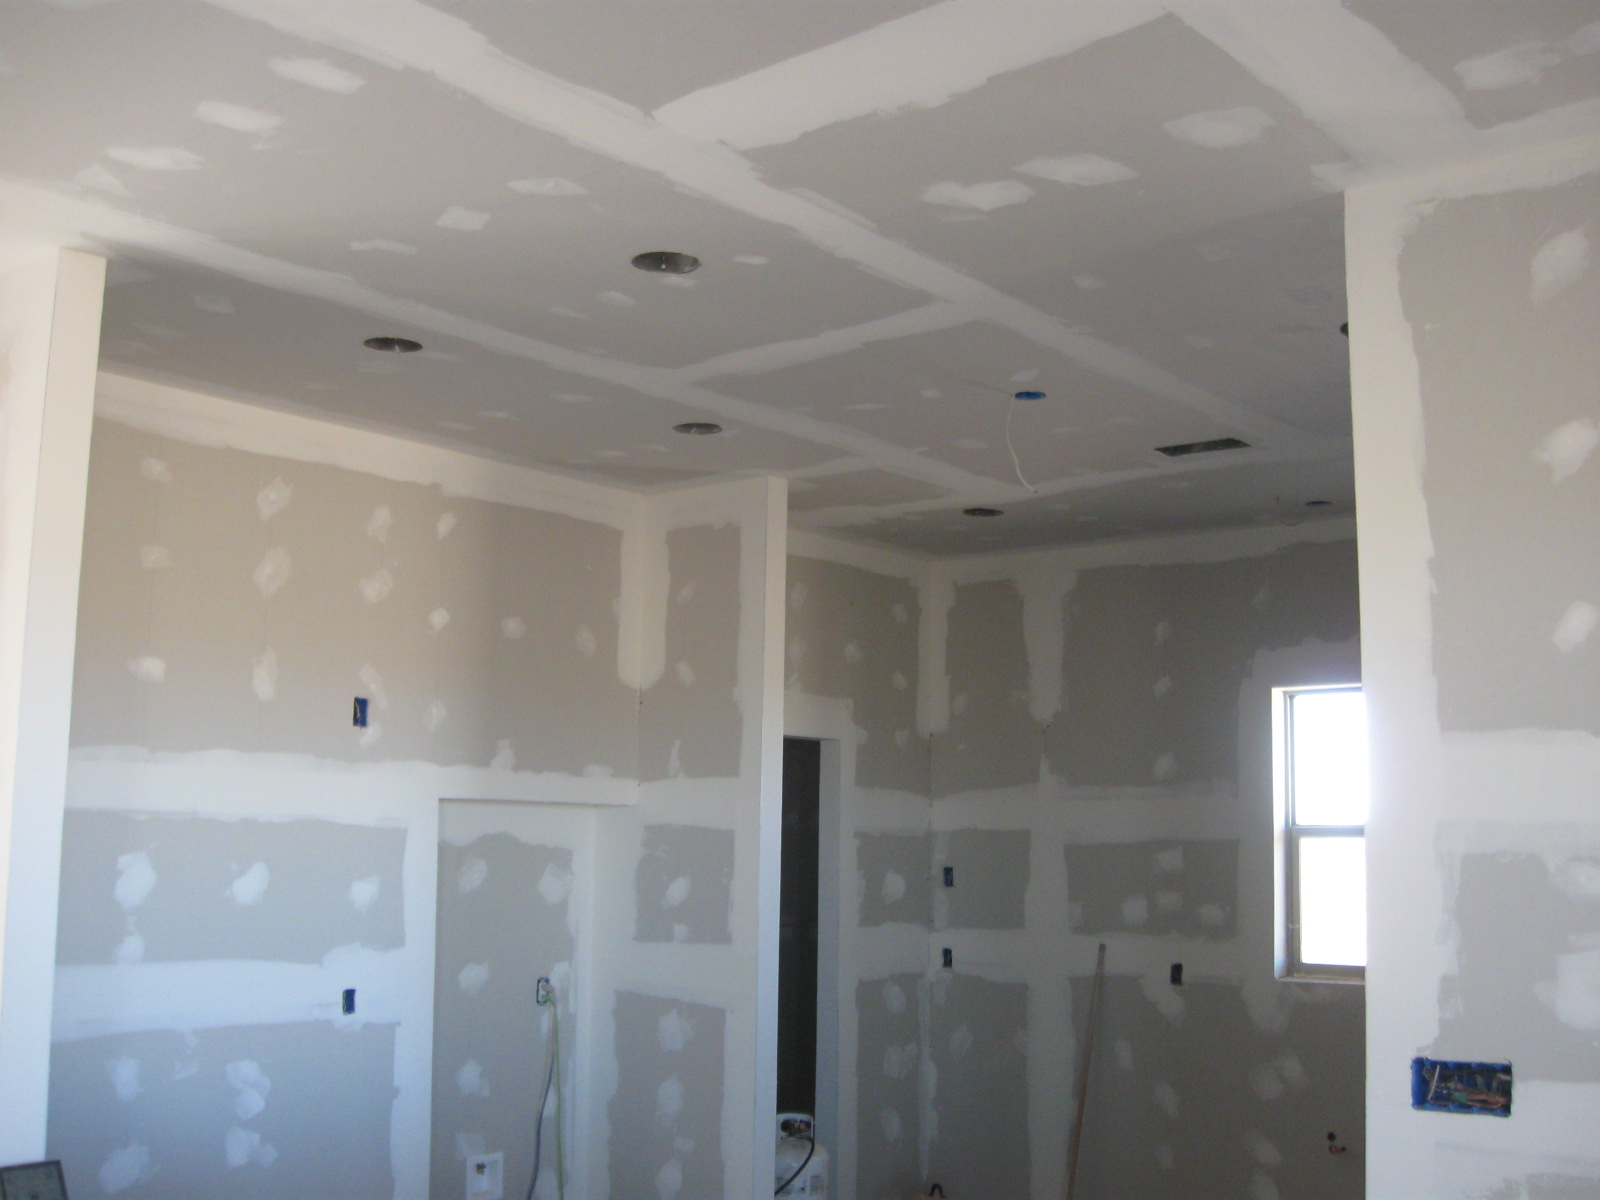
We have been working on the next part of the drywall experience the past two weeks. We began on our own in the garage (which was a good thing). Then, starting on Feb. 28th, we had the help of a professional to get things done right in the main living area of the house. In the past 7 workdays, we have made pretty good progress.
We began with patching the heads of the screws on all the sheetrock panels using “green” mud, also known as all-purpose joint compound. Apparently, this stuff is harder (and more difficult to sand) and is used on the first layers of nail/screw heads and the taped joints.

We found a great tool for applying the seam tape called a “banjo”. This simple tool allowed us to more quickly apply the tape and joint compound along the seams with much less muss and fuss than without.

After putting the tape on seams, beadboard on all corners, and a first coat with the “green” joint compound, we moved into the finishing up of feathering out seams to prepare for texturing.


For the finish coat (and also for texturing), the “blue” mud is used. This is lighter in weight, smoother and easier to work with than the “green” mud, and will be easier on the sanding process.


Comments
looks good oz
Comments are closed.