I have been invited to be a guest contributor at the Brink of Freedom blog. I submitted my first article there. Please check it out if you have time.
Brink of Freedom Blog
… starting a new phase of life.


I have been invited to be a guest contributor at the Brink of Freedom blog. I submitted my first article there. Please check it out if you have time.
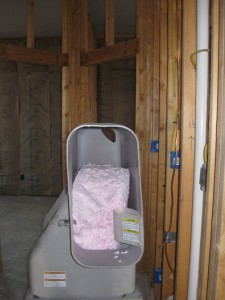
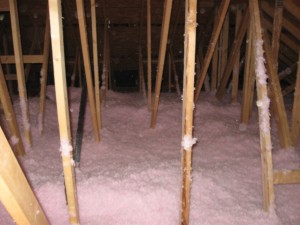
Well, after the Christmas break, we got back to it, finishing up the attic insulation.
Initially, we had thought we would subcontract this job, never having attempted it before ourselves. So, we got a quote on the job from a recommended subcontractor. He quoted us a rate of $1.50/sf for R-30 insulation blown in to the attic. For approximately 2600 sf (just the main part of the house — not the WWII museum and research center), this equates to a cost of $3900. We actually wanted more insulation — up to R44, so we decided to see how difficult it might be to do it ourselves.
It turns out not to be very difficult or time-consuming. Oz went to the local Home Depot, where he found out they allow use of their machine for free if you purchase the insulation material from them. They calculated how much material would be needed for the 2600 sf for R44 insulation. Lo and behold… it came out to be only about $1700 total. Not knowing for sure how much extra the contractor would have charged for R44 vs R30 insulation, we don’t know exactly how much we saved, but we figure it is about $2500 (certainly no less than $2200).
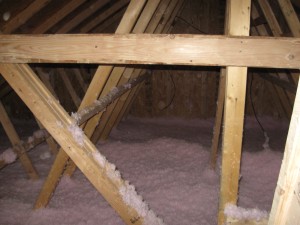
The job does take two people — one to man the blower end in the attic — one to load the machine continuously. It is messy work, requiring goggles, facemasks and gloves to be worn. However… all that being said, we were completely finished in only two days. We figured it was a good use of our time and well-earned sweat equity on the house. We have found a definite difference in the constant temperature inside the house since it was done, even though we haven’t finished all the mudding and taping of the sheetrock to seal the cracks.
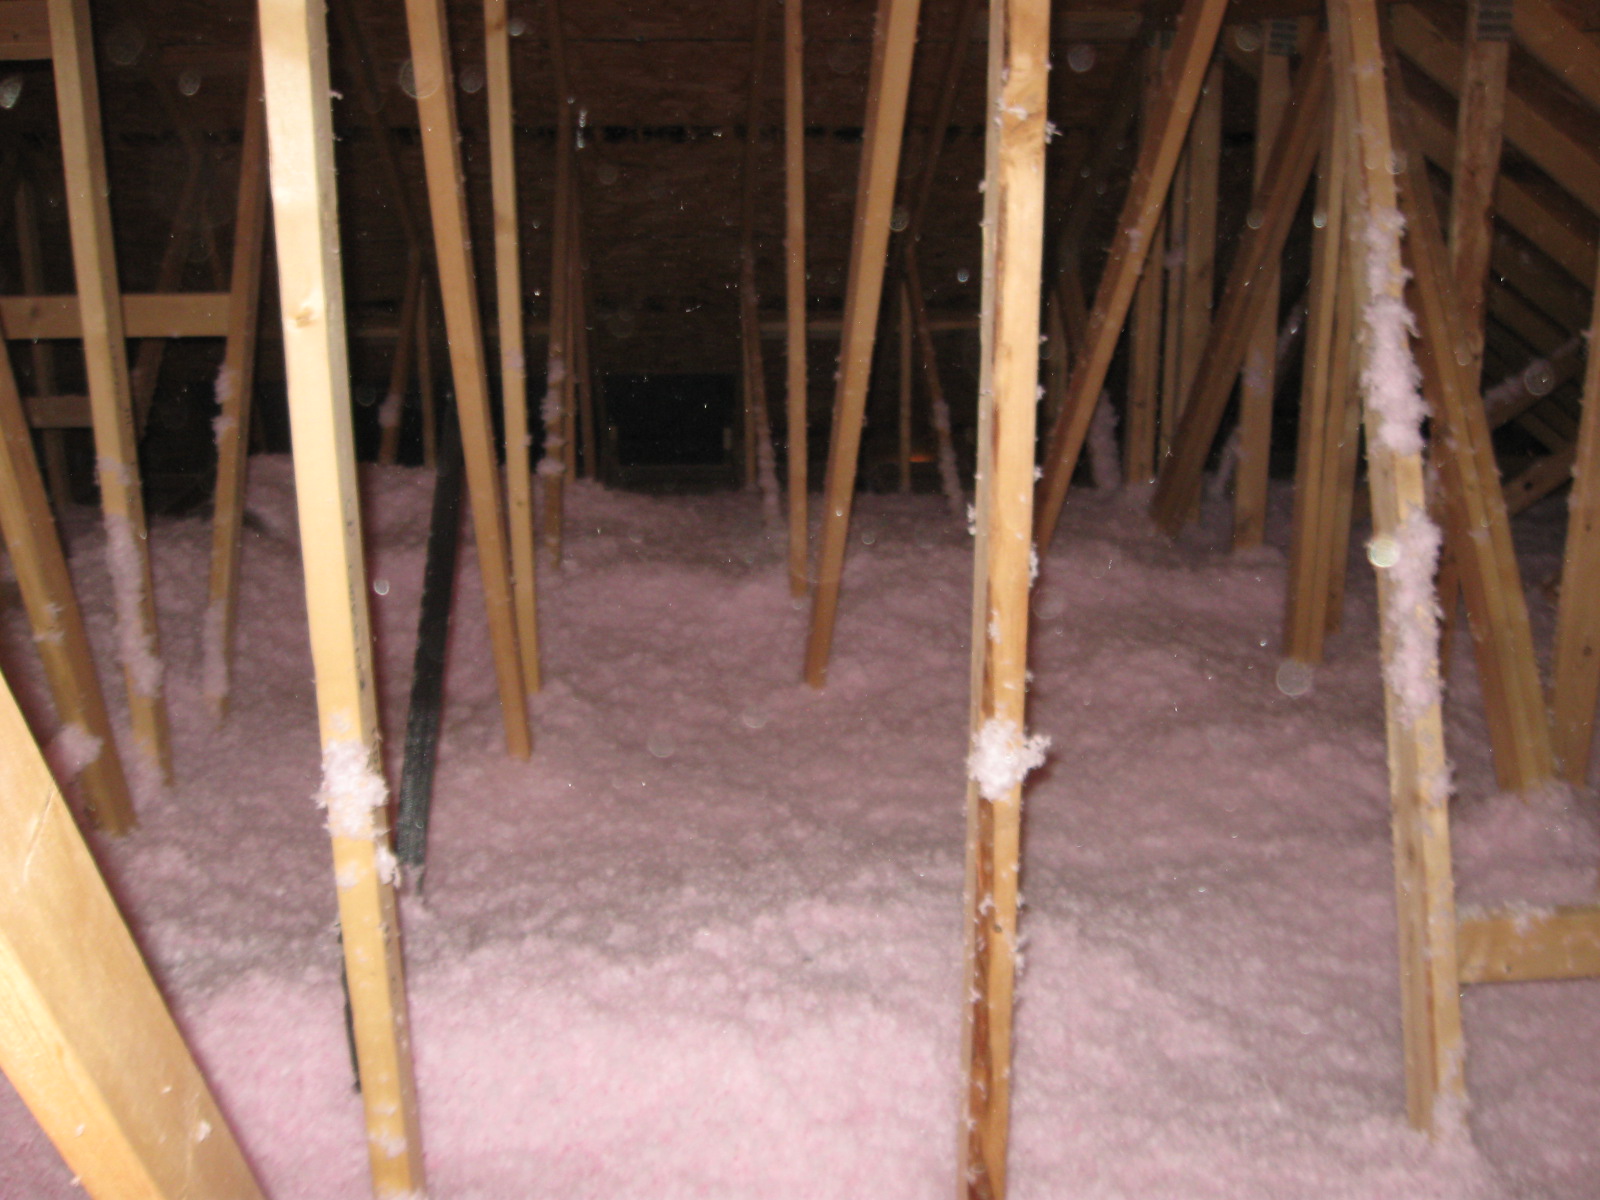
Here are photos of the machine and the result in the attic:
I cannot believe it has been more than a month since I posted an update… suffice it to say that we have not stopped working and been laying about!
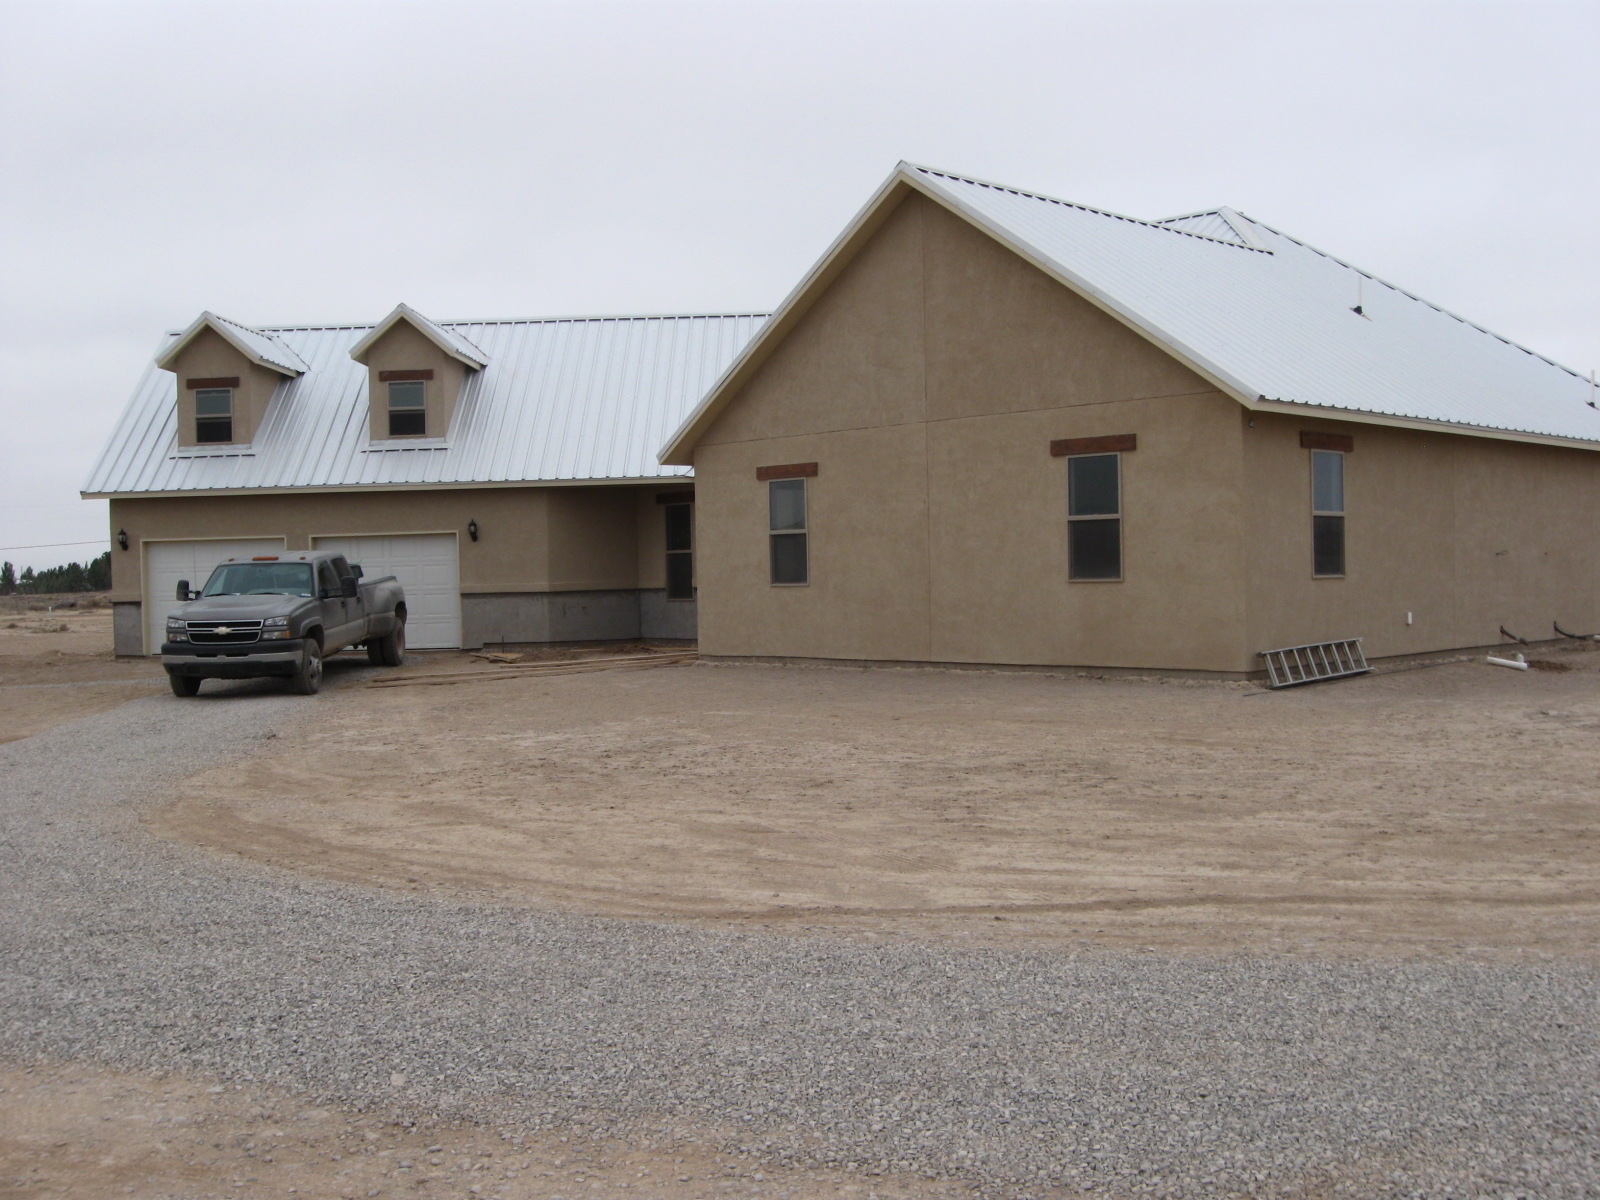
In the past month, the exterior of the house has been almost finished, including:
Stucco
Caulking and Painting Exterior Trim (soffits and fascia)
Exterior Door installation
Chimney
Roofing
Installation of Garage Doors
Gravel placed on drive and on road
Exterior Light fixture installation
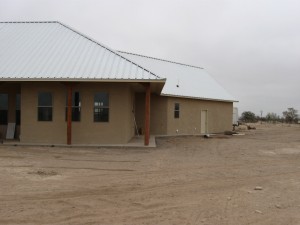
We hired a subcontractor for the stucco. While they worked on stucco, I kept up (barely) with painting and caulking all the soffits and fascia. We used the elastomeric stucco that is well-suited to our dry climate. I know that in some parts of the country the tight seal the synthetic stucco provides brings potential problems. Here in the dry southwest, it works very well.
We did our own installation of all doors, including the garage doors. This allowed us to secure the house while we are away from home and also cuts down on the dust and dirt inside. Since the garage doors were installed, we were able to move all the tools and building materials over to the new house garage and give ourselves a bit more space in the workshop. Exterior light fixtures have also been put into place.
The roof is a metal roof, installed by a local contractor. We chose a somewhat unusual color — simple galvalume. The reasons we decided on that color are that 1) the unpainted metal surface has the highest reflectivity of any of the metal roof materials, and 2) it is also the least expensive. We think it goes well with the territorial-style of our home and will last virtually forever. Low maintenance, baby.
Finally, as the winter weather approaches, we put down a layer of gravel on our formerly dirt road. During the driest parts of the summer, the caliche in the area causes the dust to build up several inches deep on the road. Driving on our road at that time raises a veritable cloud of dust. The roads are also very nearly impassable after heavy rains. So… laying several inches of gravel has vastly improved the road. Heck, I may even wash the car…
See some photos of the exterior: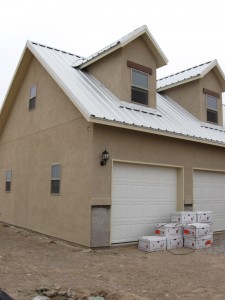
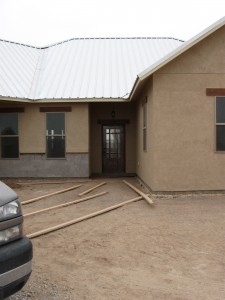
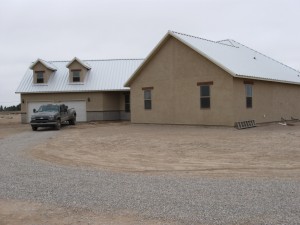
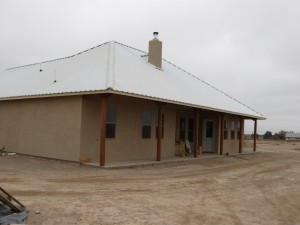
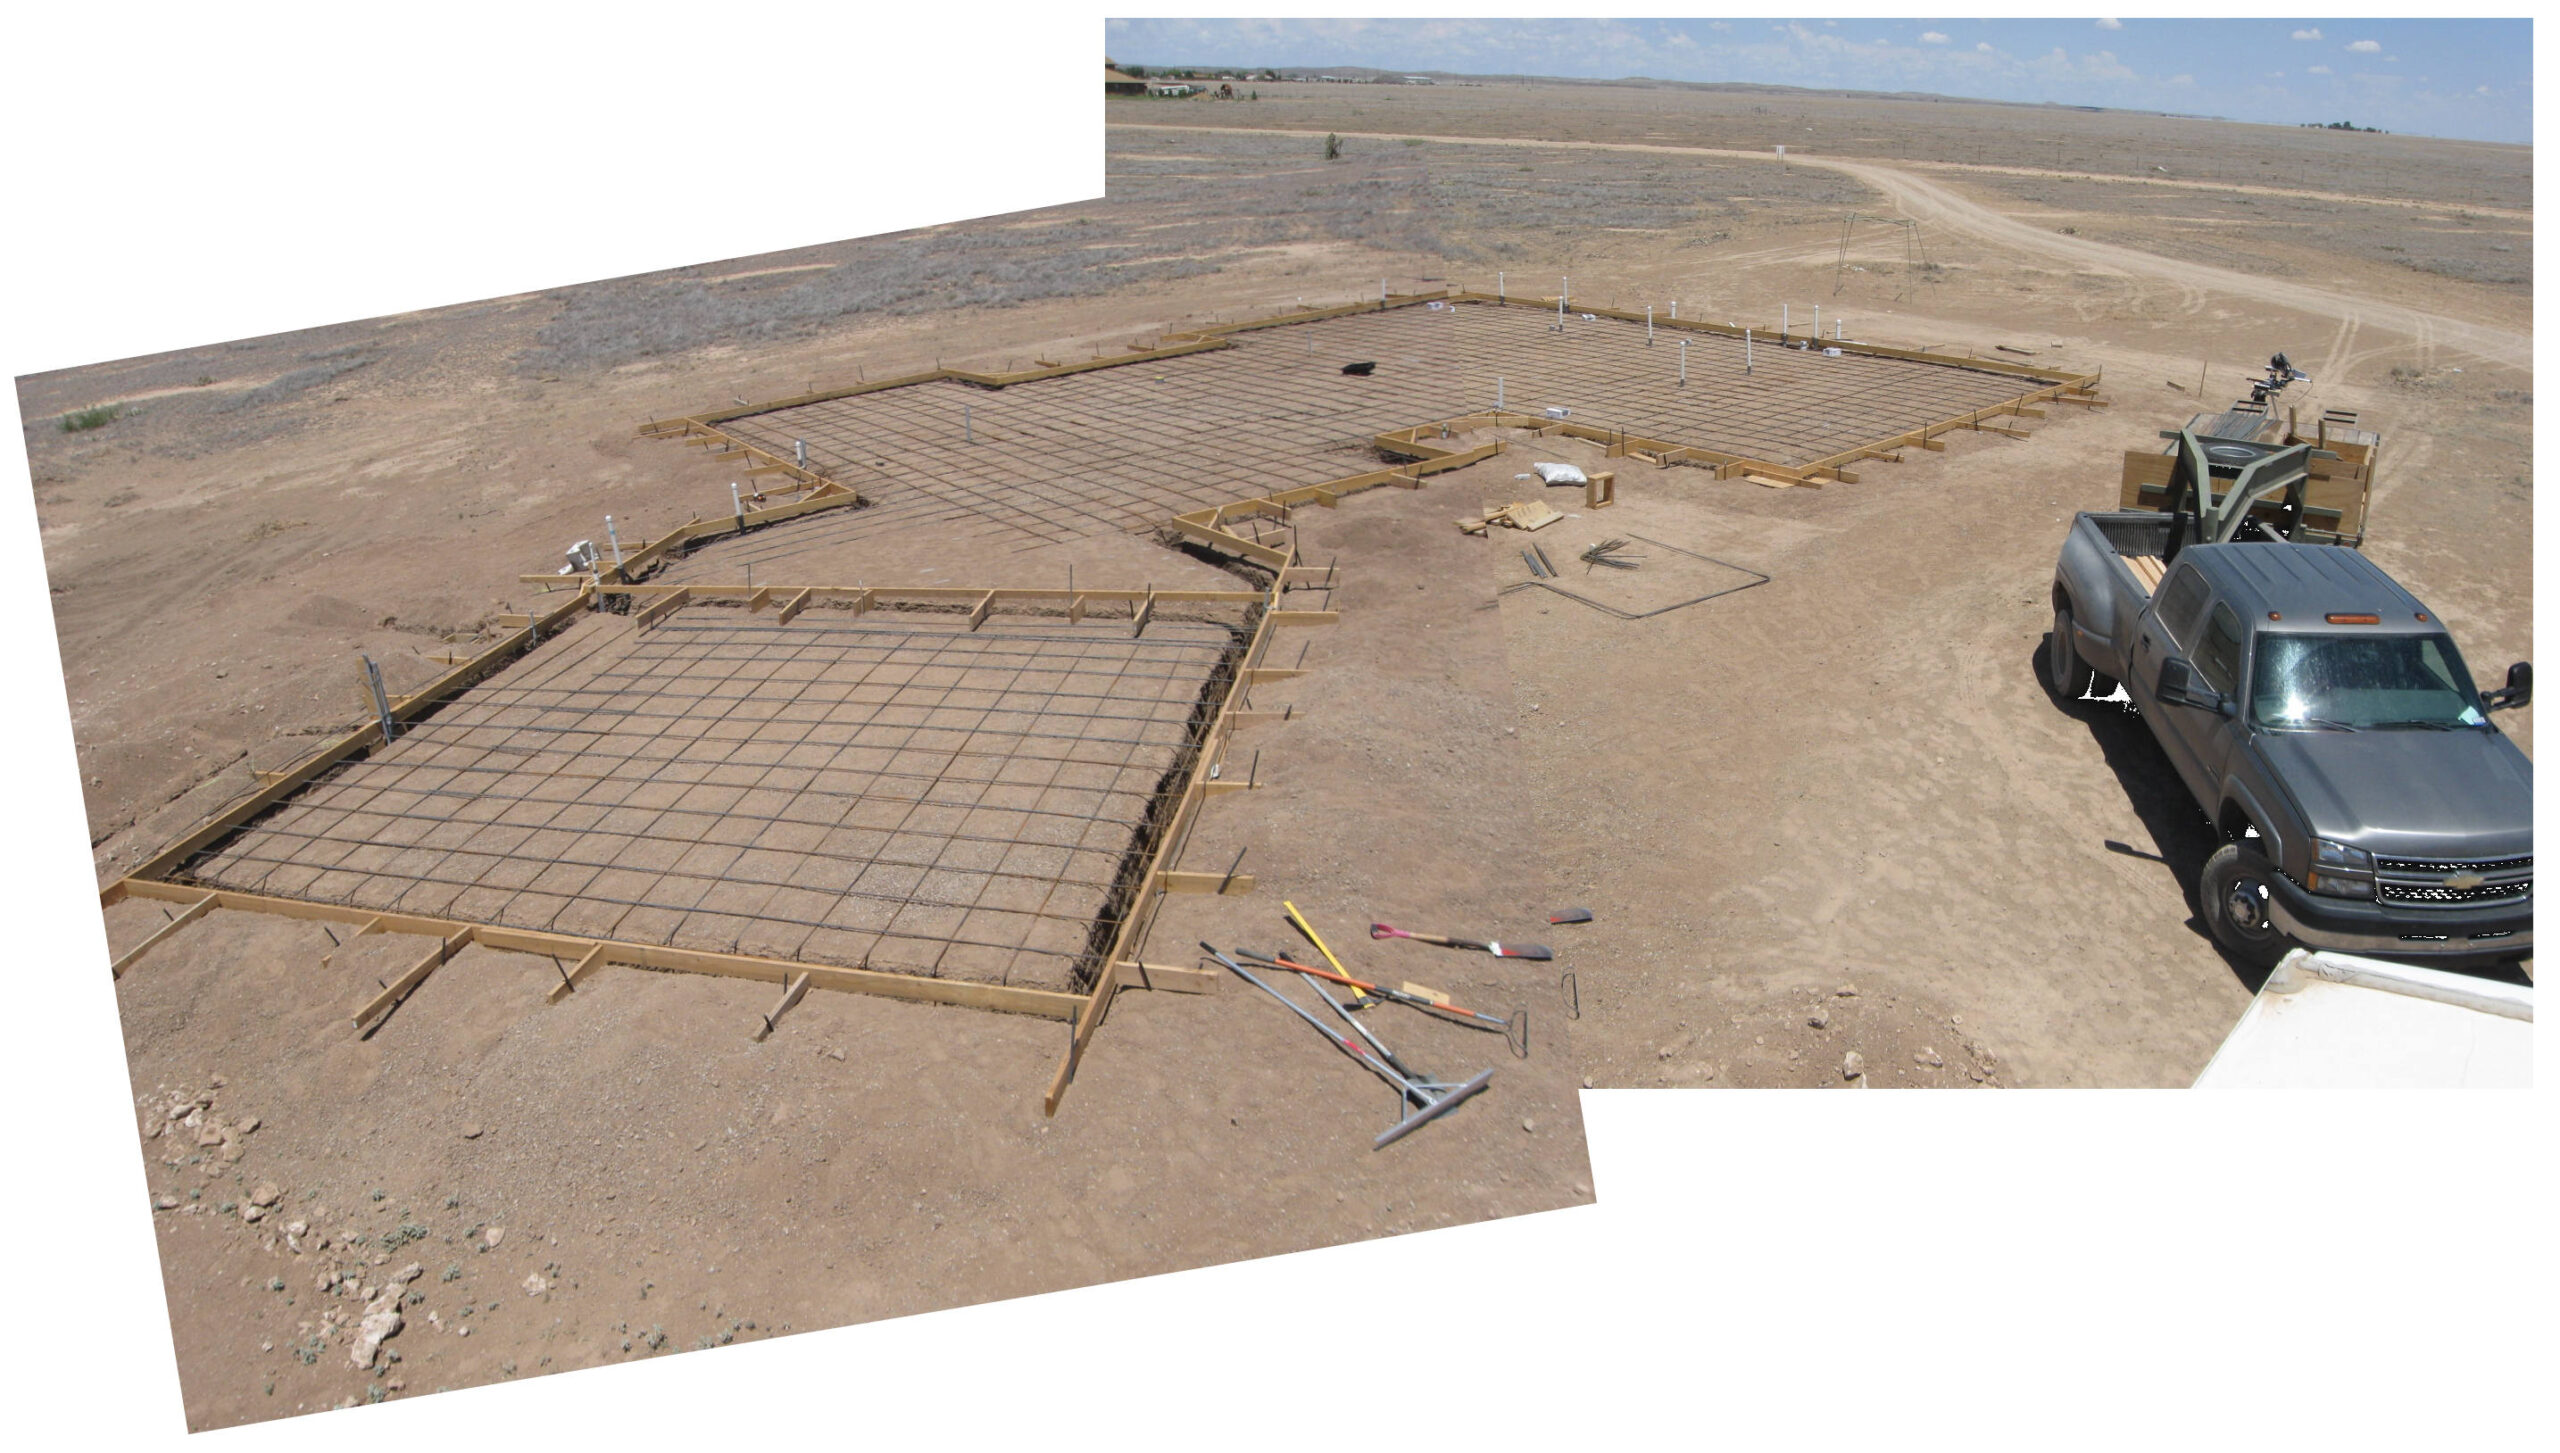
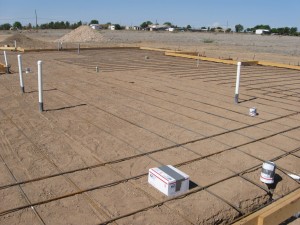
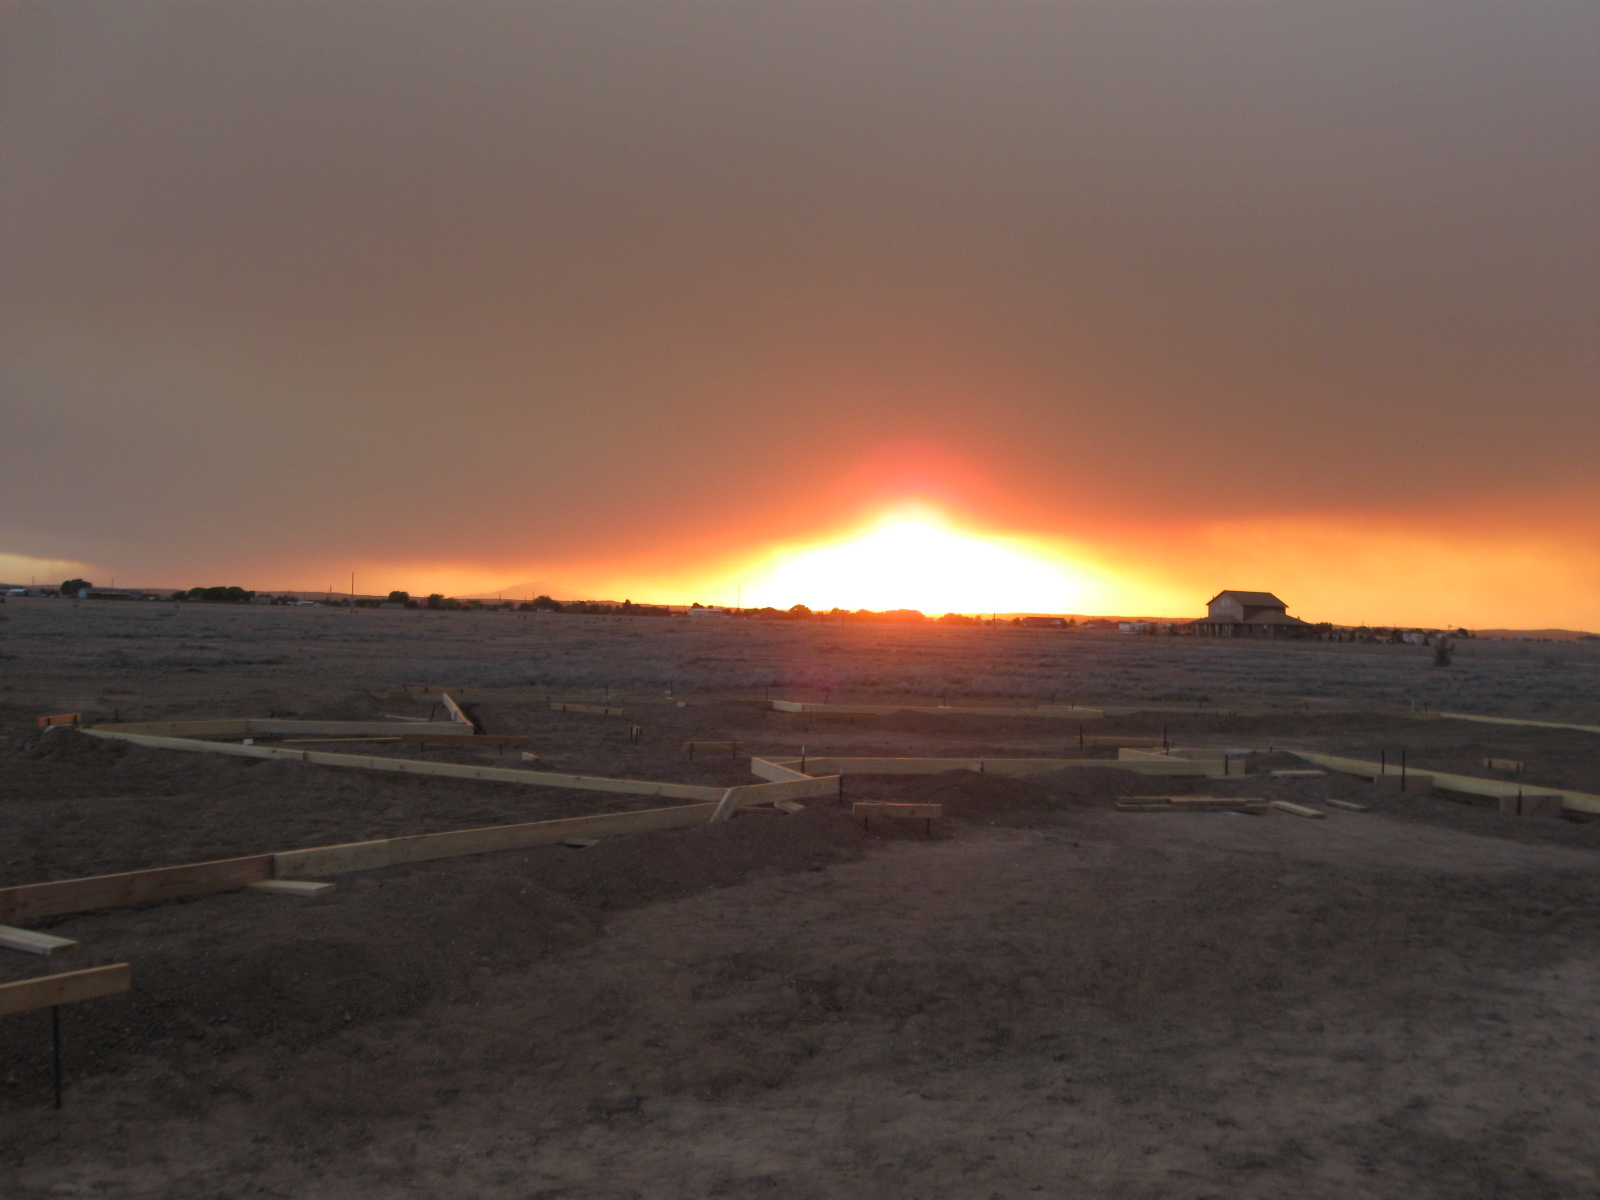
Since we are doing all the prep work ourselves for the slab foundation, we also did the installation of the rebar for the foundation. We did get some help from a couple of local construction workers who worked with us for an hourly wage. That helped a great deal and made the work go much more quickly. The entire family did learn how to wire rebar and how to insert support rebar for the footers. Here are a few photos of the process:



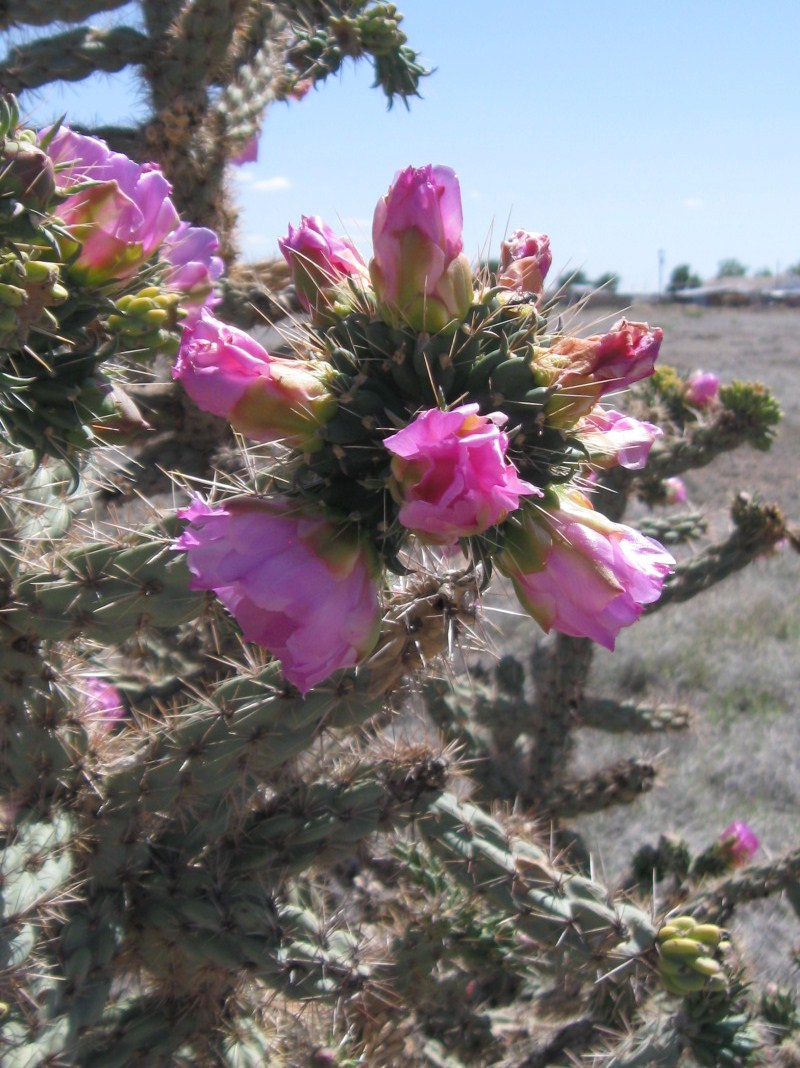
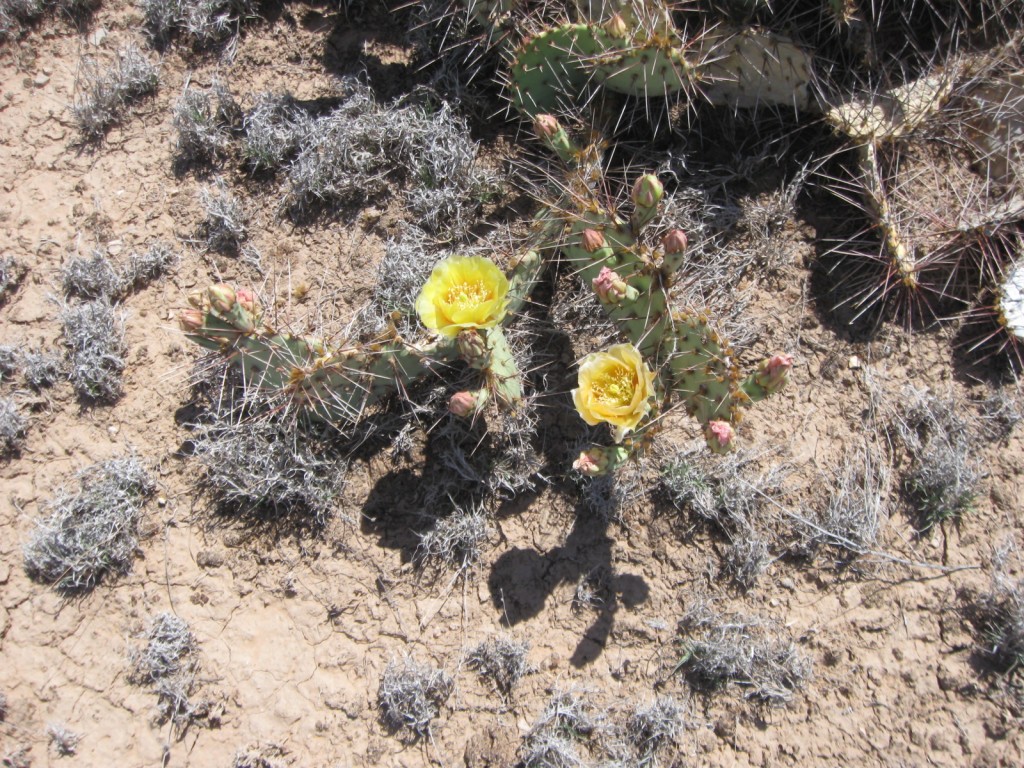
We had a wonderful week of rain here in the dry southeastern New Mexico desert. Because of the dirt road in front of our property, we tried to minimize the driving we did when the weather was so wet, but welcomed the wonderful smell of the rain and much-needed moisture. It came just in time to give additional water to our newly-transplanted pecan trees, as well as the native cacti on the property. Here are photos of the blooms that came soon after the rain:
The prickly pears look like they’ll be producing fruit, so maybe I’ll try my hand at prickly pear jelly after they ripen…
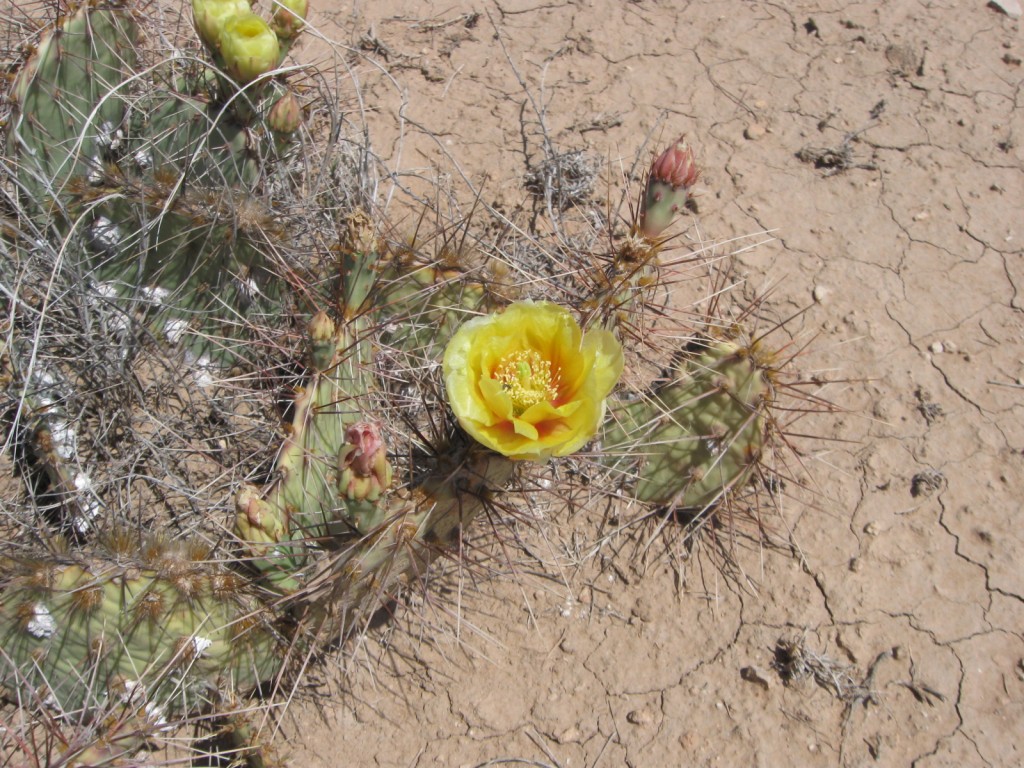
When we lived in the Ft. Worth area, I also had the chance to taste nopalitos (strips of the green cactus are made from the flat ‘leaves’ of the prickly pear cactus and steamed or boiled and served as a vegetable or an ingredient in burritos). Perhaps I’ll don gardening gloves and try removing the sharp prickles from them to make homegrown nopalitos sometime. I have to admit that our cactus is still not looking pretty enough to try this. Quite a bit more rain is needed, in my opinion.


Especially pretty was the rather large chollo (cho-yoh) cactus with the lovely pink blossoms. As I approached to snap this photo, I began hearing the constant buzz of the happy bees, gathering nectar.
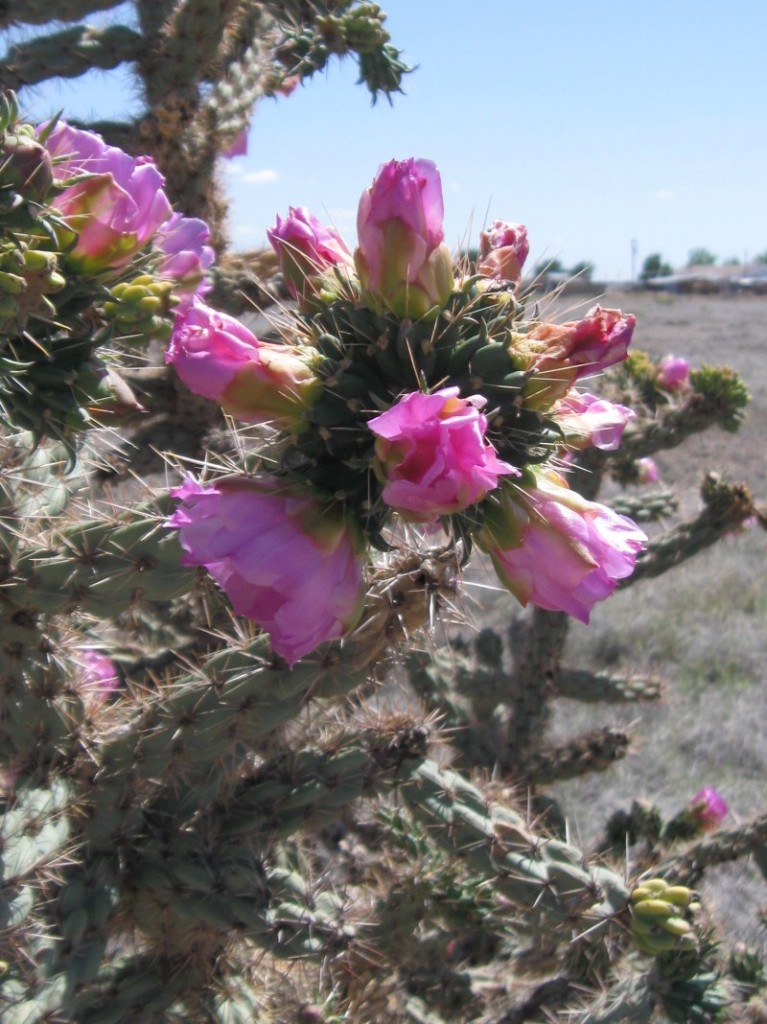
This next photo catches the faint distant view of Mount Capitan. Our back porch will face this direction, so we look forward to nice views once the house is complete.
Yesterday was a red letter day! We got two of our four pecan trees placed on the Homestead. While the process was going on, I was able to video them. See the progress here:
Preparing the Hole:
Planting the Tree (1st Tree):
Planting the Second Tree:
For more information about transplanting mature pecan trees, check out our previous posts on Mature Pecan Trees and Pecan Trees for the Homestead.
Now that the trees are planted, we know we need to be very diligent about watering them heavily until they are very well established. Initially, we plan to fill up the water wells around the trees about four times/day. After they are well established, deep watering about every 6 days is sufficient for good production. New Mexico pecan farmers are known for harvesting very heavy crops. Brandon told about local farmers producing about 3000 lbs (in the shell) per acre (which means our four trees — about 1/10 acre — have the potential to yield 300 lbs/yr for us). This is very high relative to Texas farmers, who generally yield closer to 1500 lbs/acre.
Brandon Kuykendall, owner of Tree Digger LLC in Roswell, NM took care of the whole process for us. You can contact them at bktreedigger@yahoo.com or by phone at (575) 317-8536. Great people… we highly recommend working with them. They can transplant other types of trees, too…

As mentioned in an earlier post, pecan trees do very well in New Mexico. We were fortunate to find someone to sell a few to us for the Homestead. According to my Dad, with the trees having the late spring and summer to establish themselves (assuming we give them good quantities of water), we could possible see some pecans on the next year (2013) winter harvest.
To get ready for the trees, we had to identify where we wanted them, the spacing and how we planned to water them. With the ground being so completely dry (due to lack of rain), we had to prepare the ground, soaking it well for several days before the process of digging the hole and planting a tree could begin.
The company selling us the trees (Tree Digger LLC, owned by Brandon Kuykendall – 575-317 8536) recommended forming a well for the trees at least 8 feet in diameter and soaking it down over time so that the soil would be soft enough to dig with his equipment. Pecan orchards are planted with the trees 30 feet apart in rows, with 40 foot rows separating them. I have heard that typically pecan trees around here are planted with 44 trees to the acre.
The trees we will get are 25 year old trees that have been pruned back to allow transplanting. The cost for trees of this type (including digging the hole and delivery) is $500. We had budgeted $2000 for pecans, so we are able to buy four without busting the budget. We laid out our plan for the trees to be planted 30 feet apart in a square formation. This will make it easy to set up the automatic drip system for watering.
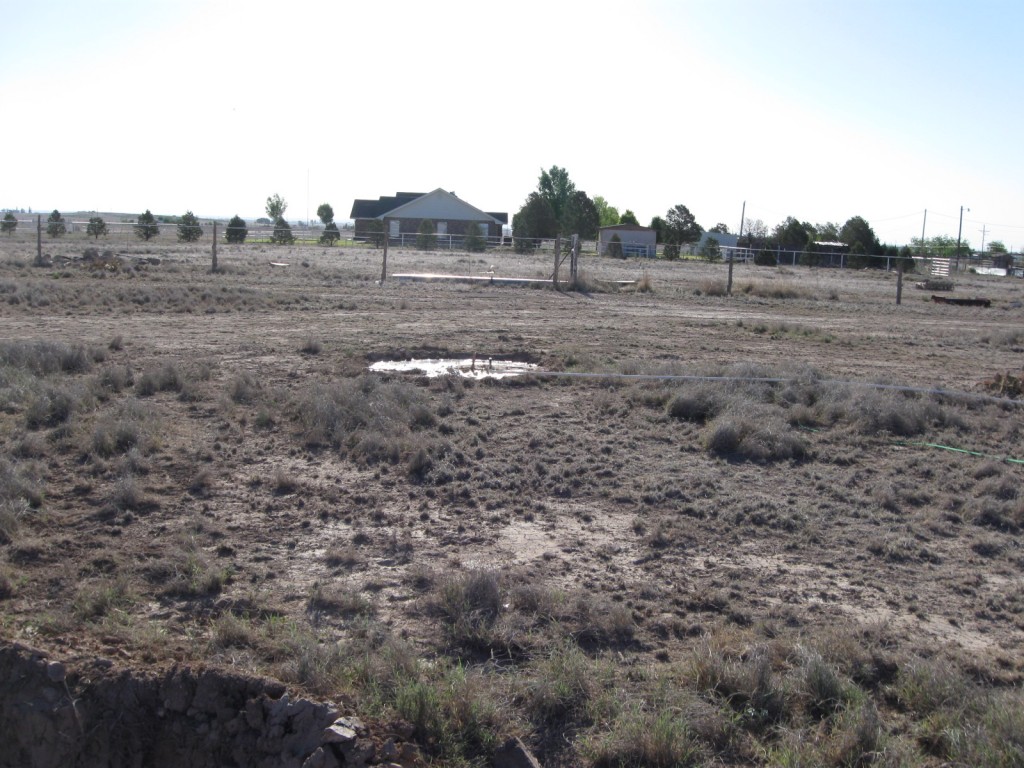
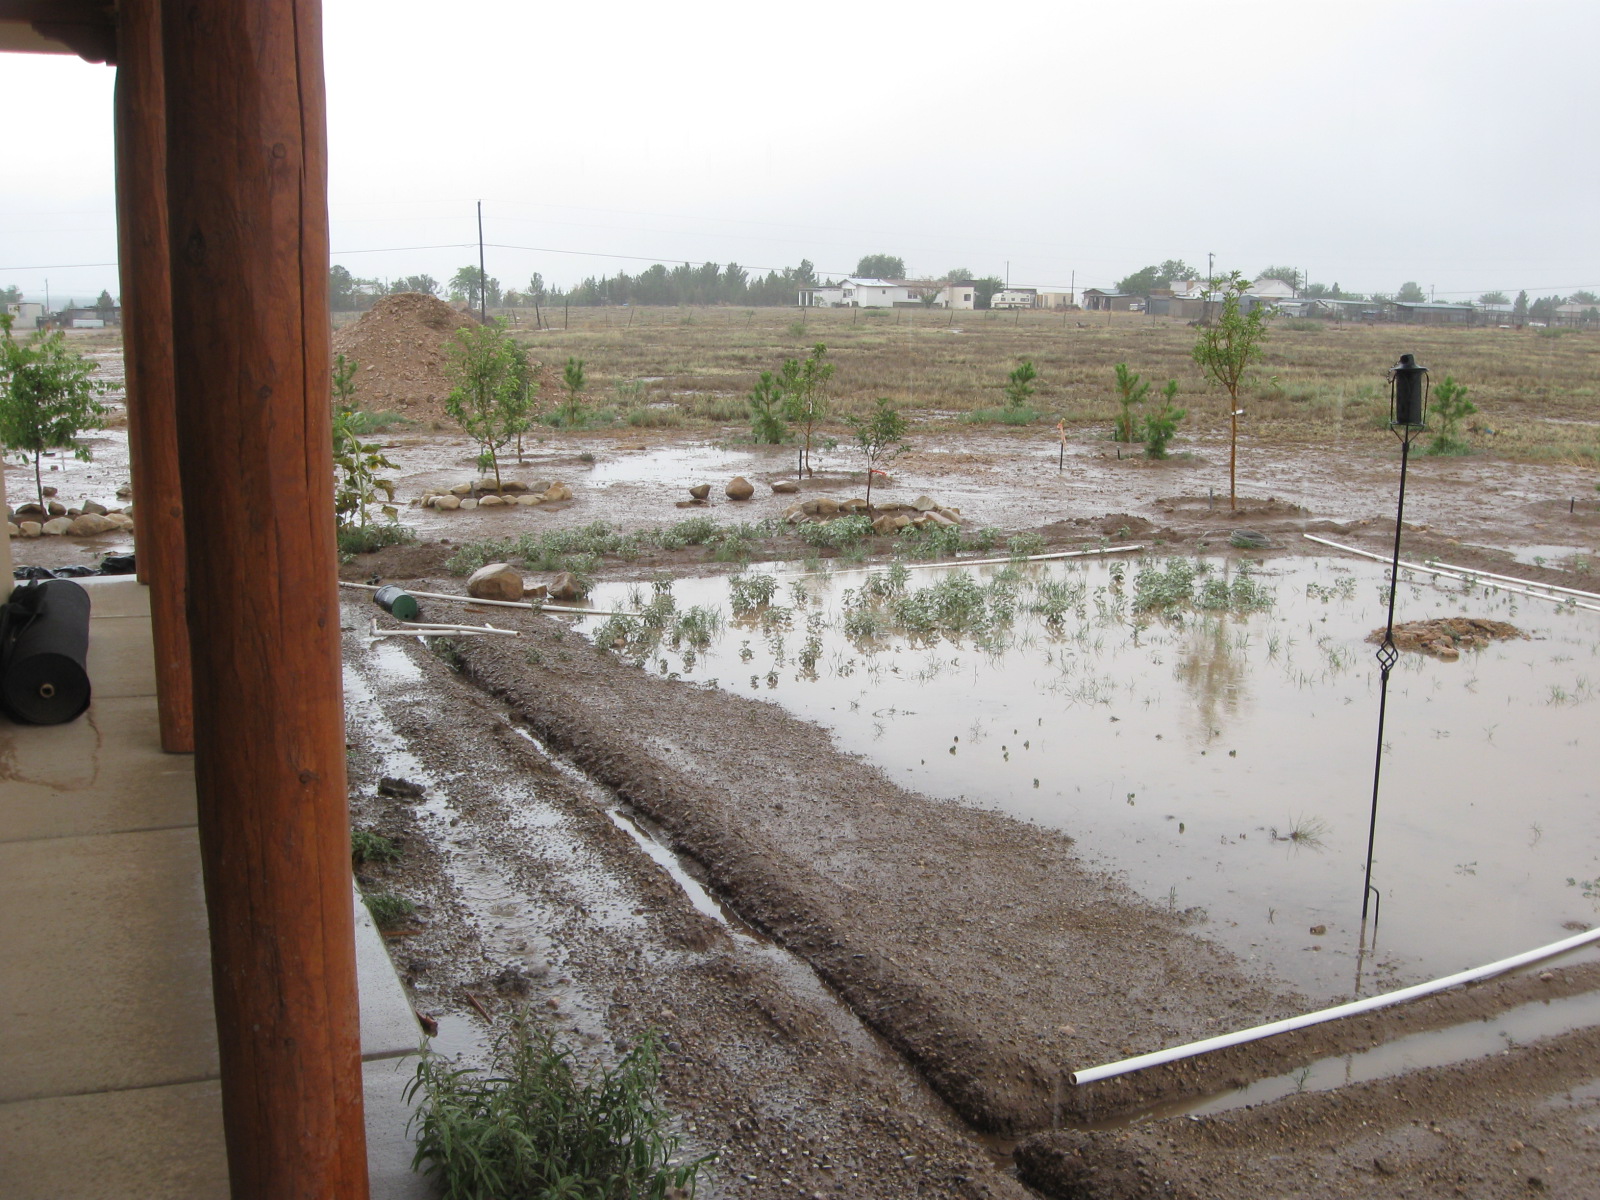
We have prepared the wells, and put together a temporary automatic watering system for the four pecans and two fruit trees (we couldn’t wait and bought the fruit trees our first week in the RV). Basically, DH bought the PVC pipes we will use for the underground system once the trees are in place, but laid it out on top without gluing the pieces together. Then, we attached the layout to a water hose and set up a timer to automatically water the wells a few minutes every 8 hours. This gives time for the water to soak in well into the soil without running over the wells we prepared.
One of the holes for a pecan is ready; we’re now waiting for the delivery of the trees.
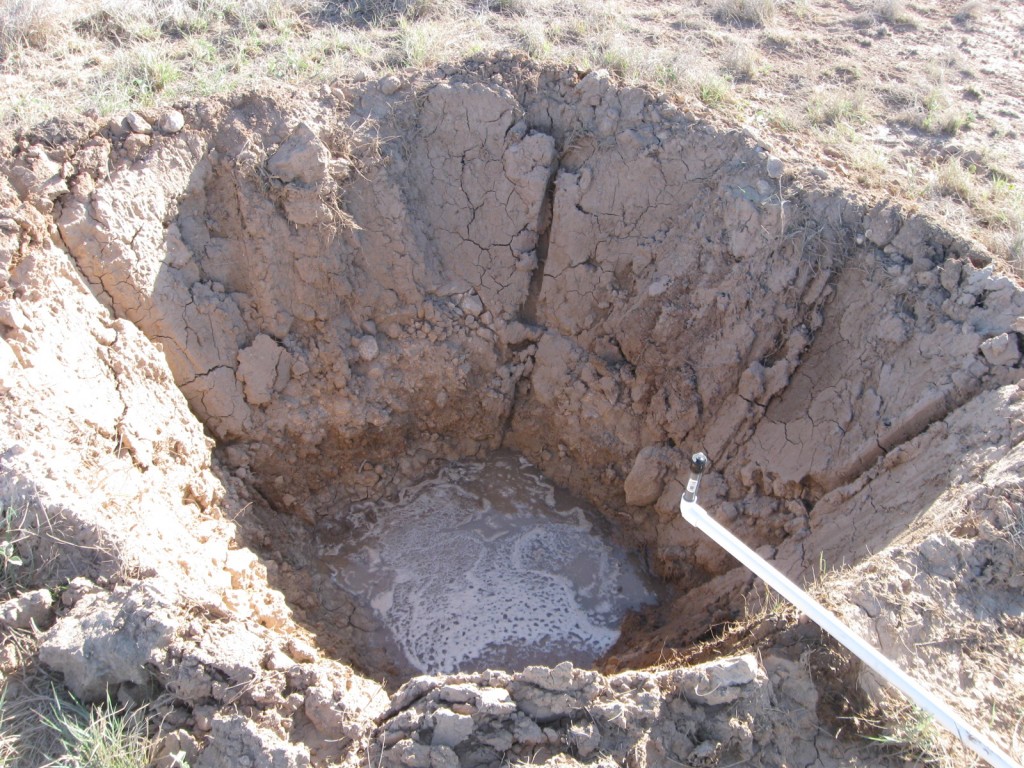
After the trees are delivered, we’ll share more information. I hope to video the digging of the other holes and the tree delivery. I have seen orchards around town that have mature trees that were obviously transplanted either last year or the year before. I’ll try to get a few photos to show what we expect our trees to look like in just a year or two.
With the barren nature of our 5 acres here, the addition of trees will make a huge difference.