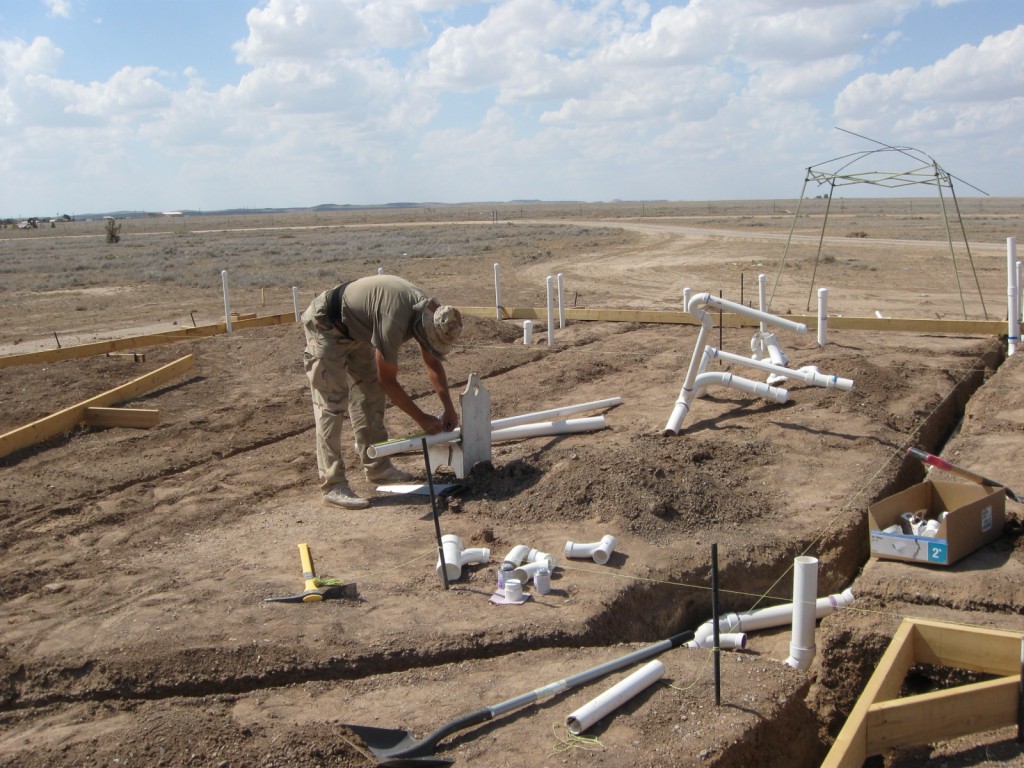
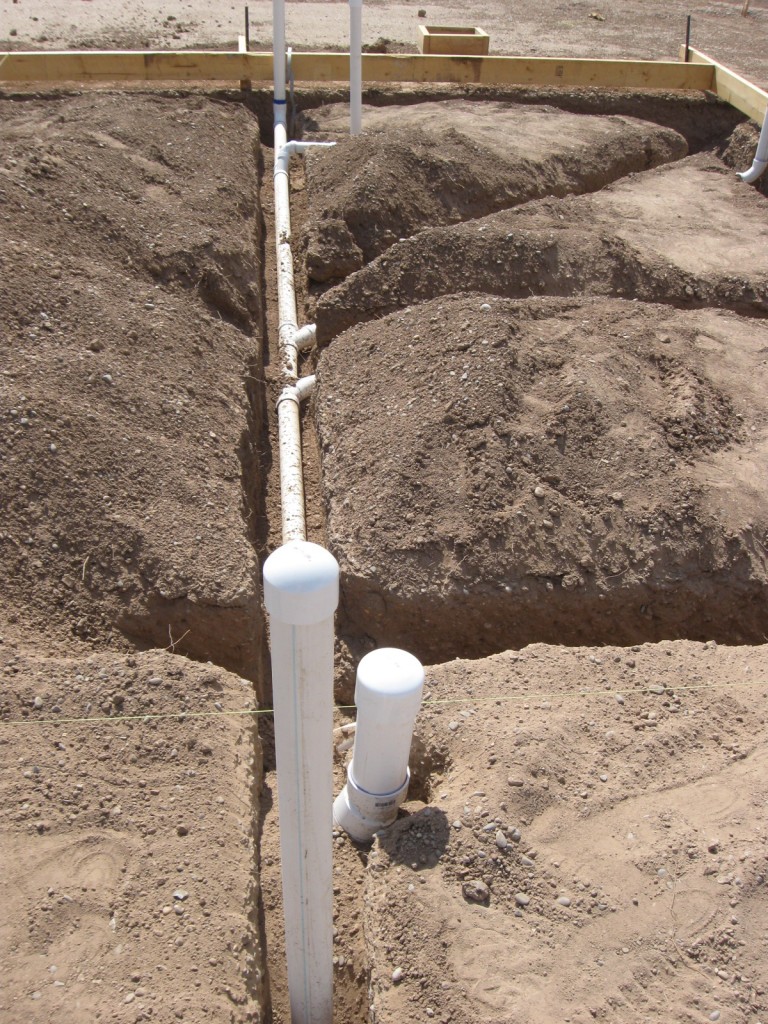
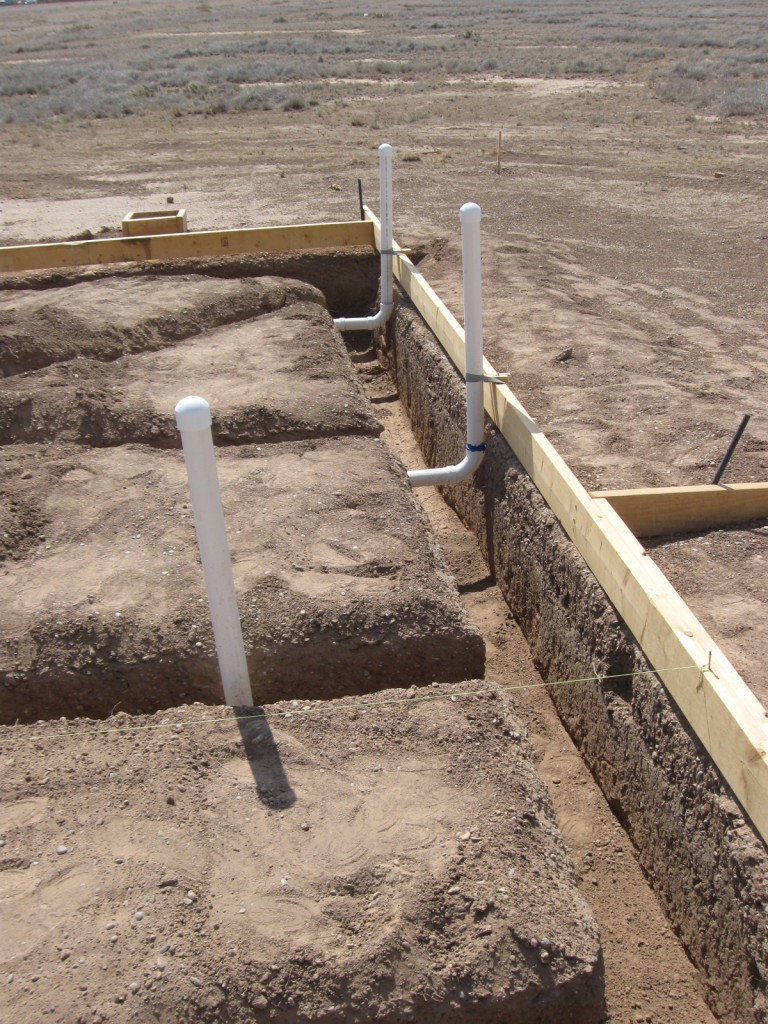
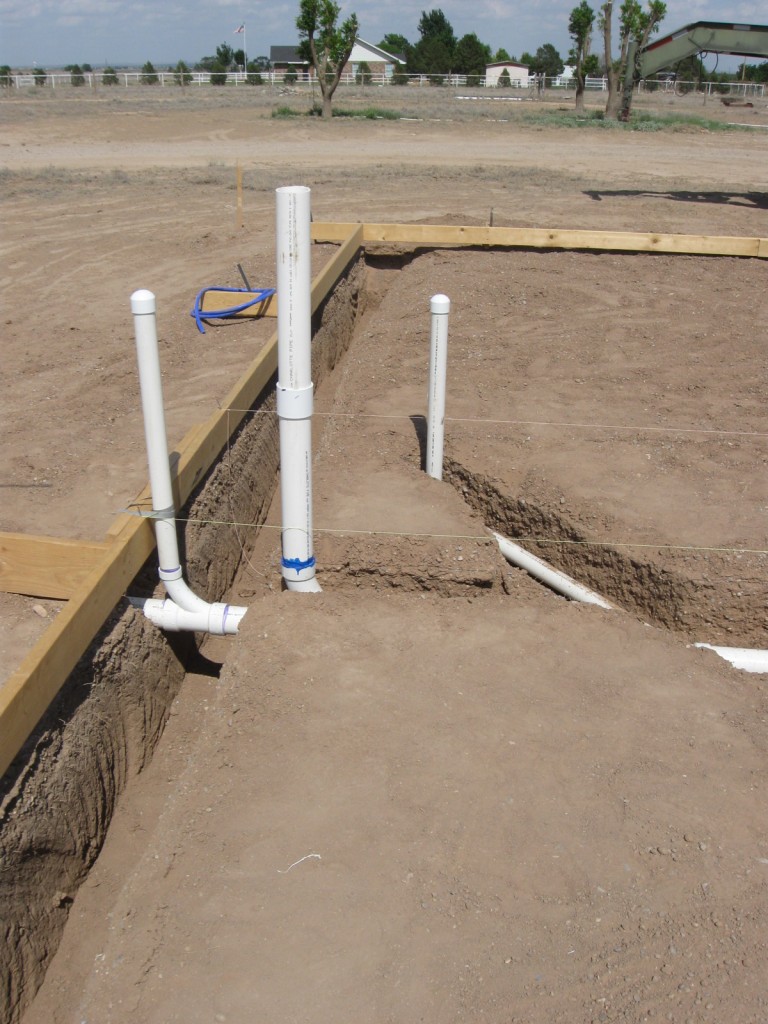
This week has been a very hot and tiring week of plumbing work. After trenching the main lines for the plumbing plan (6″ wide and up to 59″ below the surface of the slab as the trenches sloped toward the septic tank) the real work could begin.
We began by taking the difference between the elevation of the slab and the depth of the entry pipe into the septic tank. That difference was 59″. Since the ground slopes toward the septic tank, there was a natural slope that required us to dig less deep trenches on certain parts of the foundation.
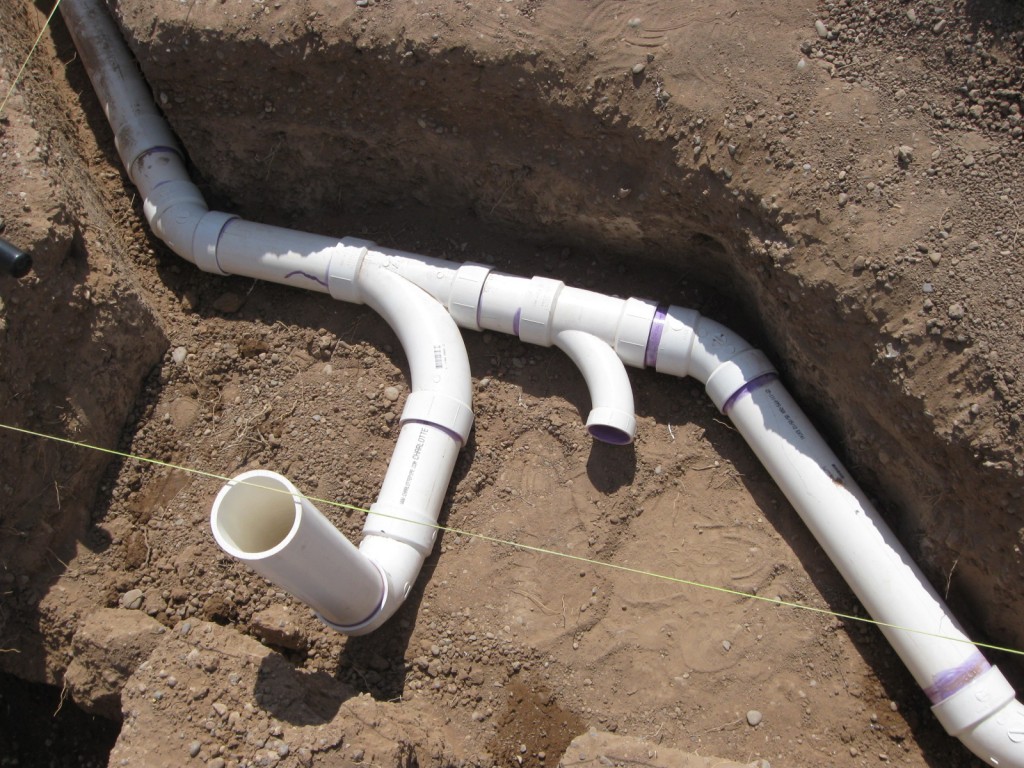
The distance from the farthest fixture to the septic tank was approximately 140 feet. Using a combination of 1/4″ slope for the 2″ pipes and 1/8″ slope for the 3″ pipes, we were able to lay the initial pipes fairly deep below the slab and then slope the drain and branch drains toward the septic tank.
Using a riding trencher ditch witch with a 6″ wide trencher, we dug the trenches. It is critical to lay out the trenching plan to avoid driving over trenches and collapsing the sides. It is also critical to use string lines and exact measurements on the form boards to insure your trenches are placed in the proper locations. We further used intersecting string lines (again with exact measurements) to mark the locations of fixtures within the foundation. Failure to locate these exactly will result in toilets placed too close or too far from walls or waste and drain pipes that do not exit the foundation in the center of a wall. This is extremely critical; measurements should be taken multiple times, string lines placed and rechecked before and after placing fixture location.
A few things we learned…
To avoid leaks, you cannot kink pipes at intersections and no pressure can be placed on a fitting. Blue glue can help with sealing minor seapage during the pressure test (apply, let dry for 2 hrs; reapply), but will not stop a leak. A leak will require you to cut out the offending fitting and replace. (Don’t ask how we know this — ).
Make sure when you are building your fittings, make sure you don’t work yourself into a corner and find that you have two sections that need joining and no room to pull the lines together for the joint… leave yourself room for mating up different branches of the system by working in the best sequence to allow room to maneuver.
The good news was that, with a few changes, our rough-in plumbing inspection was a success. The local inspector came out and did the inspection with the water test yesterday. He complimented the work, but required us to make some changes on the design because we used the wrong code book. Apparently, the international standards (which we used) are not acceptable. The local inspectors use the universal standards, which required us to completely rip out the fittings for one of the bathrooms (and a couple of other individual fittings) and lay it out differently. Finding out this information in advance would have saved time and fittings…
After this final work to finish the changes, we’ll be able to cover the plumbing ditches and begin work on the rebar for the foundation. This makes us very happy.
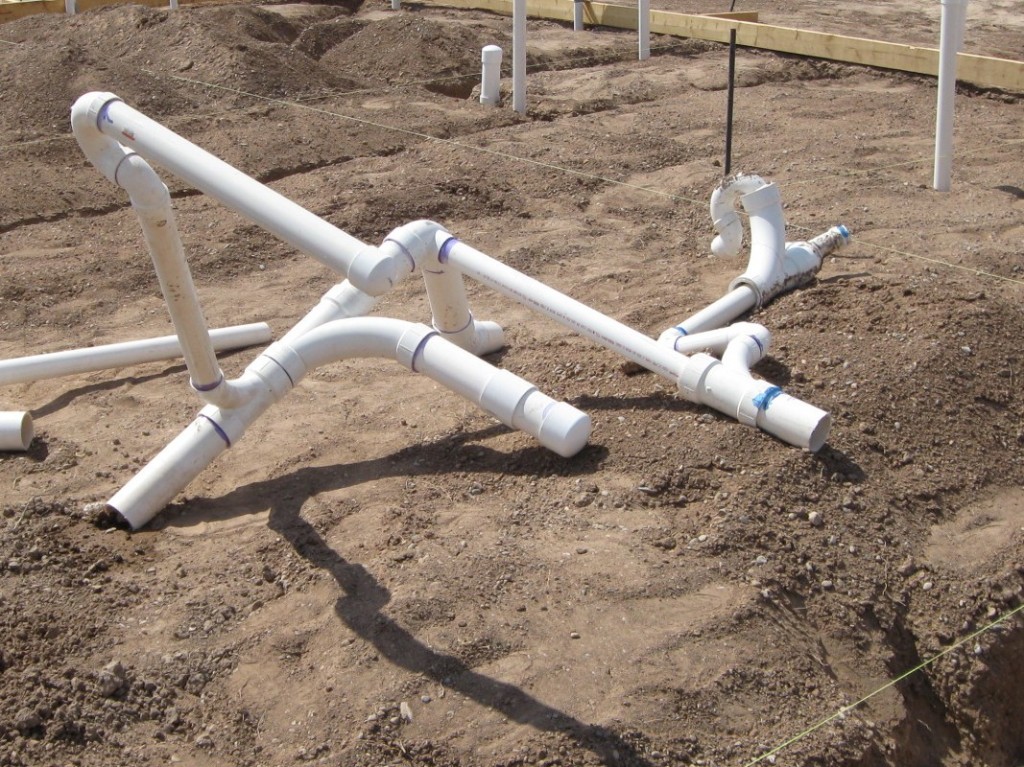
Constantly amazing–you’re right in the mistakes producing modern art—you should make a big rotating wind chime out of it…for the yard—
Warren
Good work!
TW
Knowing that schedule 40 PVC prices rise exponentially with increased pipe diameter, that is a pretty expensive piece of modern art too. heh
What I learned when running almost 400 feet of well lines, 1″ of electrical conduit and (future) related sanitary lines is that a couple of 8′ 2×6 boards on a garden cart makes for a terrific mobile-back-and-knee-saving-work-bench. 😉
I also was stunned when the well system held up to the pressure test the first time (not as stunned as my well pump guy though, he knew a financial guy was doing the plumbing work and was pretty certain he’d have to come back after a real plumber came in and fixed all my mistakes.)
As TW said, good work.