This week our windows arrived…all 23 of them. They ranged in size from 2’x3′ to 3’x6′. The larger sizes were very heavy. Installation was fairly straight forward. We reviewed several videos and how-to sites and reviewed the material from a few books we have. 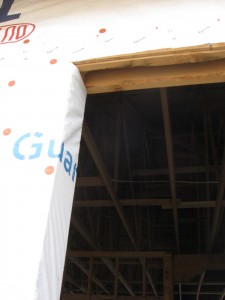
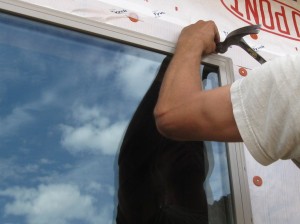
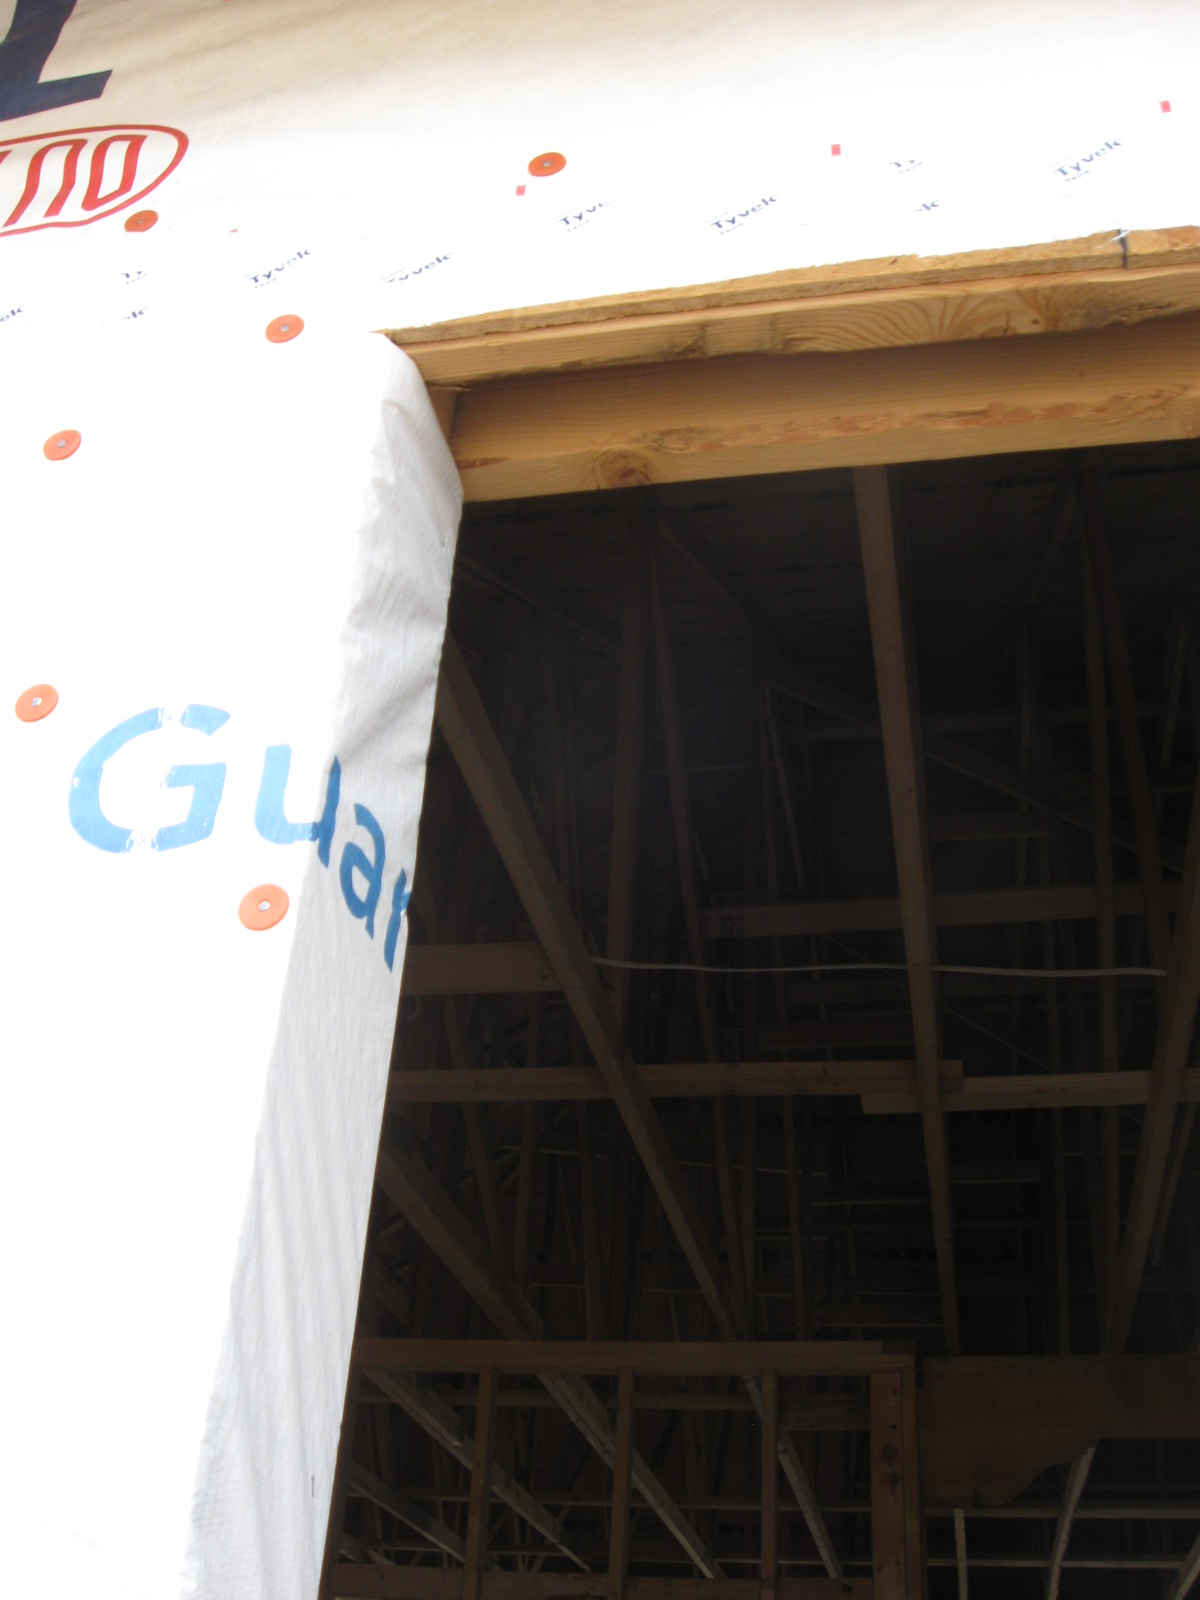
We prepped the openings by cutting the house wrap. The cut was horizontal at the top of the window, vertical in the middle and ending in an inverted “Y” at the bottom. Each of the flaps were pulled into the window opening and stapled on the inside of the frame. Excess material was cut off.
Next we installed a bottom ledge moisture barrier using 6″ wide butyl rubber tape. The tape is installed over the outside lip of the lower window opening. We used a blow dryer to heat the tape and pull it nicely around the lower corner to form 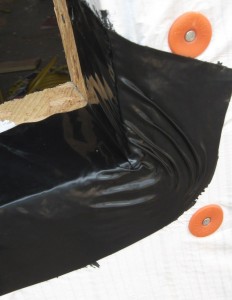 a water tight barrier.
The window openings were caulked top and sides. Bottom is left uncaulked to allow any moisture to drain down.
We installed the window in the rough opening, ensuring it was roughly centered from the inside. We checked level, using shims on the bottom to make adjustments. The window was then nailed in place at two points and checked again for plumb and level.
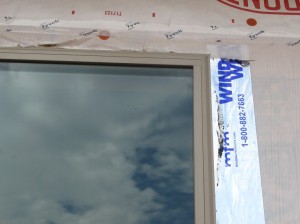
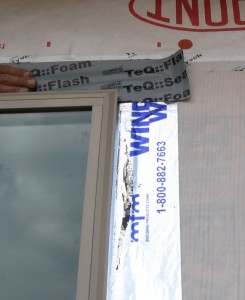
One the window was level, we nailed it home. It was then sealed by putting window wrap tape first on the bottom edge, then on the sides and finally on the top.