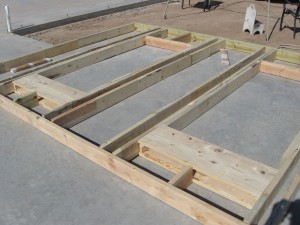
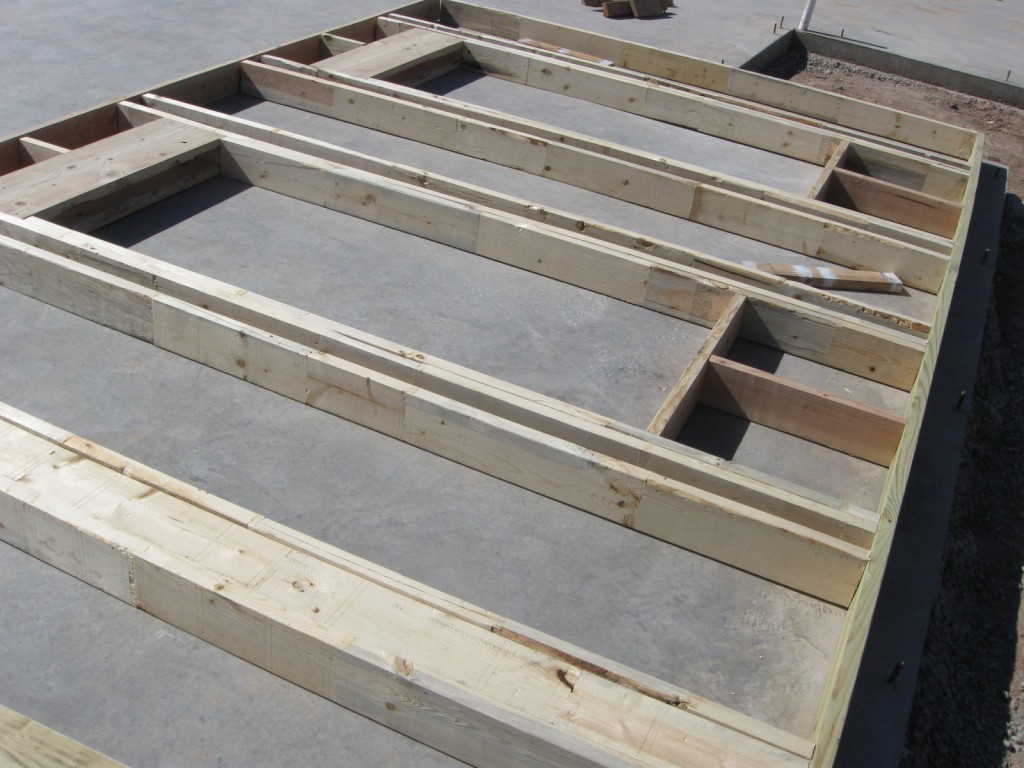
With quotes as high as $14,500 to frame the house (excluding lumber and material and we already have the roof trusses orderd and paid for) we decided to frame the first floor ourselves. Depending on how it goes we are looking at using a sub-contractor to set the trusses, frame out the room above the garage and add roof sheathing. Rather than using hammer and nails we decided to purchase a framing gun. I purchased a low-end Porter and Cable 30degree framing nail gun. The old compressor I had just was not up to the task so I also purchased a 10 gal. compressor. Granted, these are costs for things I may not use often, but with the massive savings from DYI, we will be well under budget.
We spent the better part of the morning poring over different framing books again to get it right. I drafted a diagram for laying out the different types of windows and doors with measurements for all the studs, jack studs, cripple studs and sill plates. Since the types of windows are few, most of the rough openings will be similar. We are following standard convention for laying out the top and bottom plates, and marking openings and stud positions. By laying out the top and bottom plates at the same time, we will make fewer mistakes. We are using 116 5/8″ wall studs to frame a 10′ ceiling height. These arrived pre-cut and will save much time for us. All we have to do is layout the plates,cut jack and cripple studs, cut headers and nail it all together. Once we got our stuff all in one bag and actually started the layout, it went rather quickly, except for the “new” compressor which does not work automatically. When the pressure drops below the dialed setting, it is supposed to kick on and bring the pressure back up. It would not do so, so I have to take it back. It slowed our progress so we did not actually finish the first wall. The enclosed images show our progress. Once we have our equipment working, we should be able to make rapid progress.

I’ve said it before but once again you guys are truly amazing!
You are too kind! Come out sometime and take a look…