I have been invited to be a guest contributor at the Brink of Freedom blog. I submitted my first article there. Please check it out if you have time.
Brink of Freedom Blog
… starting a new phase of life.


I have been invited to be a guest contributor at the Brink of Freedom blog. I submitted my first article there. Please check it out if you have time.
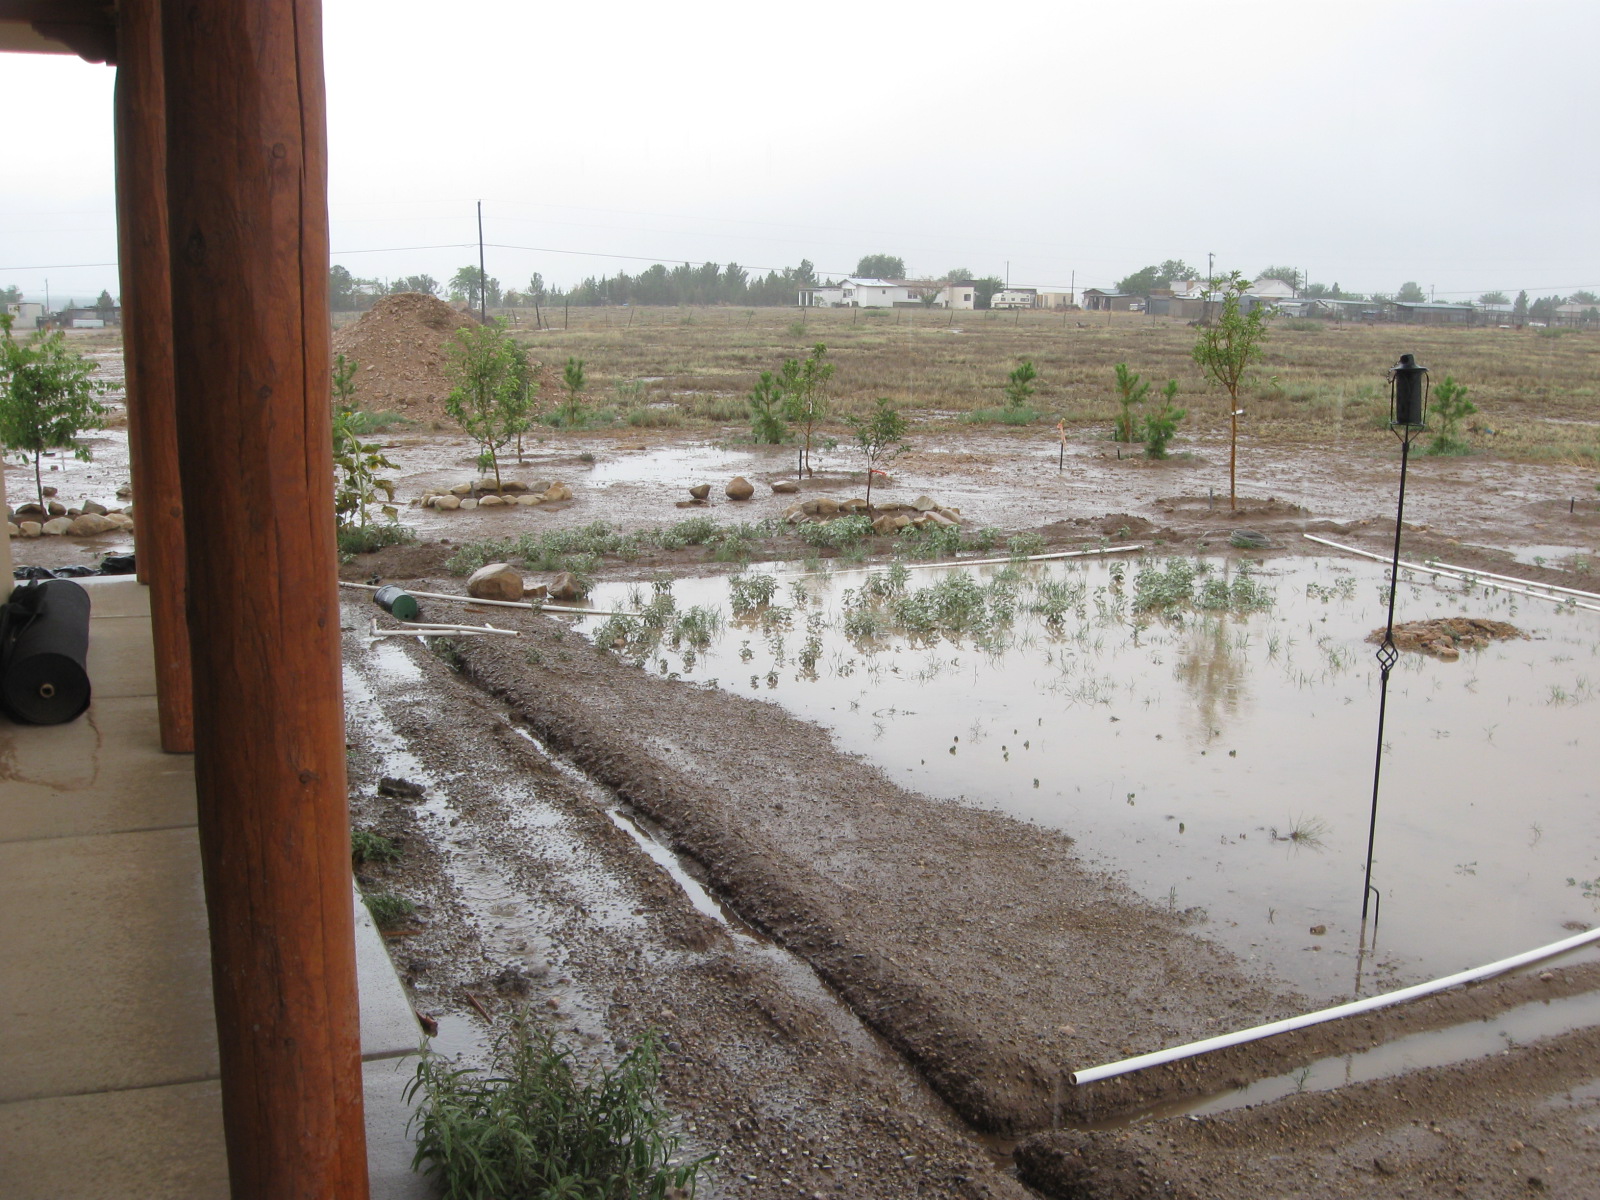
I cannot believe it has been more than a month since I posted an update… suffice it to say that we have not stopped working and been laying about!
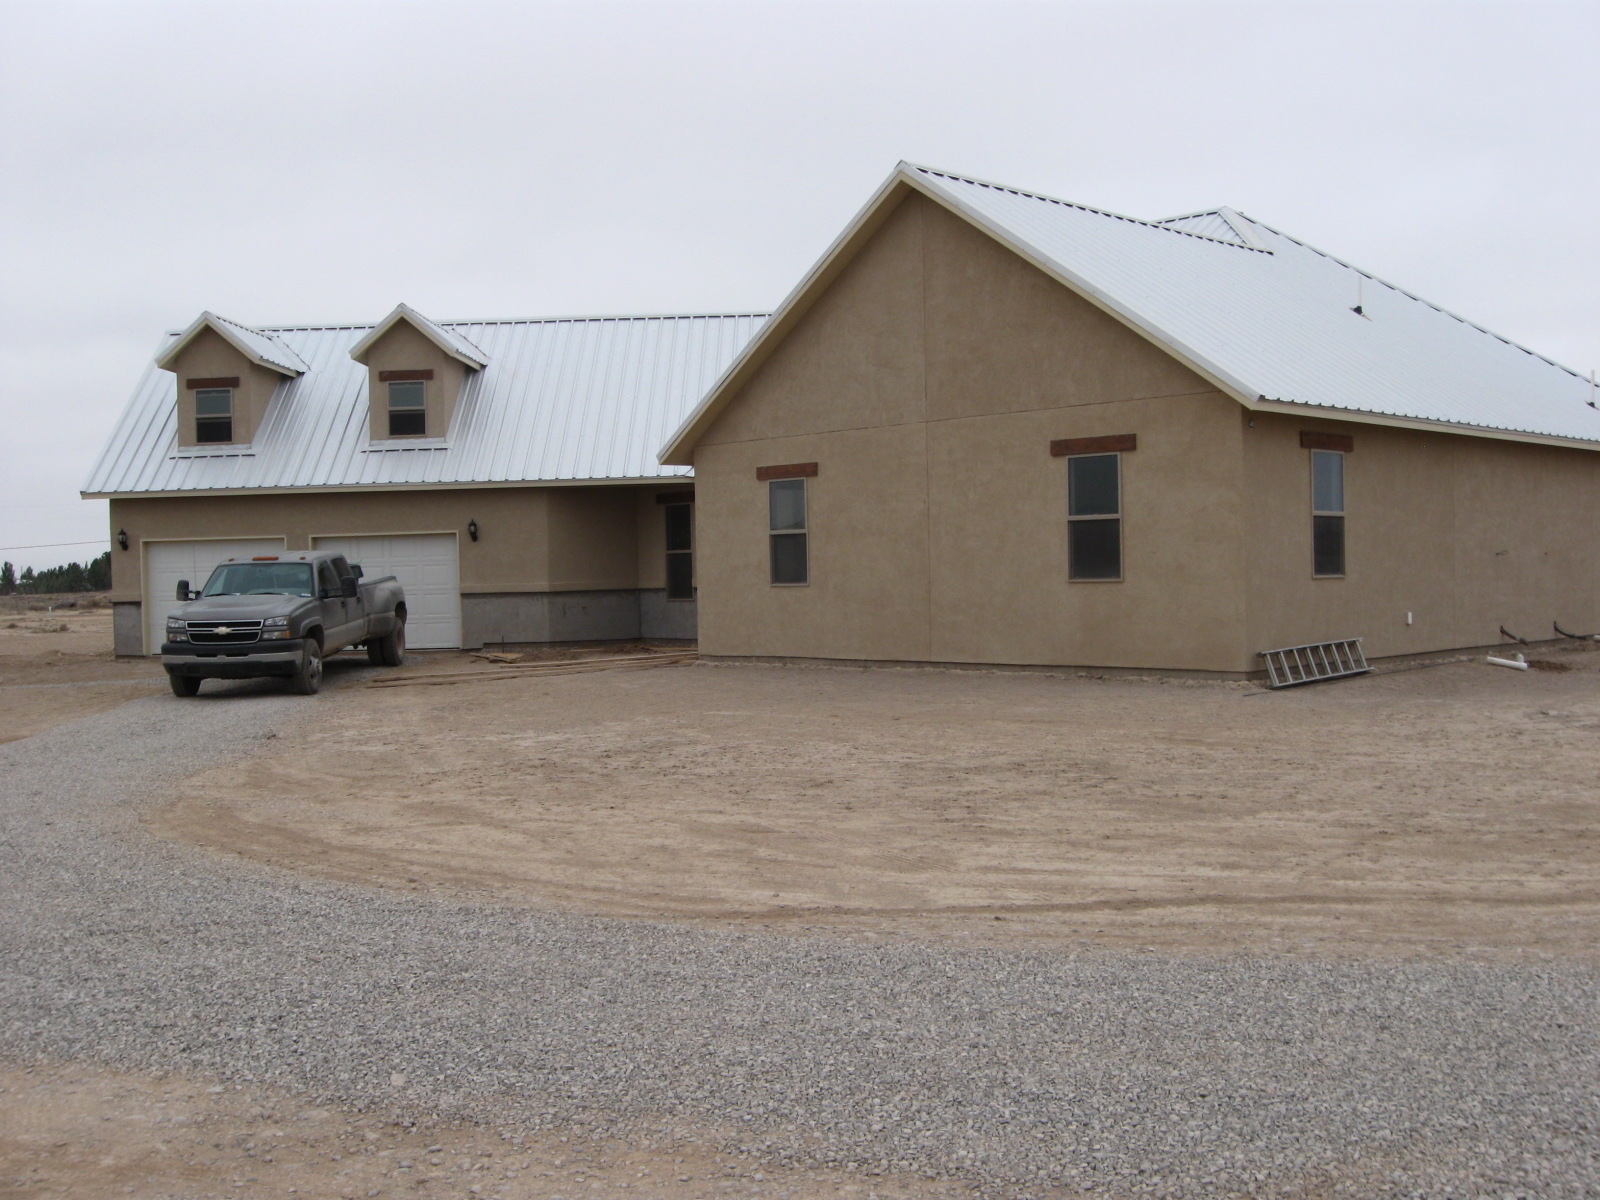
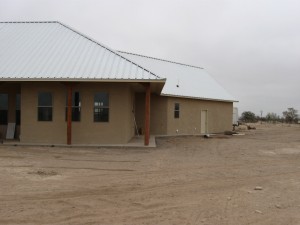
In the past month, the exterior of the house has been almost finished, including:
Stucco
Caulking and Painting Exterior Trim (soffits and fascia)
Exterior Door installation
Chimney
Roofing
Installation of Garage Doors
Gravel placed on drive and on road
Exterior Light fixture installation
We hired a subcontractor for the stucco. While they worked on stucco, I kept up (barely) with painting and caulking all the soffits and fascia. We used the elastomeric stucco that is well-suited to our dry climate. I know that in some parts of the country the tight seal the synthetic stucco provides brings potential problems. Here in the dry southwest, it works very well.
We did our own installation of all doors, including the garage doors. This allowed us to secure the house while we are away from home and also cuts down on the dust and dirt inside. Since the garage doors were installed, we were able to move all the tools and building materials over to the new house garage and give ourselves a bit more space in the workshop. Exterior light fixtures have also been put into place.
The roof is a metal roof, installed by a local contractor. We chose a somewhat unusual color — simple galvalume. The reasons we decided on that color are that 1) the unpainted metal surface has the highest reflectivity of any of the metal roof materials, and 2) it is also the least expensive. We think it goes well with the territorial-style of our home and will last virtually forever. Low maintenance, baby.
Finally, as the winter weather approaches, we put down a layer of gravel on our formerly dirt road. During the driest parts of the summer, the caliche in the area causes the dust to build up several inches deep on the road. Driving on our road at that time raises a veritable cloud of dust. The roads are also very nearly impassable after heavy rains. So… laying several inches of gravel has vastly improved the road. Heck, I may even wash the car…
See some photos of the exterior: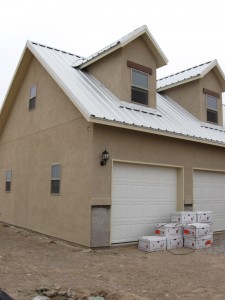
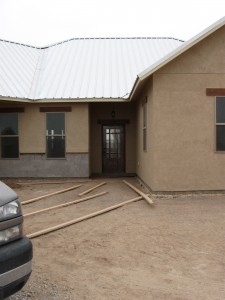
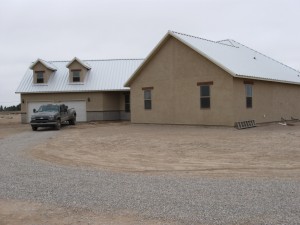
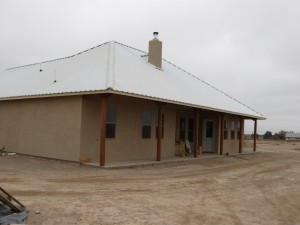

 Our big plans to start an early framing day have been greeted by rain! It rained a bit several hours ago (very, very early this morning), after which it stopped for awhile, giving us false hope. It has begun drizzling again, so prospects for moving all the power tools out onto the wet work area are looking less likely. We’re keeping our fingers crossed that we don’t lose an entire day.
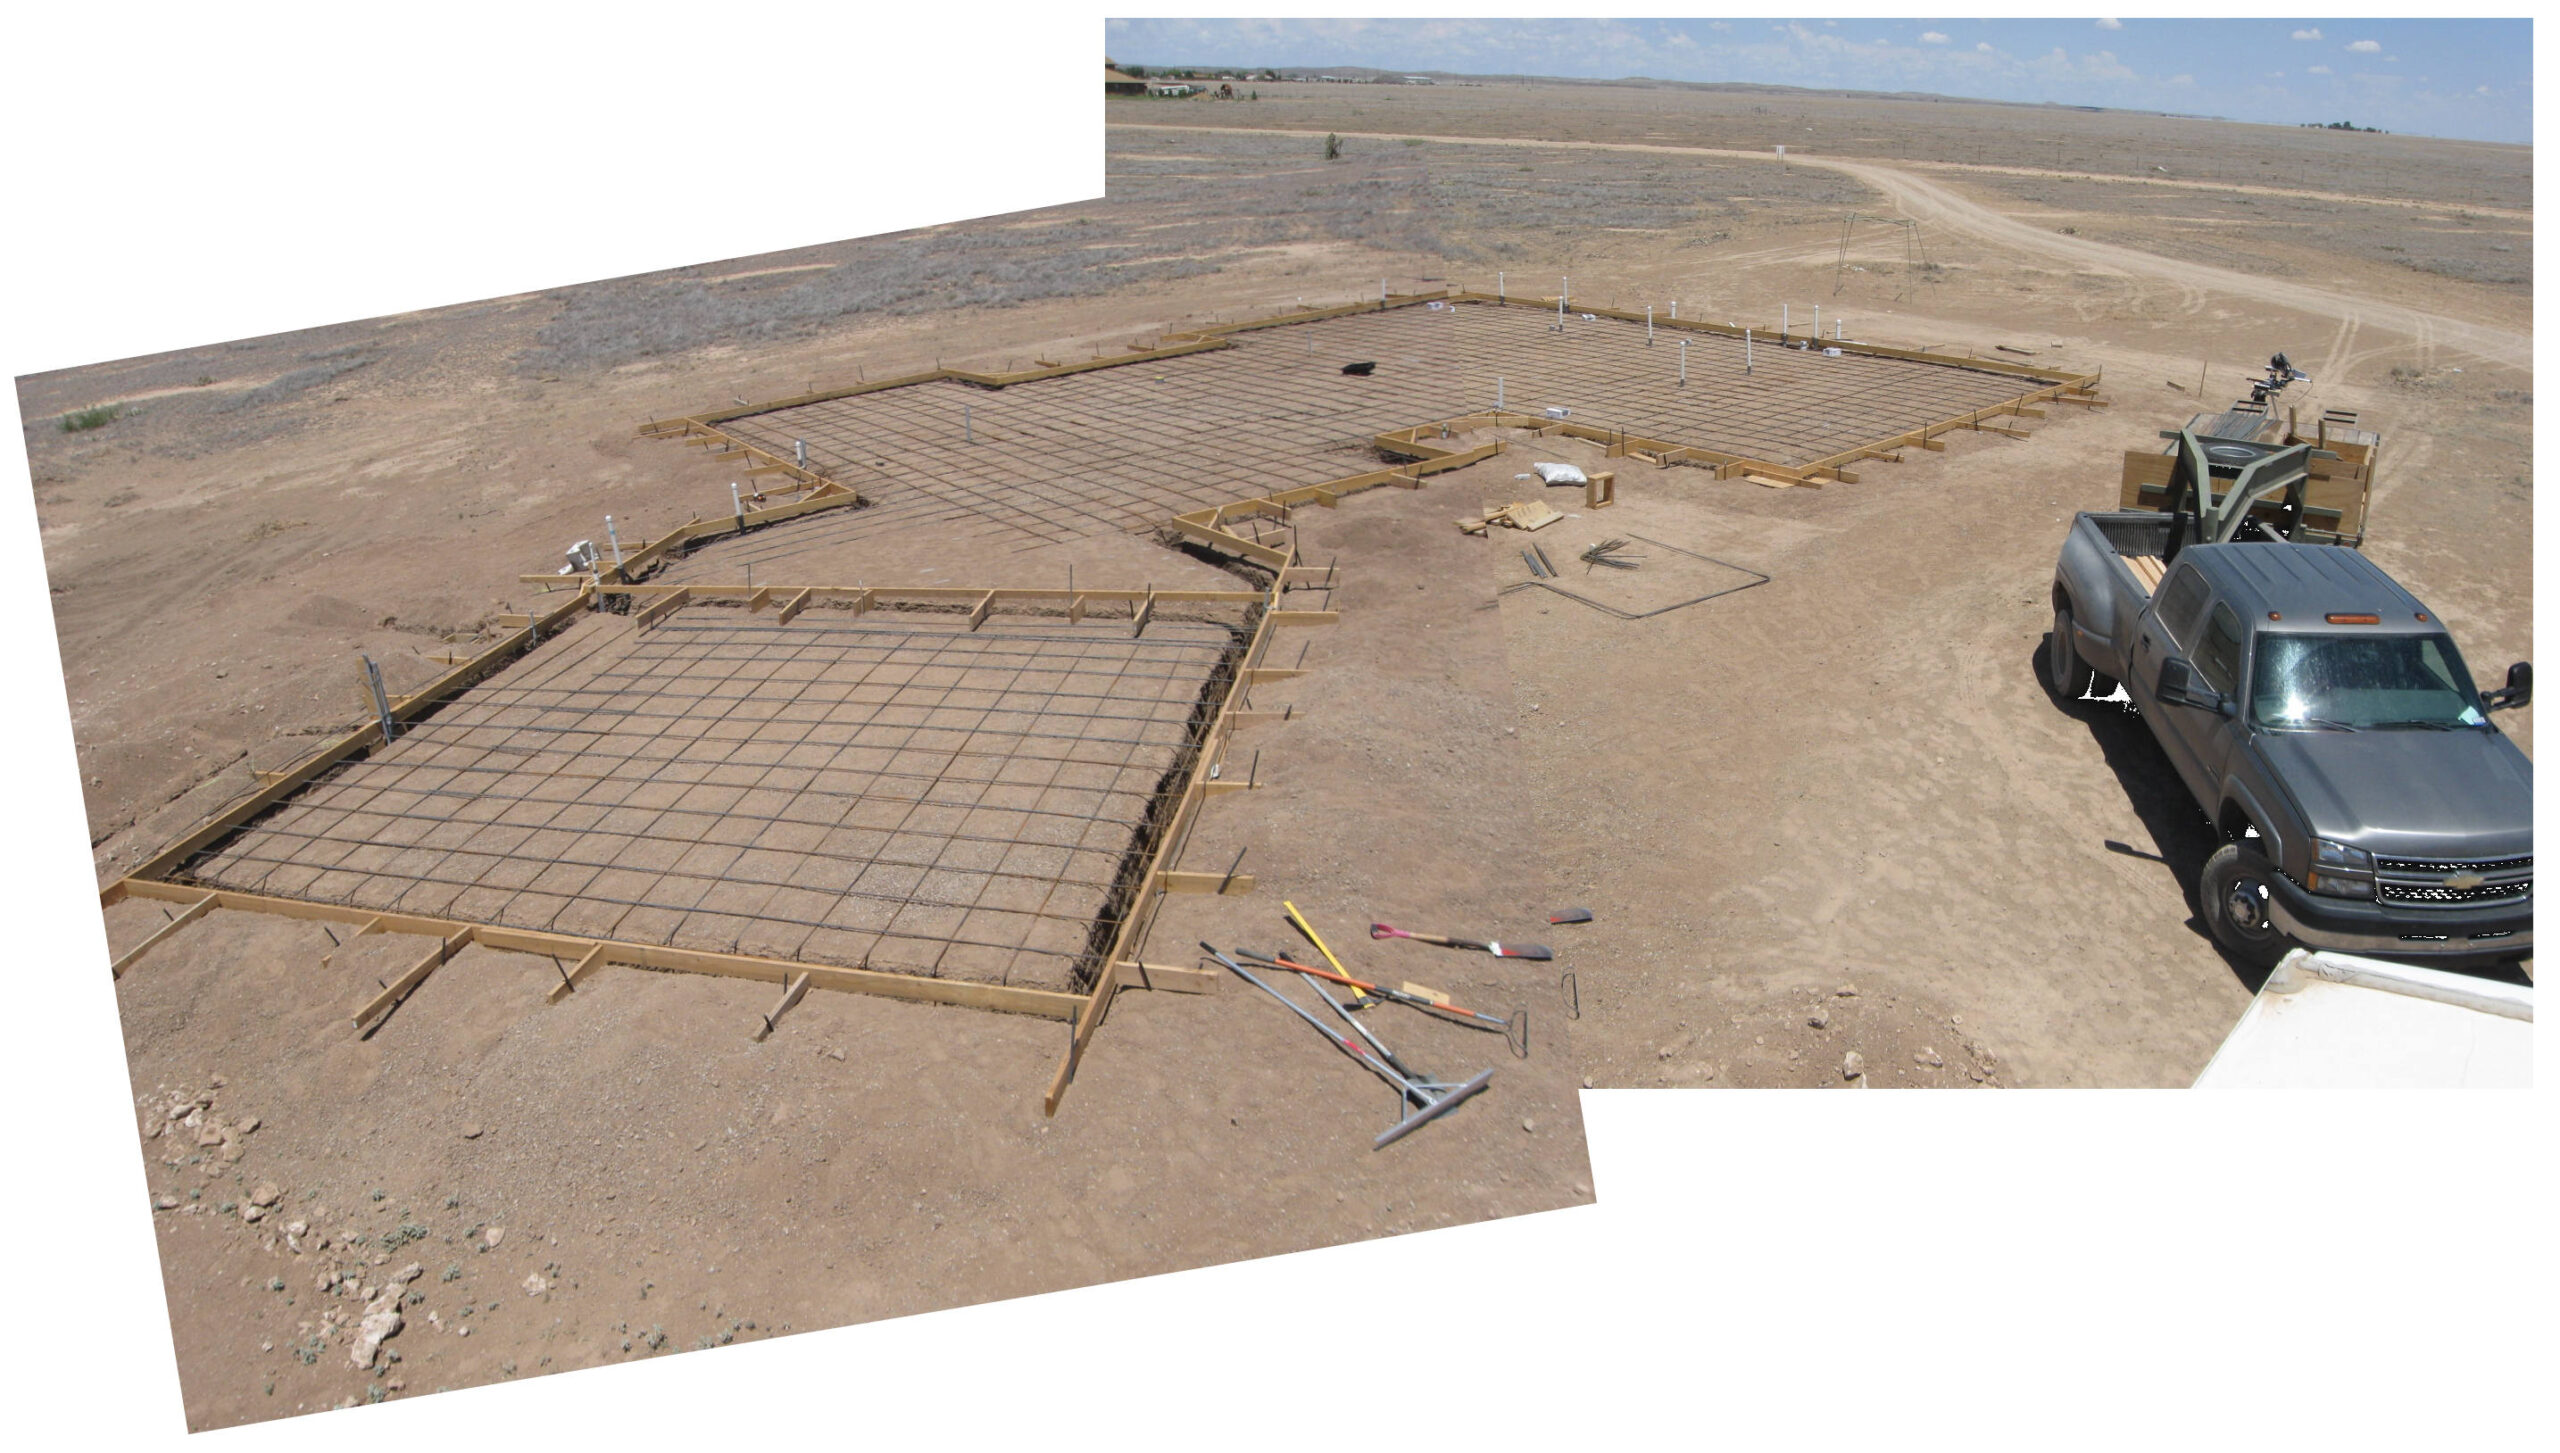
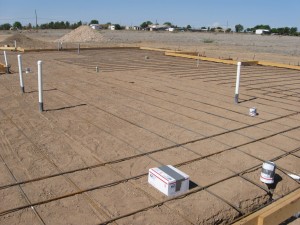
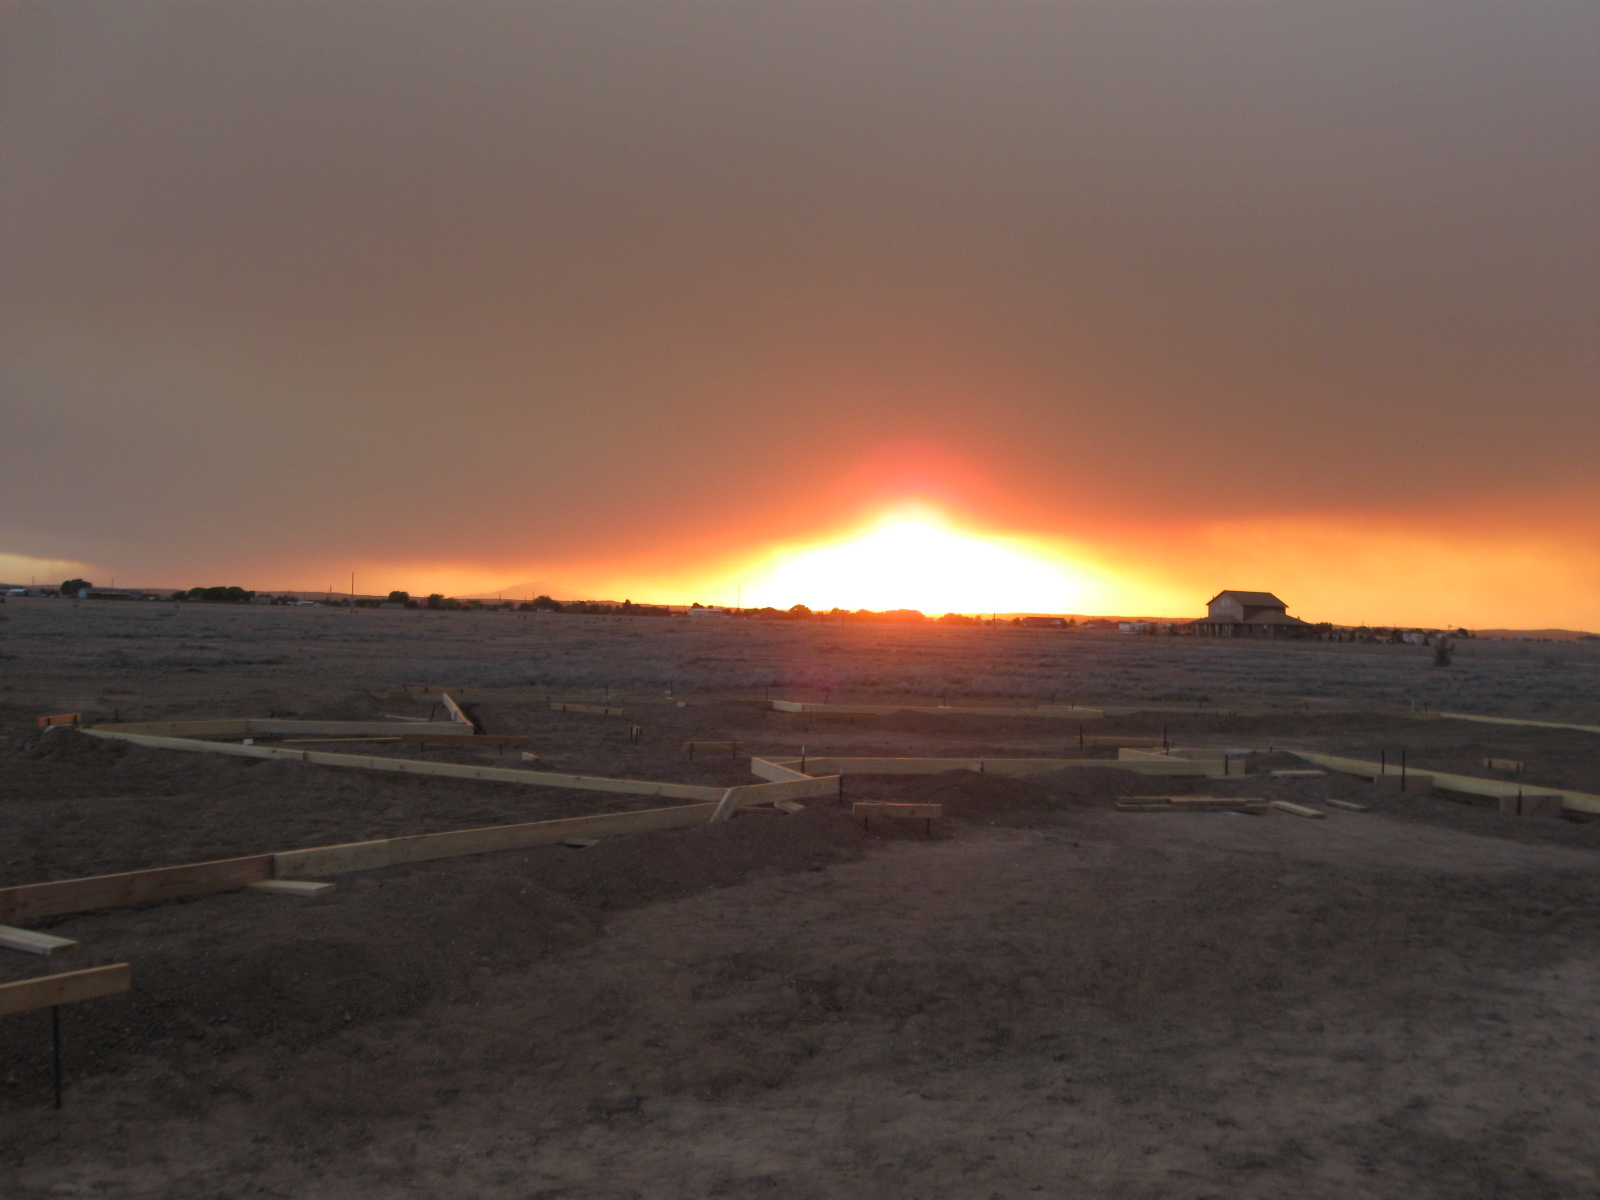
Since we are doing all the prep work ourselves for the slab foundation, we also did the installation of the rebar for the foundation. We did get some help from a couple of local construction workers who worked with us for an hourly wage. That helped a great deal and made the work go much more quickly. The entire family did learn how to wire rebar and how to insert support rebar for the footers. Here are a few photos of the process:


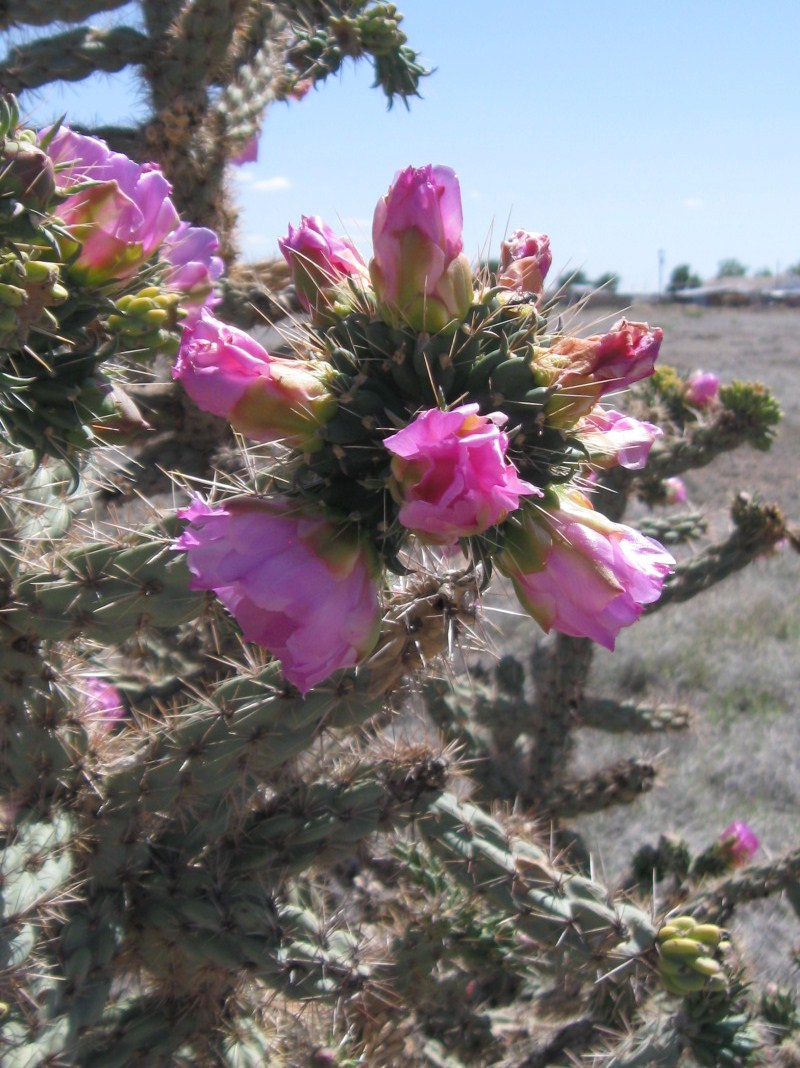
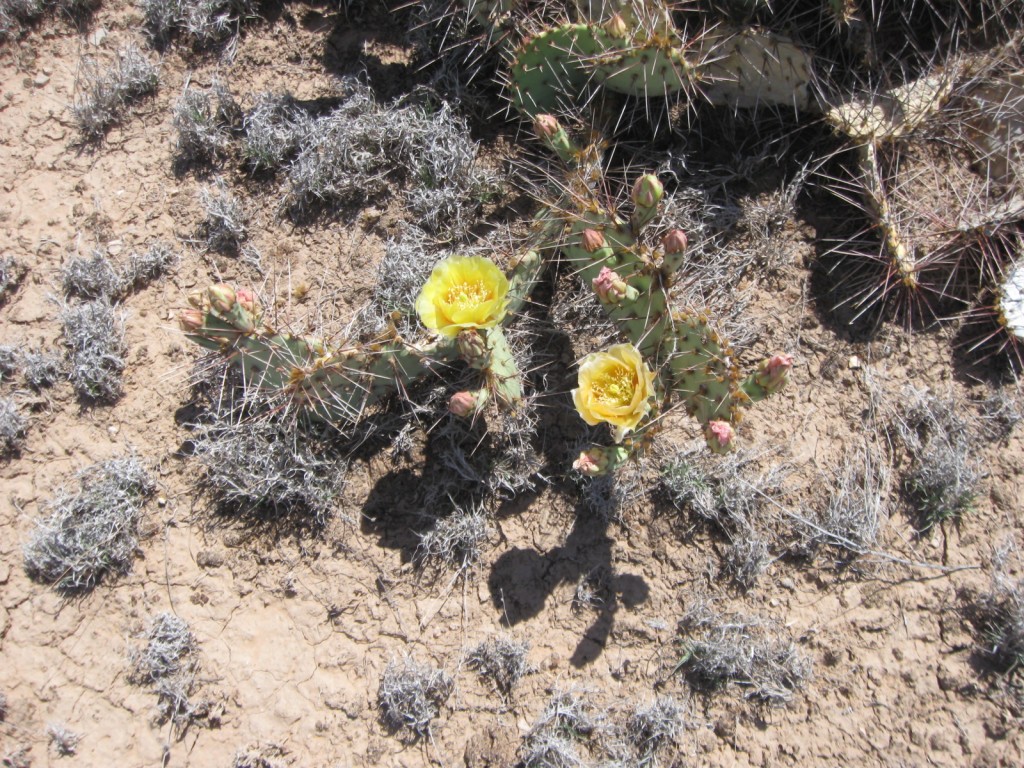
We had a wonderful week of rain here in the dry southeastern New Mexico desert. Because of the dirt road in front of our property, we tried to minimize the driving we did when the weather was so wet, but welcomed the wonderful smell of the rain and much-needed moisture. It came just in time to give additional water to our newly-transplanted pecan trees, as well as the native cacti on the property. Here are photos of the blooms that came soon after the rain:
The prickly pears look like they’ll be producing fruit, so maybe I’ll try my hand at prickly pear jelly after they ripen…
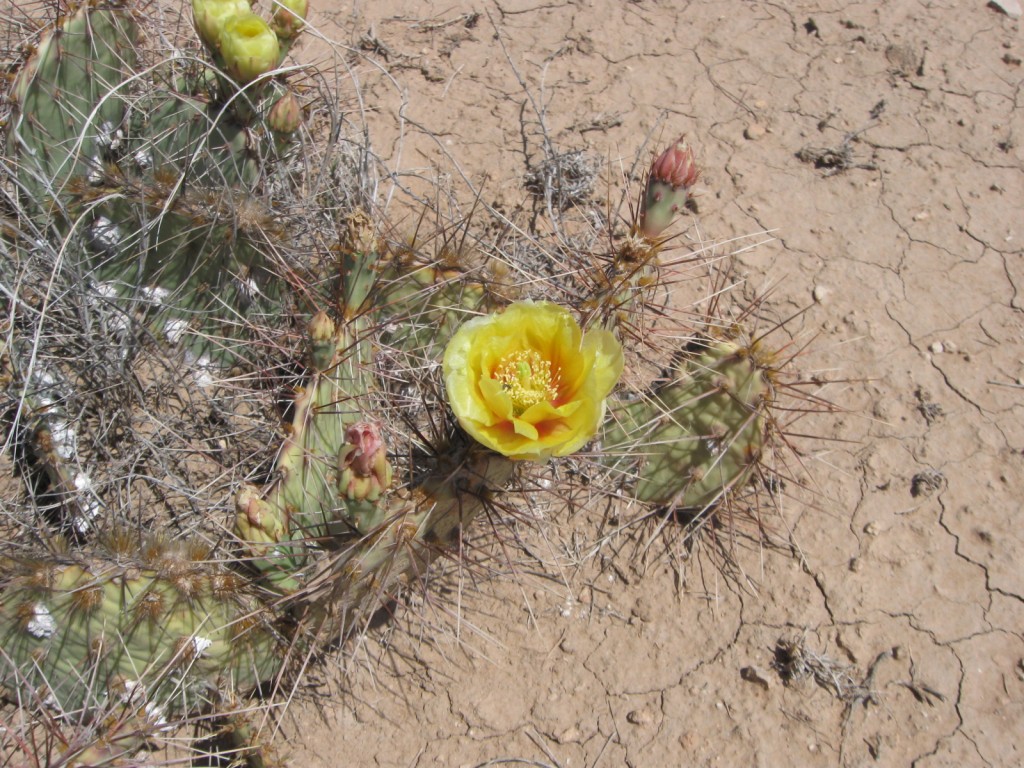
When we lived in the Ft. Worth area, I also had the chance to taste nopalitos (strips of the green cactus are made from the flat ‘leaves’ of the prickly pear cactus and steamed or boiled and served as a vegetable or an ingredient in burritos). Perhaps I’ll don gardening gloves and try removing the sharp prickles from them to make homegrown nopalitos sometime. I have to admit that our cactus is still not looking pretty enough to try this. Quite a bit more rain is needed, in my opinion.


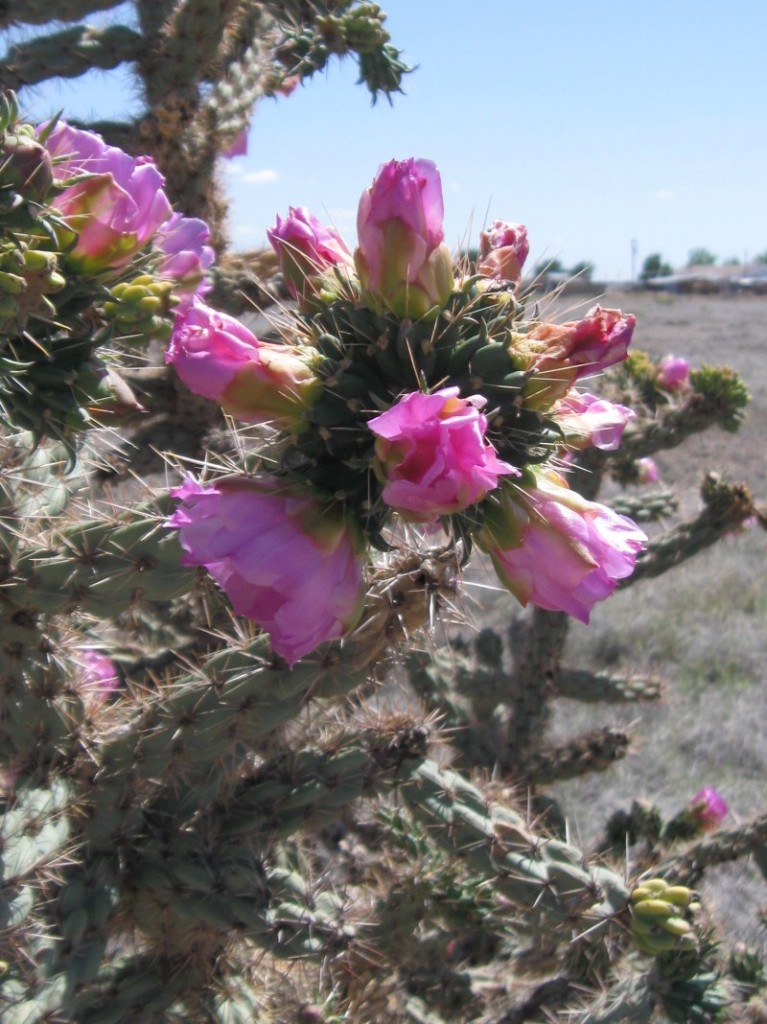
Especially pretty was the rather large chollo (cho-yoh) cactus with the lovely pink blossoms. As I approached to snap this photo, I began hearing the constant buzz of the happy bees, gathering nectar.
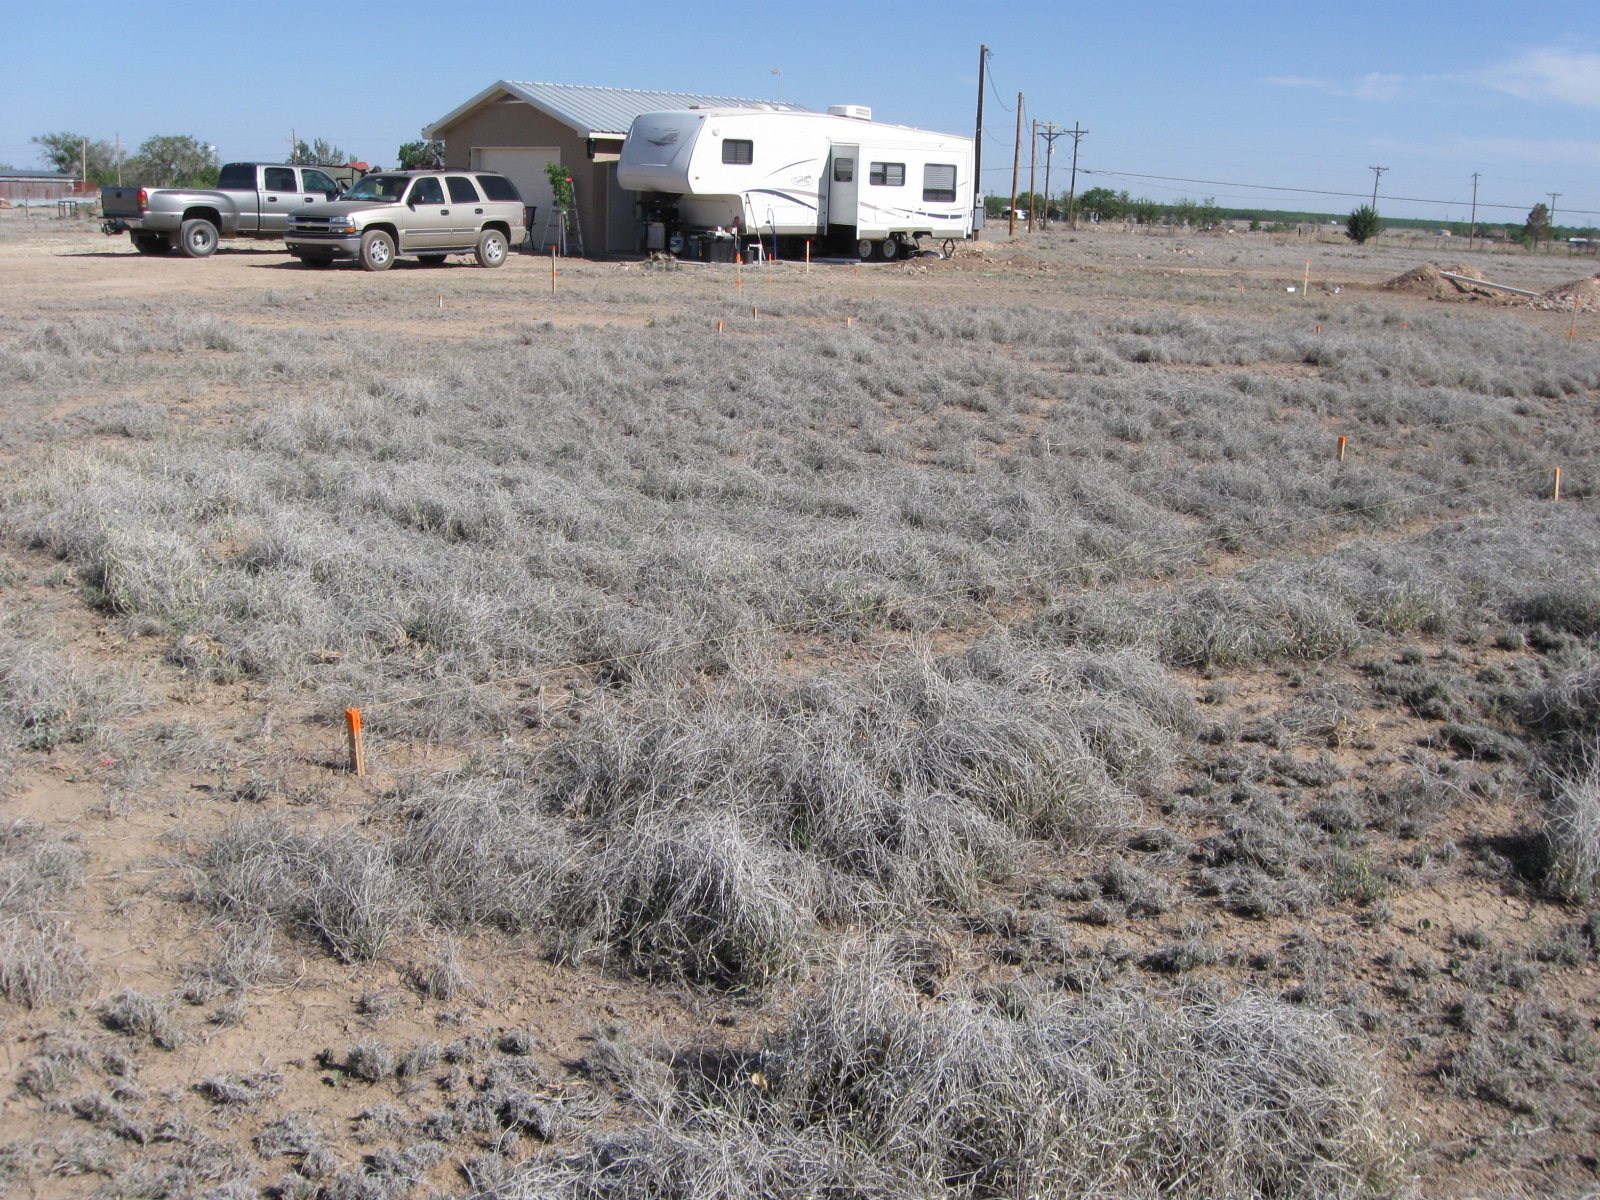
This next photo catches the faint distant view of Mount Capitan. Our back porch will face this direction, so we look forward to nice views once the house is complete.
Well… it has been a hectic month. We have driven over 4500 miles, criss-crossing the southern U.S., hauling our belongings, pets, kids and selves from Georgia to New Mexico.
The first leg of the trip began on Easter. After playing and directing the choir for Easter Sunday Mass, we loaded up the kids, dog and lizards into the two vehicles and started out. Behind the dually, we had the gooseneck trailer hitched (loaded with 2 bulldozers); the Tahoe pulled a rented U-Haul trailer with the WWII Harley WLA motorcycle strapped inside. We stopped in West Monroe, LA for the first night. 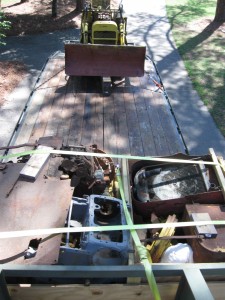
The next morning, we were able to stop for coffee and have a short visit with friends in Bossier City, LA (where we lived for a few years — two moves back). Then, we headed north to Okmulgee, OK to pick up the third bulldozer. {Let me tell you, this bulldozer collecting can become addictive}. 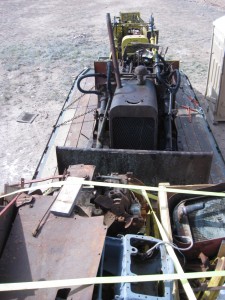
After stopping in Clinton, OK for the night, we made the final push into NM and onto the homestead on the 3rd day. We dropped off the gooseneck trailer with the bulldozers, quickly unloaded the motorcycle and boxes from the other trailer and turned the U-Haul trailer in. We were all very happy to see the progress that had been made on the workshop and seeing Mom and Dad, where we left kids, dog and lizards during the next part of the move.
After a short stay, DH and I loaded up on April 12th and drove the dually (with some bulldozer parts to be delivered to College Station, TX), continuing on to Beaumont, TX, where we stayed the night. The next day, we stopped off in Metairie, LA for lunch with friends (we used to live in Belle Chasse, LA before Katrina). Continuing on, we made Warner Robins that evening.
Saturday, April 14th, we picked up the 26′ U-Haul truck in preparation for the packing up of the rest of our stuff (we ended up needing an additional pull trailer to fit everything, as it turned out). It was a relatively relaxed weekend, spent packing up any last things, cleaning house and having dinner with friends on one evening.
Monday morning, the real work began. We had scheduled a 3-man crew to load the truck for us from a local company — ReadytoMove… well only two guys showed up, and one was apparently hungover and was nearly worthless. About 1/2 hour after their arrival, we was tossing his cookies in the front bushes and then made a mad dash for the bathroom…
Seeing the hours slipping away, DH and I got busy helping with the carrying, loading, etc. We got done in about 5 hours, sending them on their way. We were still very happy that we had help for the heavy stuff, but were less than impressed with the company, even though they didn’t charge us for the extra time.
We scrubbed down the quarters, passed our inspection early on Tuesday morning and hit the road.
It was an easy and uneventful drive across the southern states and into NM, with a pleasant stop on the way to see more friends in Azle, TX.
Arriving in NM, we had a 2-man crew to help with unloading (they were excellent and finished up in quick time — thanks to American Moving and Storage) Everything miraculously fit in the workshop… the RV was moved to the pad and hooked up with water and power… life is good.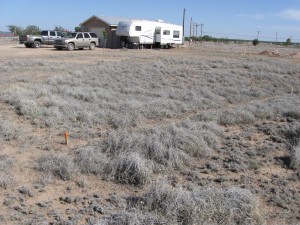
COST UPDATE: After talking with the driller, we found out that all the drillers in the region have a minimum fee for drilling that is about $2500. Apparently, even though it was not quoted to us, it is the going price for the work involved in hauling out all the equipment, setting up, etc. We are still thrilled with the fact that the well came in at only 40 feet, but would caution folks to ask what the minimum charge will be in a case of this sort so that they are not surprised.
Based on my research online, this seems to be quite a bit higher than some areas (it ended up being $62.50/foot). I don’t understand it, but based on the results we had of talking to several other drillers in the local area, it seems to be standard. Since we just had a well drilled in New Mexico not long before, in a similar situation and region, we were surprised.
I know in New Mexico the quote we received was done differently. The fixed costs were charged as separate line items (mobilization (if charged), gravel pack, cement surface seal (if required by state law), well cap, steel surface liner (if required due to formations), permit), and the cost per foot varied at a lower rate including drilling and casing. The cost for drilling and casing in NM was $21/foot, with the other costs being fixed. I think this is a much more fair way to quote without surprises.
In Colorado they all seem to quote at the standard $34-$36/foot, regardless of depth. They have a minimum which tends to make the break-even point at about 75 feet. After that depth, they make a lot of profit.
Example 1: Based on a 300 foot well:
NM rates for a 300 foot well:
Drilling/casing @ $21/foot $6300.00
Gravel pack, surface seal, cap, steel surface liner $797.50
Total cost: $7097.50 (not including tax)
Colorado rates: $34/foot including everything: $10,200.
Example 2: Based on a 40 foot well:
NM rates for a 40 foot well:
Drilling/casing @ $21/foot $840.00
Gravel pack, surface seal, cap, steel surface liner $797.50
Total cost: $1637.50 (not including tax)
Colorado rates: minimum charge: $2,500.
In both states, the permit charge was about $125 from the state.
Knowing what we do now, I’d probably ask for the quotation to be done differently for the Colorado well. (As they say, hindsight is 20/20). It appears to me that the Colorado drillers are overcharging a bit. (Or, at least, I haven’t been convinced that the pricing is fair). It does seem to be standard in the area so far. In all fairness, our driller wasn’t charging much more than the others in the region. He even matched the lowest minimum price for us.
The driller we worked with was Scott Heersink, out of Alamosa, Colorado.

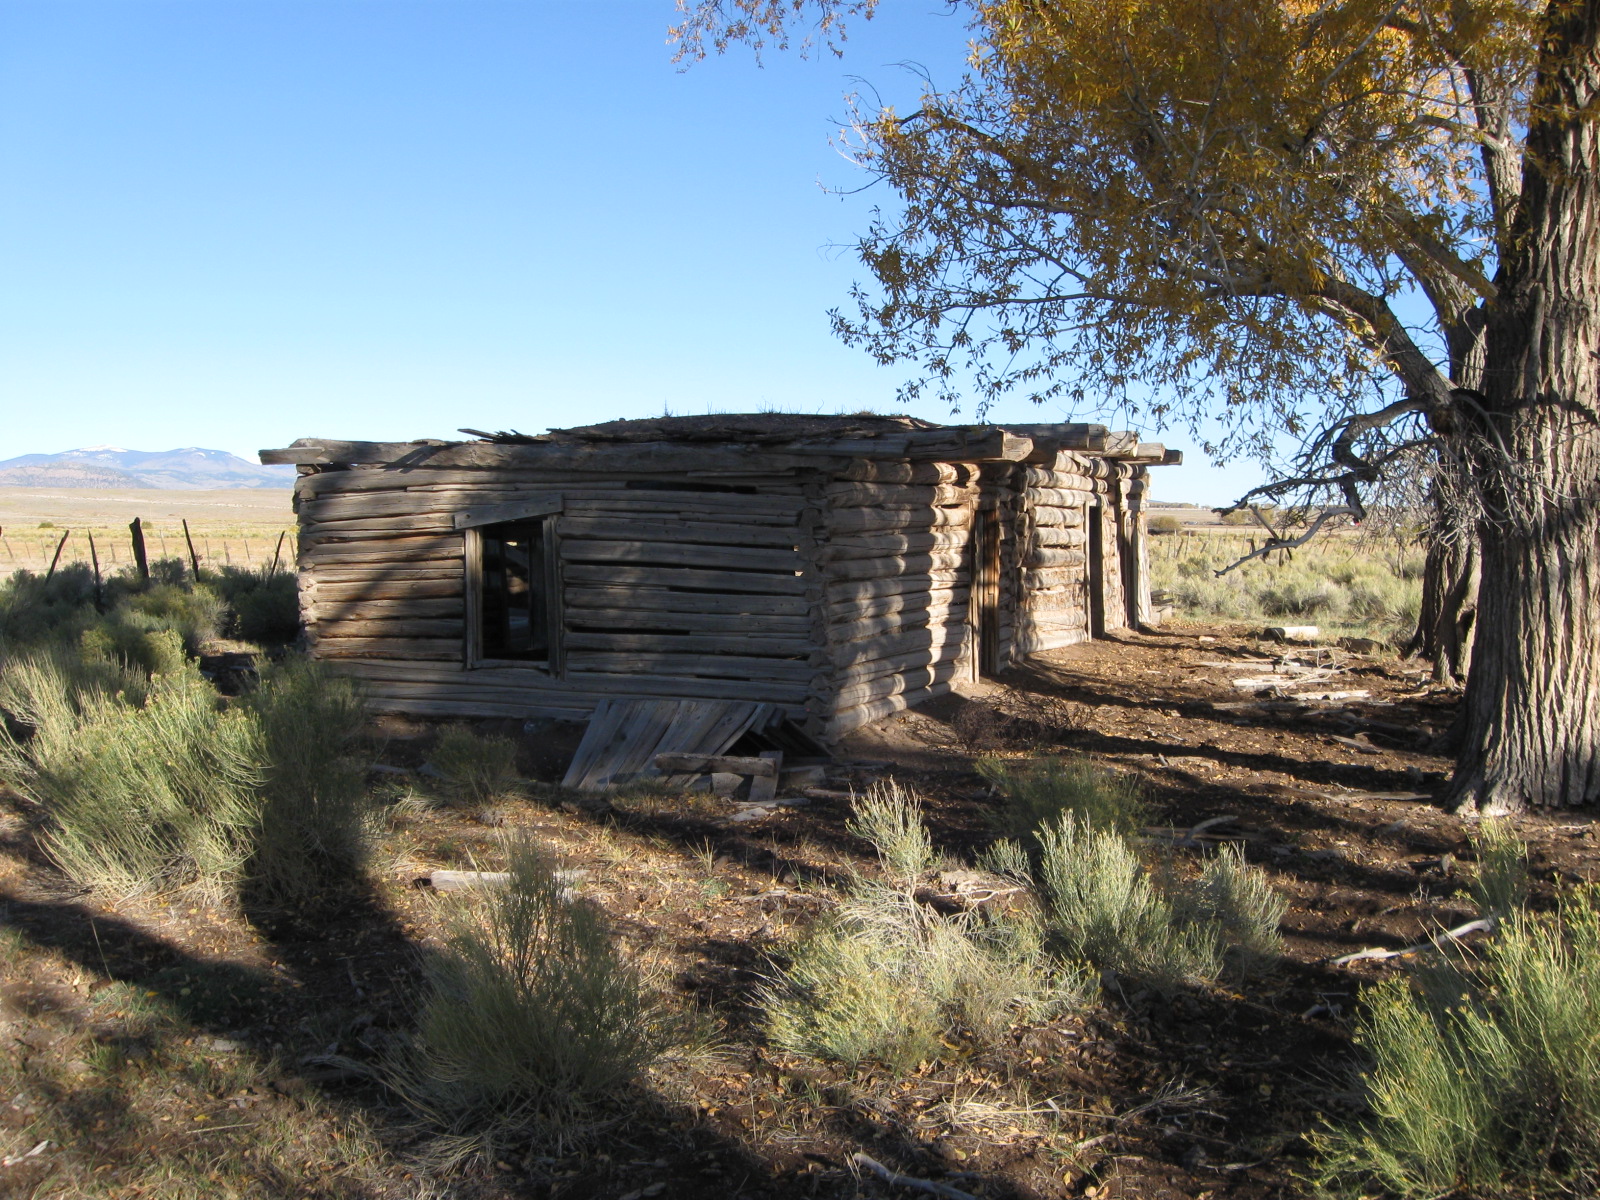
 We have thirty-five acres in southern Colorado, which we bought a couple of years ago. Some of the photos we have posted here on the site are from that land. It is absolutely beautiful and is where we plan to spend free time once we have finished building the homestead in southeastern NM.
The acreage in Colorado has a trout stream running through one corner of the property, so water was available already. However, when we bought the land, the previous owner had already applied for and been granted a homestead well permit for the property. We decided to go ahead and make use of the permit and get a well dug and capped for future building.
Obviously, we are not currently in urgent need of the well, so we told the well-digger to put us on his schedule when it worked best for him and sort of put it to the back of our minds.
This morning he called and told us the great news: We have a well!
Originally, when we talked to him about the job, he told us that other wells in the general area were drilled from 100-180 feet in depth to get a good supply of water, so we had prepared ourselves for that cost (hoping it wouldn’t go much more than 100 feet). At $36/foot for the drilling cost (not including a pump or any accessories — just the digging and capping) in the area, we were expecting a hefty bill to be due.
We got a wonderful surprise… the well only needed to be drilled to 40 feet in depth. He said the water level is only 8-10 feet below the surface, so we are very happy. Instead of a potential cost of $6480, we think the cost will be about $1440.
(with all the bulldozer purchases, we need all the savings we can get!)
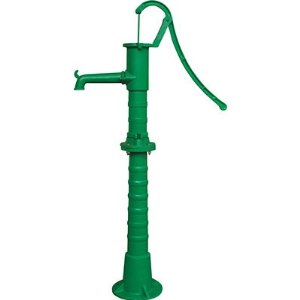
With only 40 feet in depth, we have a lot more options available to us on the type of pump we use. Even a hand pump (like the photo) would work for this well. We have a wide range of choices… manual pump ($99 – $1000, depending on quality and features — the Bison pumps are pricey), solar pump and tank (investigation still needed). We don’t plan to have the pump left on-site when we aren’t there for the time being. Too much temptation for a would-be pump thief.