Painting Like a Professional

Now that the entire house is primed, we are preparing for the rest of the paint project. However, here are a few tips about the priming phase:

1: Especially when using a big pump sprayer, you will want to dilute the paint a bit for priming. To do this, you need a couple of empty 5-gallon buckets (no problem, since we did our own mudding and taping). Using the buckets, you will add 2 gallons of water for each 5 gallon bucket of primer. You will pour the water and paint back and forth, mixing the paint and water until you get a uniform consistency. This is a traditional painter method called “boxing”. In the old days, when paint colors were not mixed so precisely as they are today, painters would do this with the paint to assure a uniform color when working on a job. It is still a useful technique for today’s equipment and products…

2. The primer needs to be backrolled for good coverage after spraying. We used a very large roller on a long pole to get this done efficiently. The roller costs about $20, but is worth it in the time saved. You can wrap it well in plastic if you need to pause between priming sessions. This big roller takes a lot of work to clean, so wrapping it is a welcome time-saver.

3. Another tip: Even if you are buying the plain white paint, have them mix it for you at the store before you buy it. Saves you the time of mixing and assures the complete and even mix you want.

4. Preparing for spraying the entire house. Obviously, all doors and windows must be well masked. We used a roll of painter’s plastic for all the big areas, including windows, doors, wood pillars, etc. We also used tar paper to cover the entire floor before we mudded and taped, so it was ready to go for painting. Since this was the priming phase, we used regular masking tape on windows, etc. For painted surfaces, use the blue tape later on; the regular masking tape can sometimes pull off the paint when you remove it. We used brown paper to mask all the electrical outlets, can lights, light boxes, vents, etc. This will lessen the cleanup later.
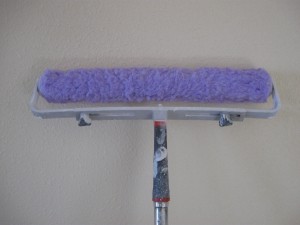
Large Paint Roller

Since we want our ceilings to remain white, instead of buying regular wall paint for the second coat – Behr’s Premium Plus ($125/5 gal), our painter friend recommended Behr’s primer ($50/5 gal) instead. He noted that Behr’s primer is not a completely flat white, but has a bit of sheen to it. He wouldn’t recommend this in areas likely to see high humidity (bathrooms), or kitchens or in homes with smokers. We decided to do this, since it looks great and will work fine in most of the house. Just a little note: Although they aren’t accustomed to doing it very often, primer paint can be tinted like any other paint. Our friend said that people have used primer paint (tinted to their color choice) for the entire house, walls and ceilings and had good results. It won’t hold up against heavy wear, so it would never work for us on the walls, but maybe for some folks.

Preparing for the Second Coat (color)

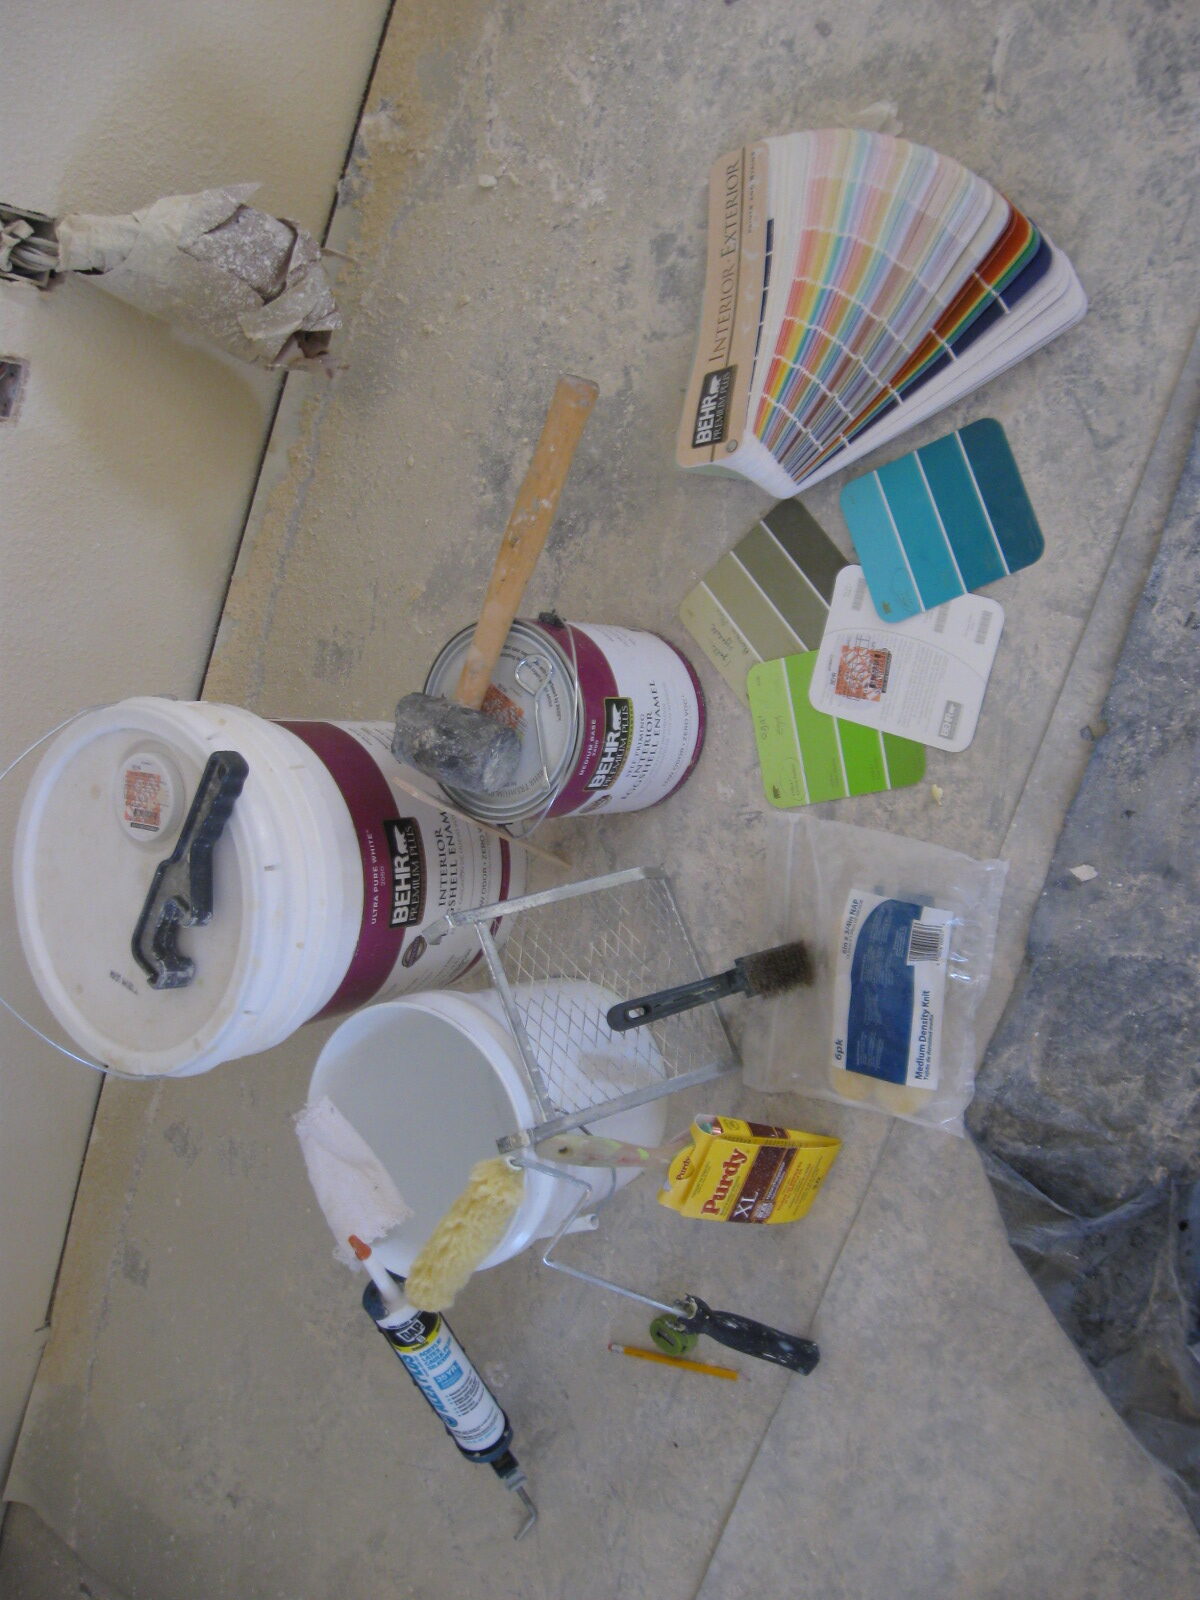
Getting all the equipment you need will help. Here is an array of the basics:
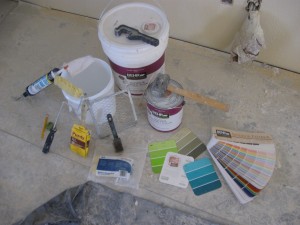
Getting Ready

You’ll need:

1. Good 3″ brushes for cutting in
2. A small wire brush to clean the brushes well between uses (this really helps get the brushes looking like new)
3. At least a couple of 2 gallon plastic buckets (sold in most hardware stores)
4. 2 gallon size bucket grids (or screens) to use with the 2 gallon buckets
5. 6″ mini rollers and roller frames (these fit well in the 2 gallon buckets)
6. Good pencils and sharpener
7. All purpose caulk
8. Painters’ cloths (for the caulking and for wiping drips or mistakes when painting — keep them moist)
9. Paint, stir sticks, openers, bucket opener for the 5 gallon buckets

Note: When you buy your tinted paint, ask for an extra printed label with the exact ratio of the tints needed for your paint. Stick it to the back of a color card and keep it in your records. If you ever need to buy more for touch up, etc., they will be able to match it exactly.

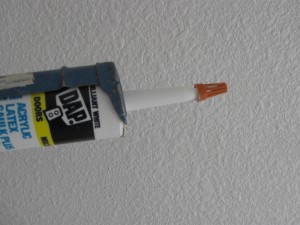
Cutting in: Recommended on seams between colors (like between a white ceiling and colored wall): run a bead of caulk to get a nice, clean line. No matter how precise you are with a brush, the raised surface of the texture keeps the line from looking completely straight without caulk. We tried it both ways. When I have a strong wall color, I found the caulking absolutely essential for a nice look. To keep your caulk from drying out between uses, a small electrical cap works very well.

Even for the main color, some thinning is a good idea. Rule of thumb: 3 quarts of water added to a 5 gallon bucket. A little less than 2 1/2 cups of water can be added to single gallon cans. I pour the gallon can into the 2 gallon plastic bucket, add the water to the paint can, close it up and shake it well to get as much paint mixed in as possible. Then, add the water mixture to the bucket and mix well, returning the diluted paint to the paint bucket after mixing.
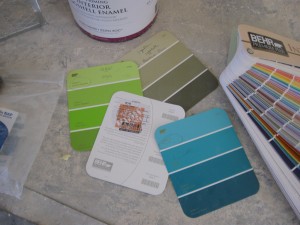
Keep records of your color choices
Keep the caulk fresh...

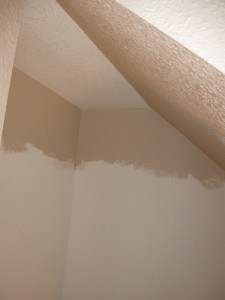
After the caulk has dried (about 2 hrs, in my experience), use a nice pencil to mark the corner line. Then, using a 3″ high quality paint brush (angled or flat as you prefer), cut in the paint along the line. Using a small roller, carry the color down about 1 foot from the ceiling to allow ease of spraying without risk of overspray.
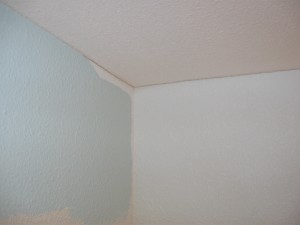
Pencil line on top of caulk... cutting in

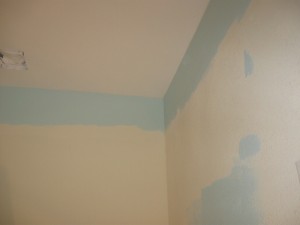
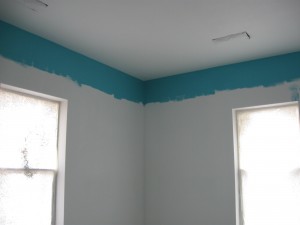
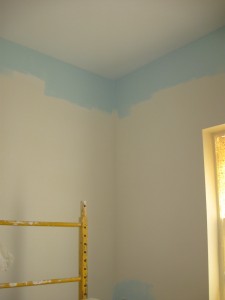
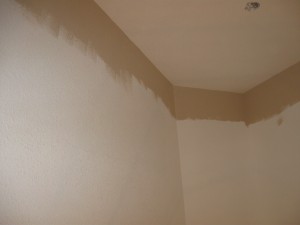
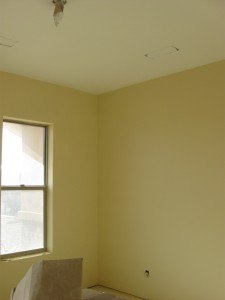
Here are a few photos of the cut-in walls, ready for spraying:
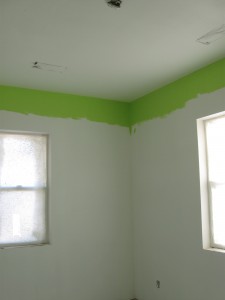
Green!!!
Powder bath
BLUE!!!
Laundry Room
Pantry
Under Stairs
Music Room

Home Mechanics – Making Your Own Metal Fuel Lines

More Clark Airborne Dozer Stuff:

Making Your Own Metal Fuel Lines Part 1


Metal Fuel Lines


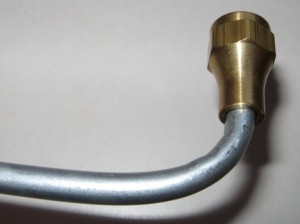
During the rebuild of the Clark Airborne Dozer it was apparent that the rubber fuel lines were not original to the vehicle. The TM (Technical Manual) for the dozer specified metal fuel lines. I am trying as much as possible to restore the vehicle back to how it would have looked when the Airborne Engineers used it in 1944-45. The TM has a few sketchy/grainy diagrams of the routing of the fuel lines from the carburetor to the fuel sediment bowl (also missing). The lines are depicted in the BW photos as a light colored material, so I am assuming they are steel fuel/brake line material common to the era. The fittings are also a light color material and are either brass or some other metal. Restorers like to see original items built for the particular vehicle and were packaged years ago but never opened (called NOS, New Old Stock). Since the company manufactured all of their own parts and most of the fittings in 1943-44, there’s not much NOS laying around.

I’ve decided to use steel fuel line and brass fittings for the rebuild, and I’m going to have to make them myself, since the prospects of finding NOS fuel lines and fittings is extremely low. I suppose if I did find them they would be outrageously expensive. As a comparison, I needed a small metal lever type switch for the lights. It’s essentially an on/off switch specifically made for the Clark Bulldozer. It was $71 on the internet, but more importantly, it was probably the only one listed for sale in the last 6 months!! Keeping costs down is another reason to do it myself.

Tube Bending

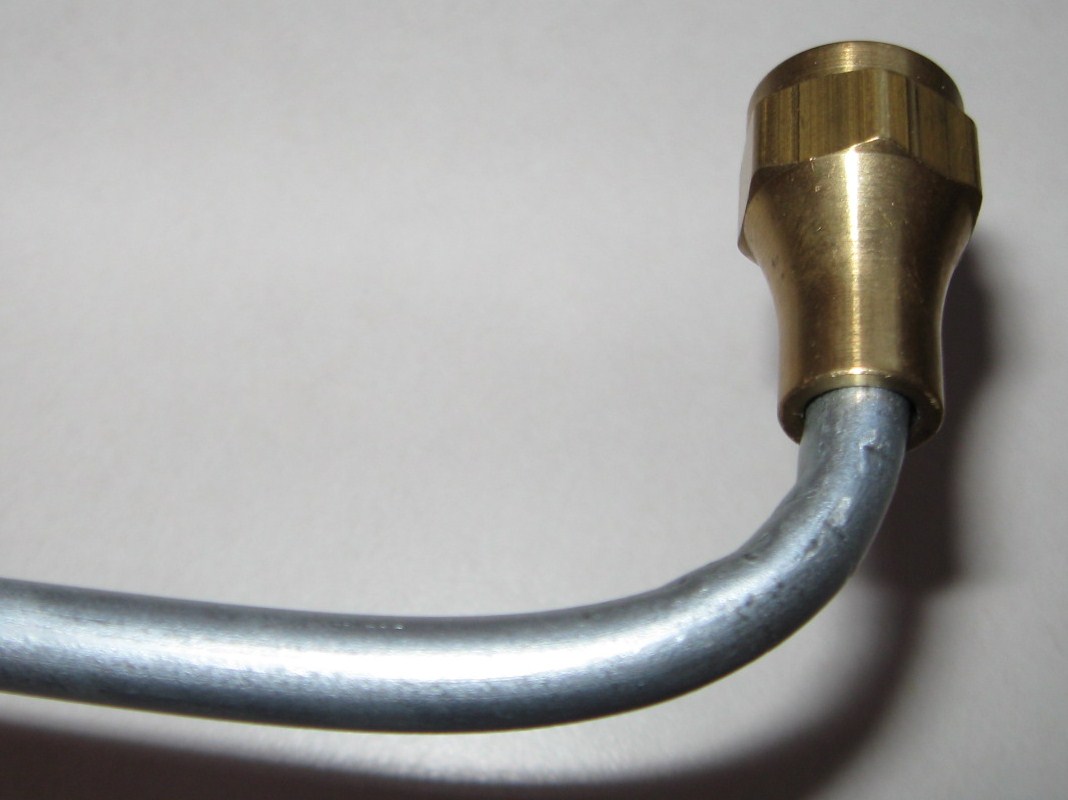
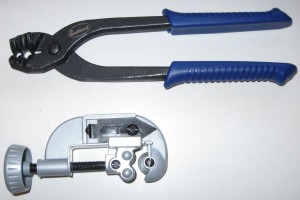
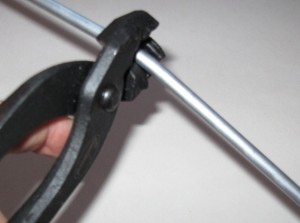
Following some basic research I settled on purchasing a hand-operated bending tool and a flaring tool. The bending tool is used to shape the metal line to the configuration needed. The TM shows a few bends and curves in the line, so I want to match those as close as possible. The hand-held tool that I have is essentially a set of pliers which grasps the fuel line for bending. The channel of the pliers has a groove which matches the diameter of the line. The channel is angled so as to create a supporting platform to “mold” the bend without kinking the line. It distributes the bending force equally along the side walls of the line so that it resists kinking. It is quite simple to make rather complex bends of varying angles and radius with the simple tool.

The particular model that I chose is easy to use, but it has one flaw. The “closure” that holds the tube firmly in place as you exert the pressure is made with a sharp edge and as it grips the tube it leaves a bit of a crimp/kink in the line which I do not like. It is essentially not a clean bend. There are other designs of hand held bending tools which may do a better job than the one I purchased. I assume that other types would not leave the tell-tale “crimp” marks as does the tool I purchased. The downside of that I think would be the bend is limited to a radius which matched the size of the bending wheel. Some of the models are relatively cheap, and there are more complex ones available that probably produce superior results. If I were going to bend a few thousand yards of line, I’d probably upgrade mine. For the simple jobs I have to do I am relatively happy with the results. I purchased my tools from Eastwood Company. The shipping was fast, price reasonable and the tool worked as advertised with the exception of the minor crimp marks which may be operator error: http://www.eastwood.com. I would recommend the following procedure for the type of pliers I used:
1. If you have an existing pattern, you can lay your straight tube alongside the bend pattern and make marks with a sharpie where you need to bend. With no pattern, you can eyeball the bends needed by taking a coat hanger and bending it “on-site” to match the bends you need with your tube. Use the actual components on the vehicle, bending the coat hanger by hand from the carburetor to the fuel sediment bowl in whatever configuration you need to fit the line. The coat hanger will bend easily and you will not need any tools. From this you have your pattern.
2. Place the tube in the pliers with the gripping orifice at the point where you want the bend to start, and the tube extending out along the angled channel.
3. Gently apply pressure on the piece of the tube that hangs out from the pliers along the pre-formed channels of the pliers. This will begin the bend at the prescribed angle.
4. You may need to move the pliers along the tube in the direction of the bend if you are making a more radical bend that is a tighter radius and more degrees of bend. This will prevent the line from kinking over.
5. With every minor bend, continue to compare your work to the pattern you made until the radius and angle of the bend match closely.
6. Once the tube has been bent to the prescribed configuration you can cut it to length with a standard pipe cutter, and then make the flares which will be discussed in part 2.

Cutting Tool

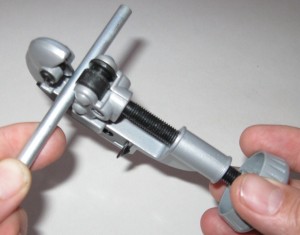
Using the cutting tool is quite simple. Place the tube in the cutting tool vice between the cutting wheel and the rollers. Screw down the rollers until the edge of the cutting wheel contacts the tube with slight pressure. Rotate the cutting tool around the tube for 1-3 revolutions. This makes the initial score in the tube. With every 2-3 rotations around the tube, tighten the clam down about ½ turn to score the tube deeper. Eventually the series of scores get deeper and deeper until the tube is fully cut. Resist the temptation to ‘cinch’ the clamp down tight as you will only crimp the tube and make a rougher cut. Be patient and make a clean cut.

In Part 2, I’ll cover the process of Tube Flaring.

.