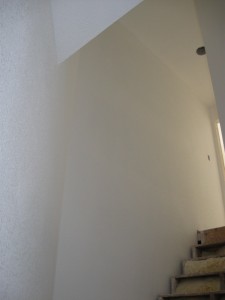
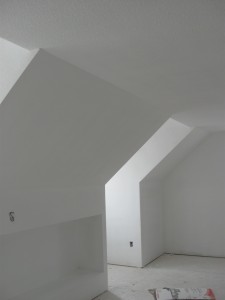
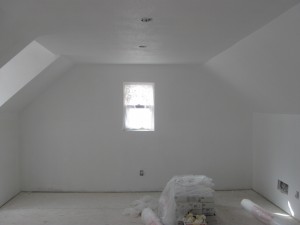
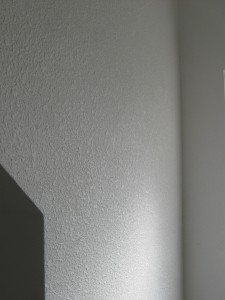
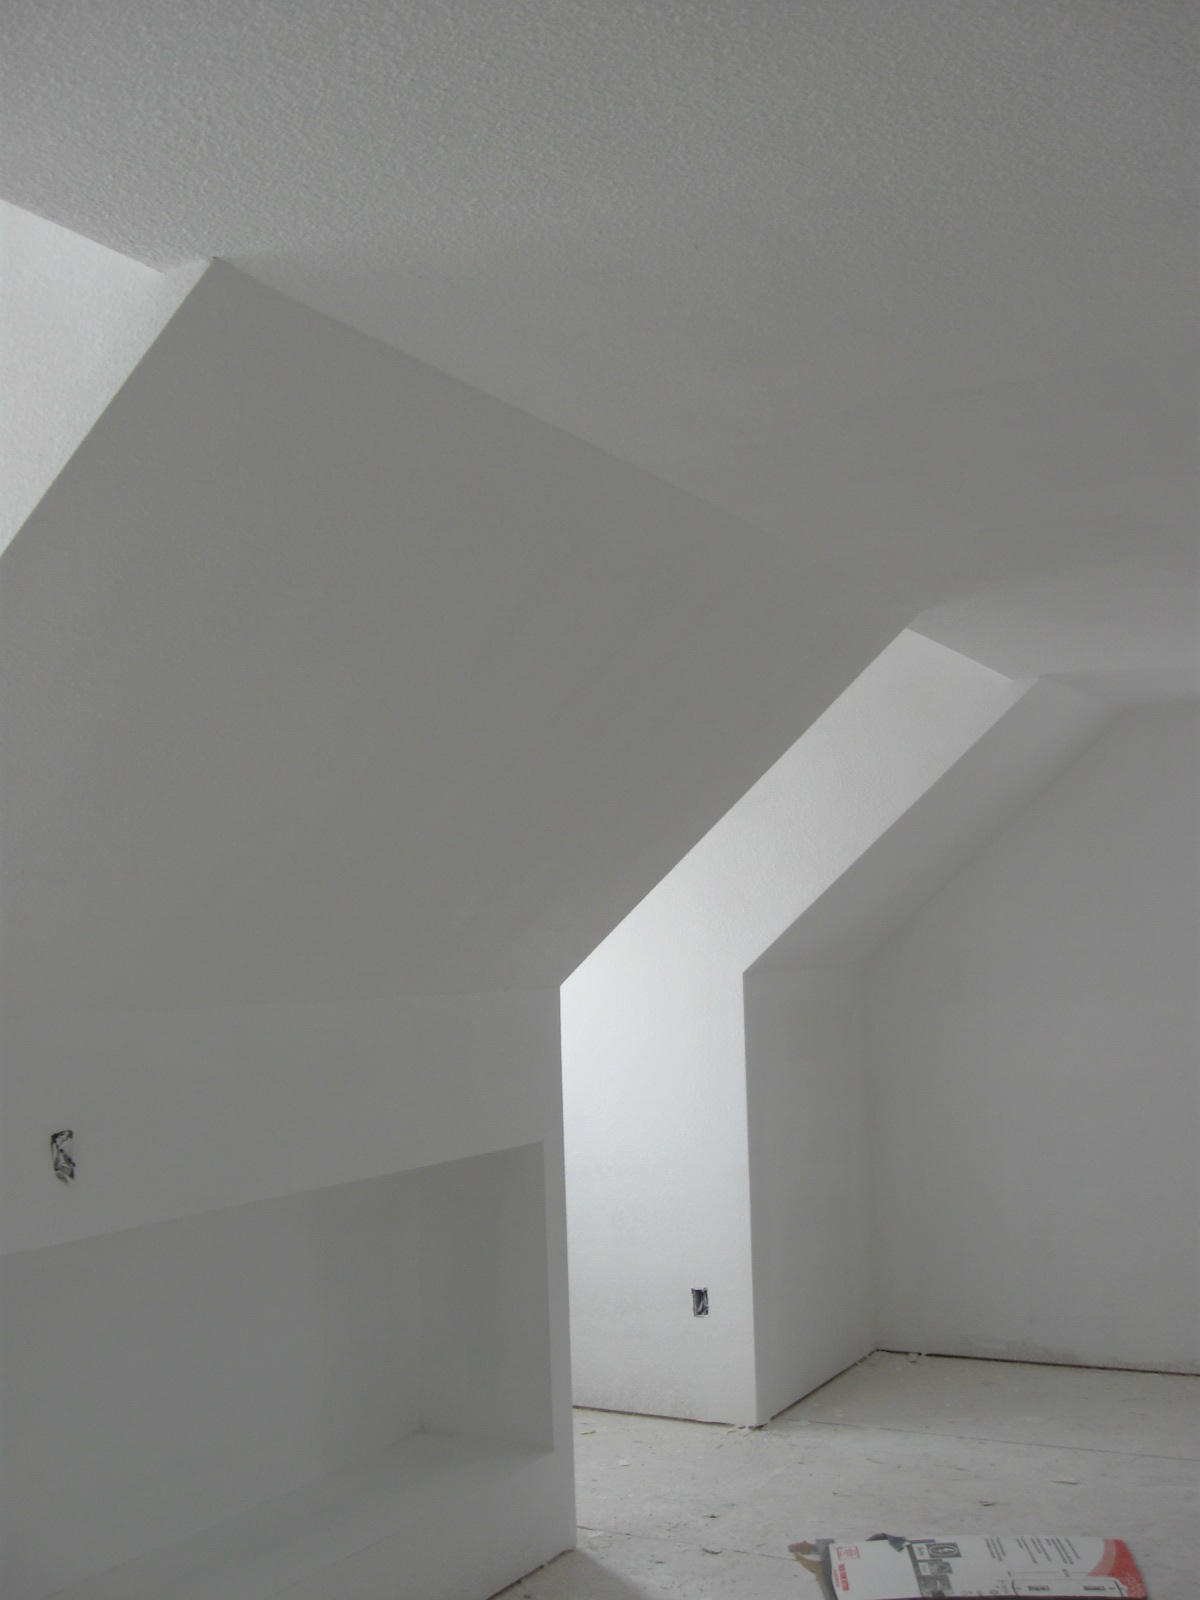
As of Wednesday (May 1st), we have the entire house completely textured and primed…
A few notes about mudding and taping and texturing. We found the buckets of Joint Compound (green mud) to be very convenient to use for banjoing and the first coat of mud. Mixing it well (and adding no water at all) was the key to smooth mud for the banjo and also for using to apply the first coat to screw heads and seams. Early on, we tried adding a bit of water to the mud to make it more easy to use… it was completely unsuitable for use in the banjo and ended up making more work for us. We had to cut out several strips of paper tape and re-apply it using regular green mud. We ended up with bubbles with the diluted green mud.
The blue mud (in the cardboard boxes) is more lightweight and easier to apply, get smooth and to sand. It, however required a bit of diluting to get it to the right consistency. We added two cups of water per box of mud to get it to work very well.
Texturing required the extreme dilution of the blue mud to work properly. We added 10 cups of water to one box of blue mud this purpose. The whole process was made pretty quick by the use of our friend (and contractor) Joe Tufano’s texturing machine. It was made by Graco and really worked well. It was very important to get the mud to the right consistency and to clean the machine thoroughly after the work was done.
We bought a pump for spraying the paint. It has already saved us so much time! Our pump is a Graco Tradeworks 170. With this pump, the painting goes so much more quickly. It really pays for itself. Considering what it would have cost us to hire a painting team, the investment in this machine was well worth it.
Here are a few more photos of the last part of the house we primed this week:
