Attic Insulation

Well, after the Christmas break, we got back to it, finishing up the attic insulation.

Initially, we had thought we would subcontract this job, never having attempted it before ourselves. So, we got a quote on the job from a recommended subcontractor. He quoted us a rate of $1.50/sf for R-30 insulation blown in to the attic. For approximately 2600 sf (just the main part of the house — not the WWII museum and research center), this equates to a cost of $3900. We actually wanted more insulation — up to R44, so we decided to see how difficult it might be to do it ourselves.

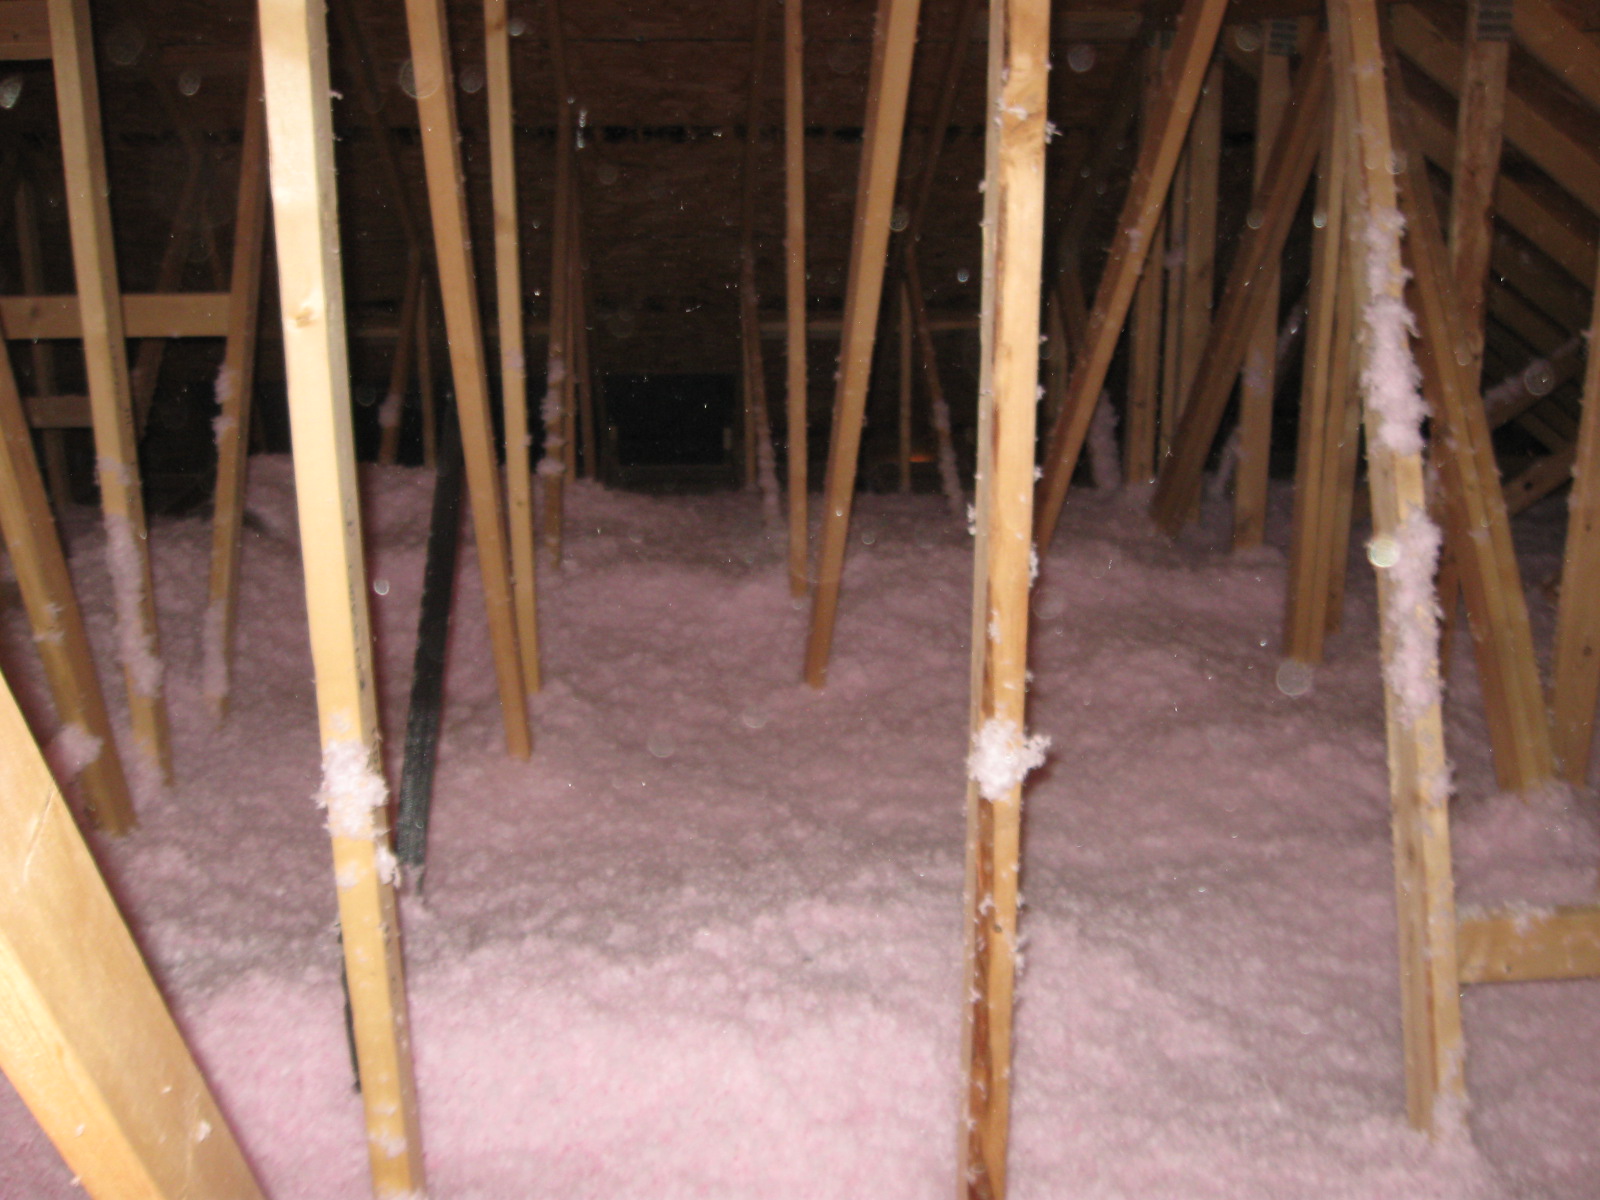
It turns out not to be very difficult or time-consuming. Oz went to the local Home Depot, where he found out they allow use of their machine for free if you purchase the insulation material from them. They calculated how much material would be needed for the 2600 sf for R44 insulation. Lo and behold… it came out to be only about $1700 total. Not knowing for sure how much extra the contractor would have charged for R44 vs R30 insulation, we don’t know exactly how much we saved, but we figure it is about $2500 (certainly no less than $2200).

The job does take two people — one to man the blower end in the attic — one to load the machine continuously. It is messy work, requiring goggles, facemasks and gloves to be worn. However… all that being said, we were completely finished in only two days. We figured it was a good use of our time and well-earned sweat equity on the house. We have found a definite difference in the constant temperature inside the house since it was done, even though we haven’t finished all the mudding and taping of the sheetrock to seal the cracks.

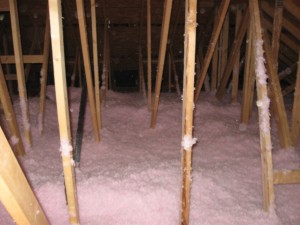
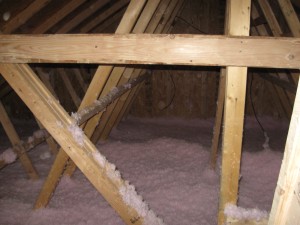
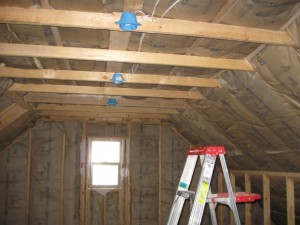
Here are photos of the machine and the result in the attic:
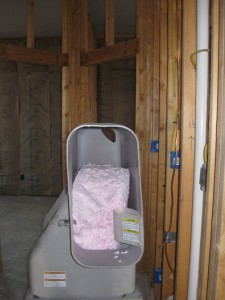
Attic Cat blower machine
R44 blown into the attic
...dreaming of a pink Christmas

Insulating Walls

Several tasks had to be completed before the insulation could happen. They were:

Electrical rough-in (subcontractor)
HVAC rough-in (subcontractor)
Plumbing top-out (Oz)
Security system wiring (Oz and the boys)
CAT-6 Internet cable wiring (Oz and the boys)
Blocking for installation of brackets/handrails, etc. (Oz)
Final installation of woodburning stove and chimney (Oz)

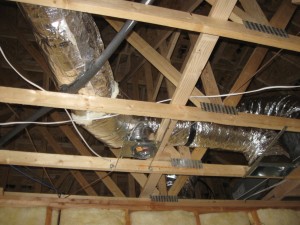
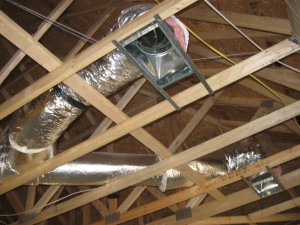
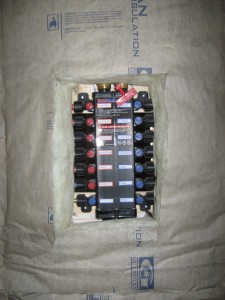
During the past month, all these things have been accomplished. So… we got started on placing insulation on the wall sections. We used R-19 batting for the exterior walls and R-13 for the interior insulation for the pantry. We insulated between the living area and the bedrooms (R-19), providing a nice sound and heat barrier between them. The bedrooms are on a different HVAC zone, so we can keep the bedrooms at the desired temp. relative to the rest of the house. We’ve been very happy with the work done by the subcontractor. He used hard metal ducting for all but the last few feet on each duct, so no problems with collapsing ductwork is expected.

Hard metal ductwork
More metal ductwork

It has been definitely chilly on a few mornings, so we’ve been happy to have the woodburning stove ready for use. We’ve been very happy with how easy it is to get a fire started and how much heat the stove puts out.

Pacific Energy Vista woodburning stove

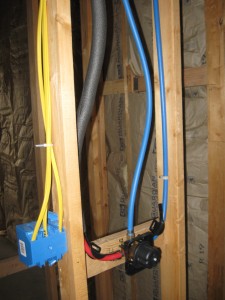
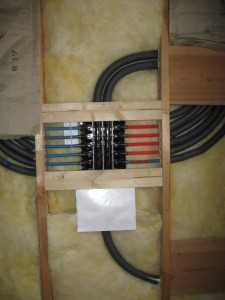
The plumbing project was quite a bit different than plumbing systems we’ve had in our other homes. Oz used pex plumbing this time. We especially like the manifold design, which allows us to control water flow to any part of the house from the main manifold. The plumbing inspection was passed with flying colors.

Shower control valve and pex plumbing
Plumbing manifold back side
Pex manifold front side

The boys and Oz had a good time running through the rafters to install security wiring for all doors and windows, as well as computer wiring to allow ease of use of internet throughout the house.

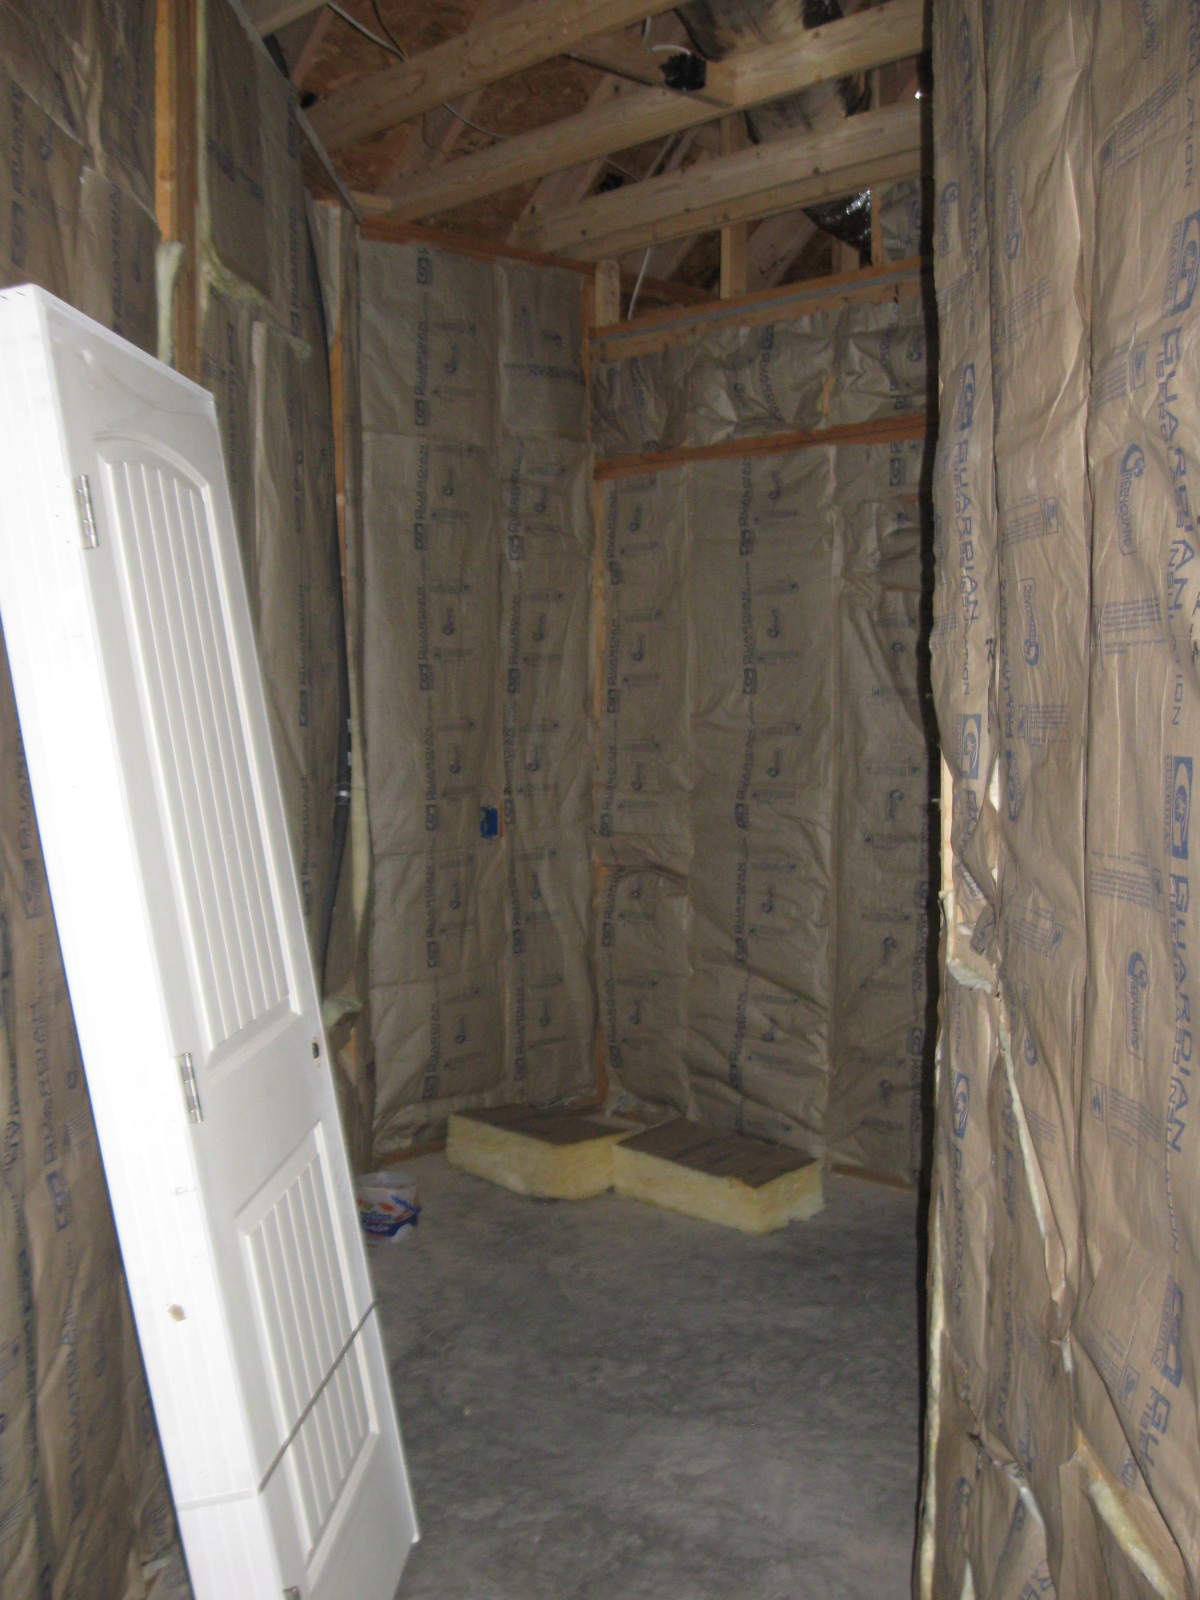
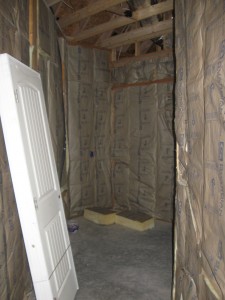
Our very large walk-in pantry has been completely insulated to allow for the possibility of making it into a walk-in cooler in the future. We installed a plug and framed a section of the back wall to accommodate a wine cellar A/C unit. We don’t plan to do this right away, but it will be very temperature stable in the meantime and allow for the possibility later.

Pantry completely insulated

Upstairs in the hobby room above the garage, we were concerned about the heat on the south side of the house. To try to minimize the heat in the hot summertime, we added a layer of styrofoam insulation between the rafters before adding the bat insulation. On the south side, we also added an additional layer of wall insulation to try to minimize the heat gain.

Hobby Room (aka Military research center) insulated

We gained a new appreciation for the folks who do this for a living (and are somewhat mystified as to why anyone would). This is easily our least favorite task thus far. We wore long-sleeve shirts, gloves, breathing masks and eye protection to do this job (quite miserable) and washed the same clothes every day to try to prevent the permanent ruination of several different sets of clothes by the fiberglass fibers… ugh.