Easy as Apple Pie

applepie
… the finished product

It’s the season for baking and potluck dinners and parties and candy-making and warm, delicious drinks…

I’m making a homemade apple pie for a potluck dinner this evening. I know that, when I was growing up, it was already considered something a bit special to make pies well. So now, it is even more unusual for folks to make their own piecrust and pies.

Making piecrust isn’t really that difficult, but it is daunting to those who’ve never done it. Today I’m using the recipe my grandma used:

3 cups flour
1 tsp. salt
Whisk together, then add:

1 cup shortening

Cut the shortening into the flour mixture with a fork until the size of the shortening pieces are no larger than pea-size.

about 2/3 cup ice-cold water

Stir in the water with the fork until it just forms a ball. Add more water if needed, but don’t overdo it.

Divide the dough into 3 pieces. Use two for this pie… save the other for a delicious pecan pie (just a suggestion).

To roll it out, I must admit that I use plastic wrap to line my countertop, place the dough on top and then cover with another layer of plastic wrap. Then I roll the dough out to the desired size between the layers. This allows me to avoid the muss of rolling directly on the countertop and also removes the need for adding extra flour to prevent sticking to the rolling pin.

The plastic wrap makes it easy to place into the pie dish with no mishaps…

The apples are peeled, sliced… add sugar to taste — in this case about 2/3 cup (these apples were a combination of Galas and Braeburns — the Braeburns have a wonderful, tart flavor), 1 tsp. cinnamon and 1/4 c. flour.

After stirring to coat the apple slices, pour into prepared pie shell and dot with butter.

The top crust must have a few openings to allow the air to vent during baking. This pattern is the same used by my mother and grandma…

The plastic wrap makes it easy to center the top crust without tearing…

Fold the top crust under the edge of the bottom crust and crimp the edges…

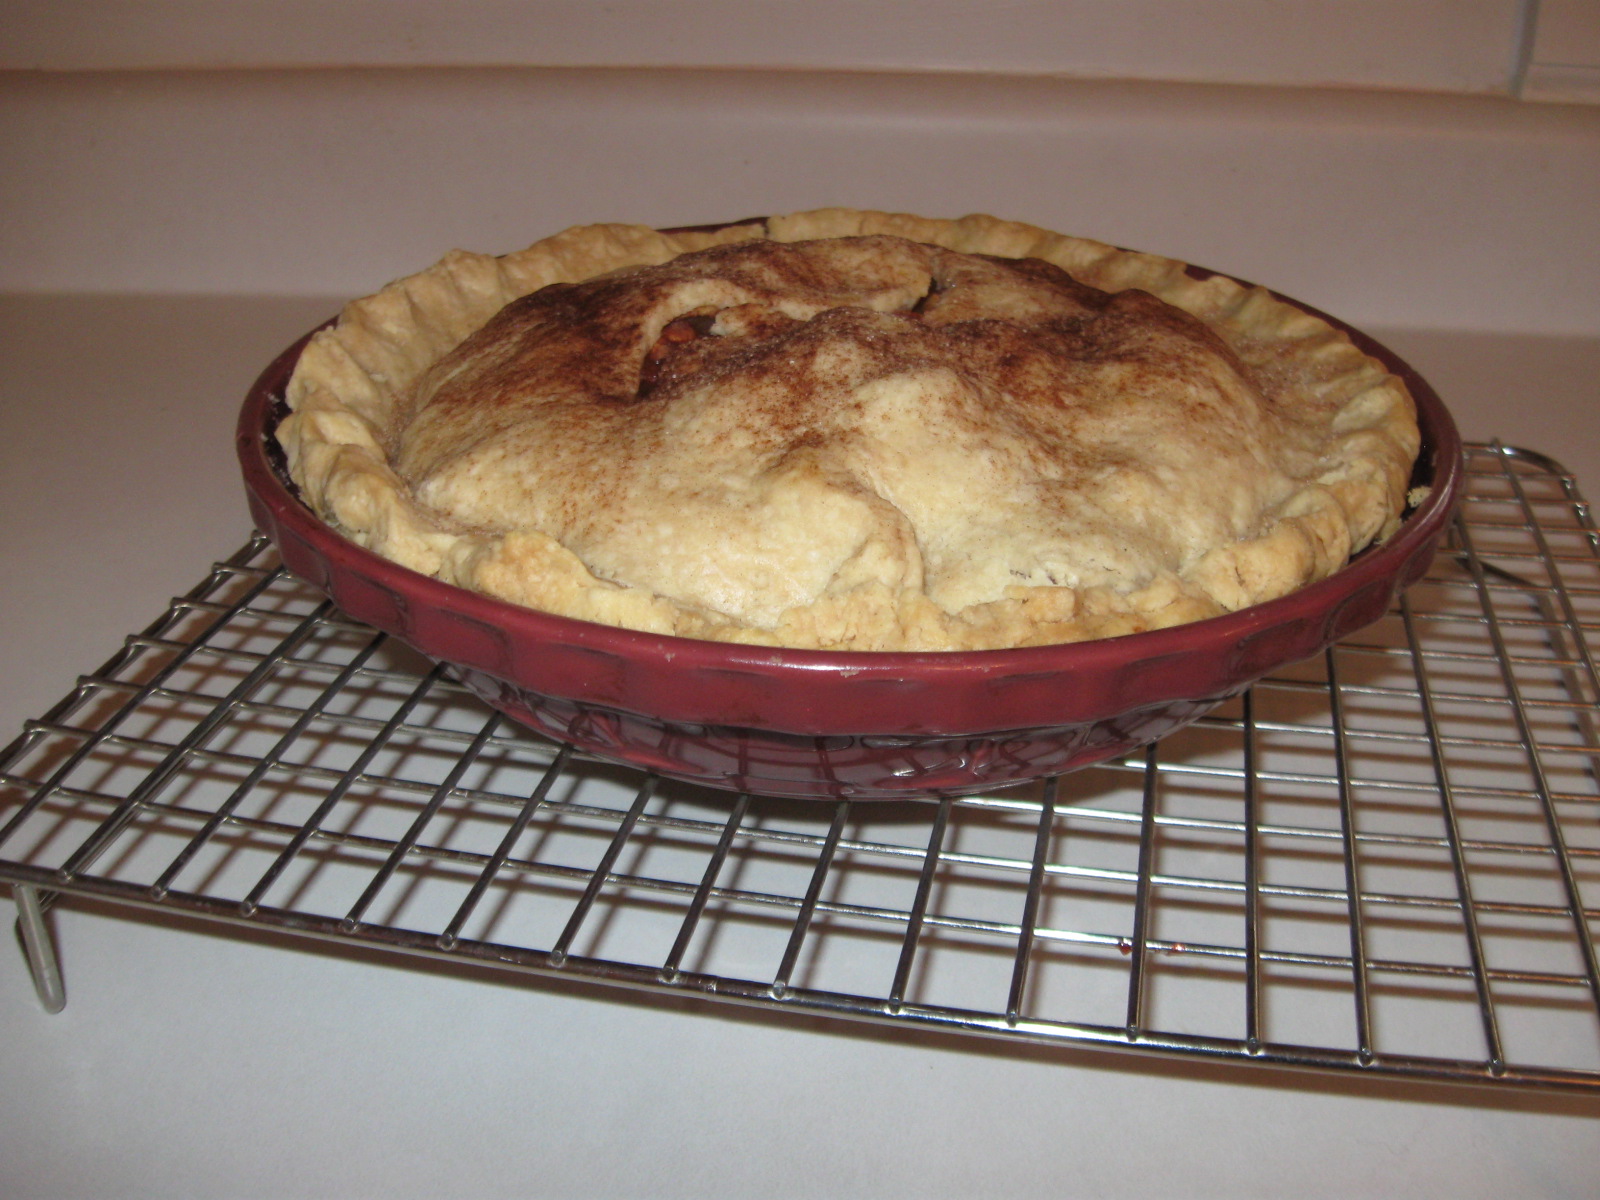
Sprinkle on cinnamon sugar, if desired…

Enjoy with whipped cream, ice cream, or a slice of sharp cheddar cheese… yummm.

Homemade Fast Food

I’m one of those people who buy a lot of long-term storage food for the pantry. I have dried beans, rice, wheat berries, dehydrated vegetables, spices, baking supplies… you name it — if it can be stored for a reasonable amount of time on the shelves, I probably have at least a small stockpile of it.

But let’s face it. If you want to whip up a quick batch of chili for lunch, doing it with dried beans is not the answer. I discovered pressure canning a couple of years back and was reminded once again today why it is such a great idea. Since I had previously pressure canned my own jars of beans, I could just quickly throw the ingredients together and have lunch ready for my family with very little muss or fuss.

Why to pressure can…

There are several reasons why it is a great idea to learn this skill. The cost of a bag of dried beans is still really reasonable, usually $1.00 or so per pound in the grocery, less if you buy in bulk. From that pound of beans, you’ll end up with about 4 pints of canned beans, about $.25/jar. Even if you add on the cost of the canning lid, the cost is very reasonable. Once you have the pre-cooked, canned beans in your pantry, you can whip up a bean soup, minestrone, chili, or other bean dish in just minutes.

Sometimes people who stock up on staples like beans find they are difficult to cook to a nice, soft texture after they’ve been stored for a few years. Pressure canning takes care of that and softens up even the toughest beans. You’ll be a lot more likely to use those stored foods in your normal food rotation if they are tasty and easy to use.

Pressure canning is also great for the abundant harvest from a garden. This summer, my Mom and I canned 30 quarts of fresh green beans. There was no way she had room in her freezer for that much, so canning was a great way to preserve them for yummy winter meals.

Summer's Bounty on the shelf

How to Pressure Can beans…

Before beginning, you need to buy or borrow an actual pressure canner. I have a 16 qt Presto model that works fine for me. Follow the instructions with the pressure canner very carefully to insure safety. You’ll need to know your locale’s altitude to determine what pressure to use. The key thing is that for any low-acid food (beans are a low-acid food), you need to process them at 240 degrees Fahrenheit for the time required in order to assure safe processing. Since (obviously) 240 degrees is higher than the boiling temperature of water, pressure is needed to achieve that. At higher altitudes, a higher pressure is required to reach 240 since the air is thinner.

Since I have the weighted gauge type pressure canner, it is really pretty simple for me to make the determination about how much weight. For altitudes 1000 ft and below, I can use the 10 lbs weight. For anything else, the 15 lb weight is required.

Now… to the super simple, easy-as-pie, dry beans canning recipe (that I learned from Jackie Clay’s blog, by the way), here is what you do:

Put 3/4 c. dry beans (your choice of type) into a clean pint jar (or 1 1/2 cups into a quart jar)
Fill the jar with boiling water, leaving 1″ headspace at the top of the jar. Place previously-simmered lids on top, firmly tighten the rings.
Process the jar (following your canner instructions) for 75 minutes for pints, 90 minutes for quarts at the pressure required for your altitude.
If you wish, you can add 1/2 tsp salt to pints or 1 tsp. salt to quarts.

Quick Chili for lunch

Now my recipe is really nothing fancy, but it is hearty and easy to do…

Brown 1 lb. ground beef in a big pot. Drain off excess fat if necessary. Add in 2 Tablespoons of chili seasoning mix (I mix this up myself using NM ground red chili), 2 8-oz cans of tomato sauce (or 2 14-oz cans of tomato puree), 1 quart jar of canned beans. Add water if needed. Simmer for at least 15 minutes… serve with cheddar cheese.

Sometimes a prepared food is a good thing.

Background

We’re moving home

In 2012, we’ll have been married 30 years. During that time, we have never lived anywhere longer than 4 1/2 years, and several times we moved from temporary to permanent housing within a very short period of time. Yes… we are making our 19th move of ourselves and belongings when my husband retires next year.

This time, we are moving back home. Along with our two boys, dog, two leopard geckos, and accumulated paraphernalia gathered as we, like gypsies, moved along to new ground periodically, we plan to make a new life for ourselves in my hometown.

The Decision

So… how did we decide to take this road? How did we choose where to put down our roots and spend the last years of raising our boys? In the end, it all came down to relationships and family. We didn’t choose our chosen locale based upon tax rates, local government, climate, inches/year of rainfall, employment or educational opportunities, cost of property, proximity to a major airport or good medical care…

The big draw for us was the grandparents. Yep, my parents have lived in the same town since 1961 and they aren’t going anywhere anytime soon. My in-laws also live only a couple of hours’ drive away. We want our boys to grow up around them. It’s as simple as that. Once that decision was made, the rest was easy.

It’s been only a couple of years ago that we made the decision for my husband to take the earliest possible retirement opportunity. Before that, we had envisioned continuing on for several more years working within the system and moving as required. We began to look at things a bit differently and focus more on preparing for our personal future more than on career. At that point, we began making a few changes to allow this early retirement to happen.

Making it Happen

Saving our nickels and dimes, eliminating all forms of debt, reducing our monthly costs ( in order to save more nickels and dimes)… this was a big factor in making this possible. We figured out that, in order for us to even have a chance of living on the monthly retirement income we’ll receive, we can not have any debt.

We calculated the amount of gross income we will have as retirement income, deducted our ‘off the top’ expenses, including healthcare coverage and taxes. Then, when we saw what was left over to live on, we were at first a bit dismayed. That number was about 25% of our current net income! Scary, right?

Well, we took a look at it and were wondering if we could actually live on it if we didn’t have any of the typical debt that most people have. Could we have a decent life on 25% of the amount we currently earn? We decided to try it out.

For the last year, each month, we decided to see if we could live on just what we would have at retirement, not exceeding that amount on any of the day to day living costs. We found out that, not only could we do it, we could actually live on less than the monthly income using a few simple techniques. I’ll put a post together on simple cost-saving methods that allowed us to live on less without sacrificing our quality of life…

Thanks for reading…