Dehydrating Vegetables – Potatoes

Shortly after I began learning about dehydration I found a great deal on Potatoes – $1.99 for a 20 lb. bag. With this being such an excellent value, I decided this would be my next experiment. Little did I know that this would become the all-time family favorite dried food.

Potatoes must be blanched* before they are dried, so drying potatoes is not quite as carefree an operation as with tomatoes.

I’ve put together a little picture tutorial on the method…

Ready to go...

*Any vegetable that must be blanched before freezing must also be blanched before dehydration. This is a good rule of thumb. Any decent all-purpose cookbook with instructions on freezing food will give you a guide for this.

The blanching method:

After peeling (optional) and dicing or slicing, blanch the potatoes in boiling water until cooked sufficiently to heat up clear through. How long this takes will depend on the thickness of your slices or dices. I found that about 3-4 minutes was usually sufficient. After a batch or two, you can tell by looking at them whether they are done enough. It’s a bit of an art…

I soon discovered that, if improperly blanched, the potatoes were no good… the parts of the potatoes that were not blanched properly turned black when dried.

After blanching, cool immediately in an ice-water bath.

Arrange on dehydrator trays and dry at about 120 degrees Fahrenheit overnight. The potatoes should be completely dry all the way through for proper storage. Slices should snap when broken in two. Cubes should be dry completely to the center.

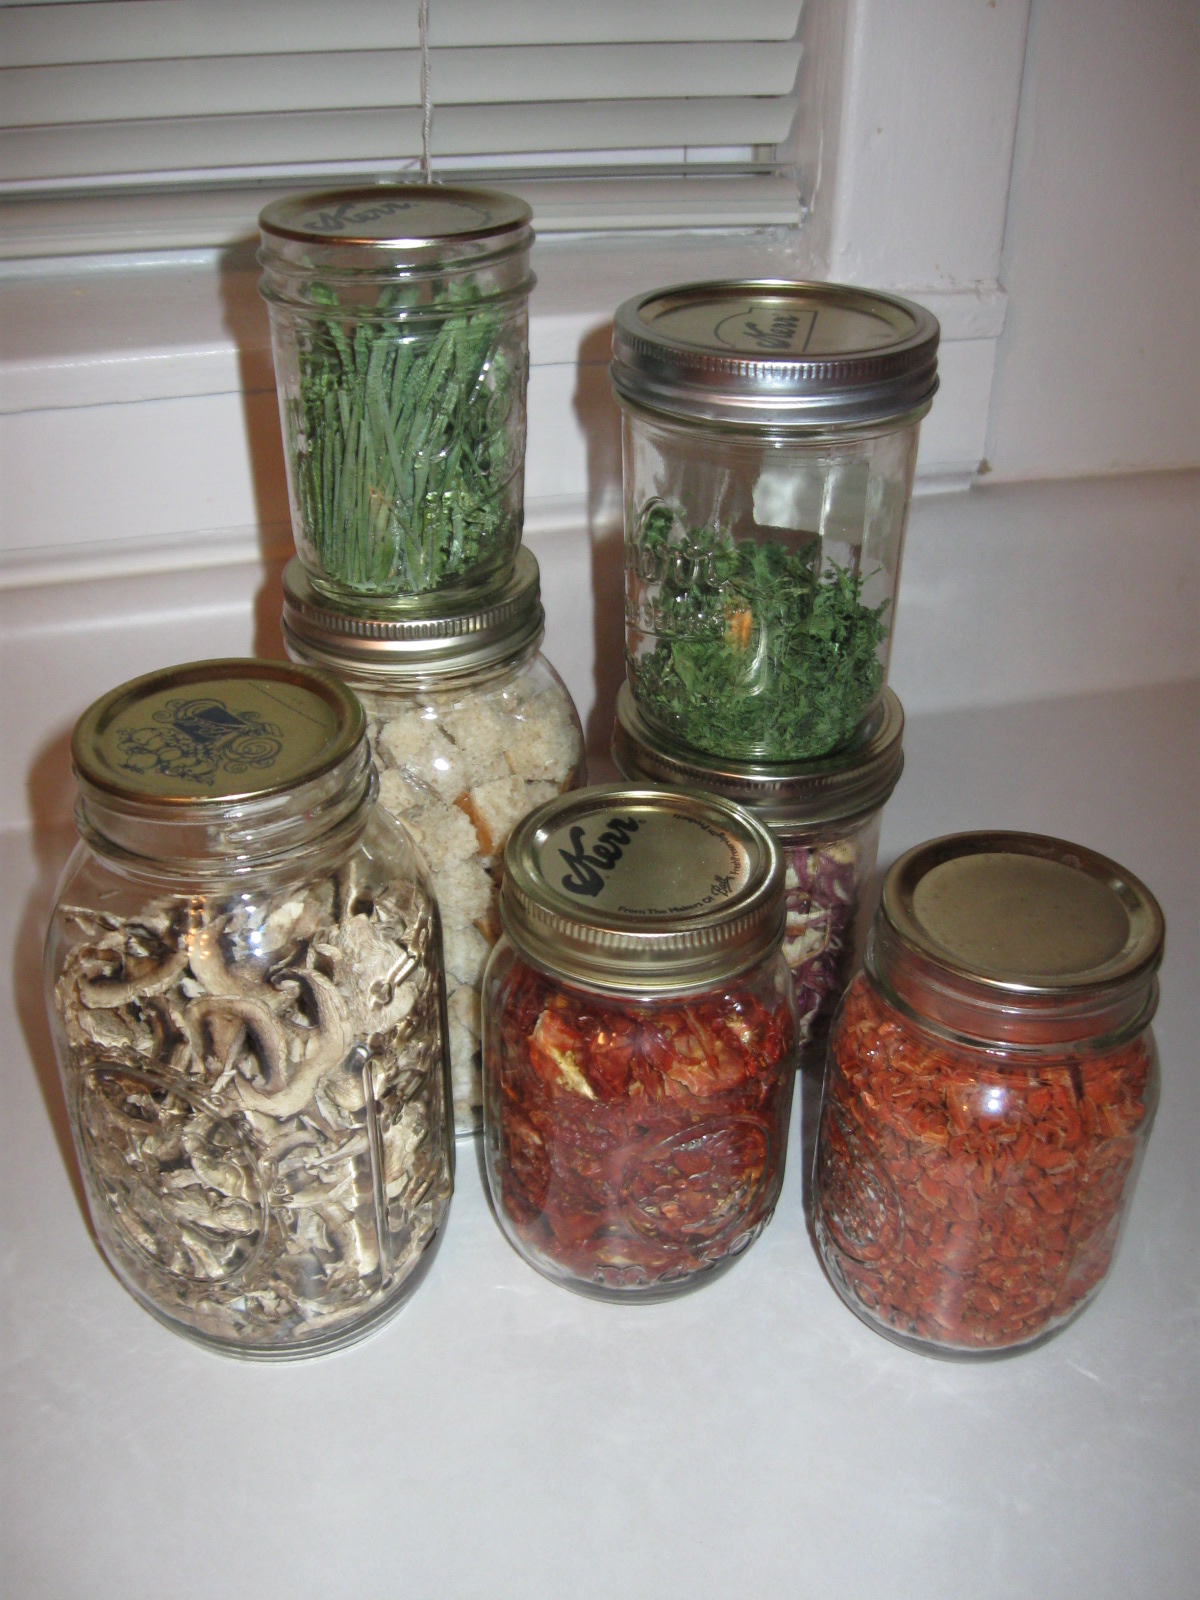
The potatoes reduce greatly in size during the drying process and store very well.

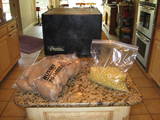
To save freezer space, you can also take dehydrate frozen hashbrowns. Since they have been prepared for freezing, you don’t need to blanch first. You can just dump a package of frozen hashbrowns right onto the dehydrator trays and dry them. These are another favorite…

After dehydration, potatoes can be easily used in soups, stews, pot pies and the like. However, our family’s favorite way is to fry them in butter to add as a side dish to a meal.

Rehydrate the potatoes by placing in a bowl, pouring boiling water to cover and let soak for 15 minutes or more.

Drain well, fry in butter until nicely browned… salt and pepper to taste and enjoy.

Vegetable Dehydration – Tomatoes

Dried Tomatoes
Almost all vegetables work really well for dehydration. When I first began learning the tricks of dehydrating, my first tomatoes were producing faster than we could eat them up. Since they don’t require any special preparation (no blanching), they are one of the easiest veges to dry for storage.

Simply slicing them about 1/4″ thick and arranging them on the dehydrator trays, then letting them dry overnight produced wonderful, bright-red, delicious slices of summer. When you eat a dried tomato, you’ll be surprised at the very distinct flavor. Since tomatoes are used in so many things we make in the kitchen, including chili, many soups, italian foods, etc., dried tomatoes offer lots of possibilities as a dried food. Many people take the dried tomato slices and grind them into tomato powder. The powder can then be used to reconstitute for use as a sauce or paste. The powder also takes less space for storage.

I also tried making the tomatoes into a puree and then drying them like a fruit roll-up. This worked well, but I found it was more difficult to get them really dry, so they had a shorter shelf life. It did work nicely when I wanted to make chili and wanted to get the tomato sauce flavor. I just dropped in a tomato rollup and added a bit more liquid to the recipe.

If you, as I did, have an abundance of the cherry tomatoes that you want to dry, simply slice them in half or thirds and place skin-side down on the trays and dry as you would regular-sized tomato slices. You can even use them for your own sun-dried tomatoes by covering the dried tomatoes with olive oil and storing in the refrigerator until use.

After drying tomatoes to a very dry degree, as recommended when long-term storage is the plan, I store some in mason jars and some in mylar bags. For those stored in mylar, I also include oxygen absorbers before sealing the bags to help them to store longer. I have sometimes used oxygen absorbers in the mason jar storage, but not always. I do, however use a vacuum sealer to pull as much air out of the jars as possible before storing in my cupboard. This method has worked very well for me. After nearly three years of storage in mason jars, the tomatoes I’m still enjoying in my cooking from my first summer garden’s bumper crop still look bright red and beautiful and have a wonderful flavor.

I realize that canned tomatoes and tomato sauce are generally pretty inexpensive in the grocery stores, so many people would, perhaps, wonder if it is really worth the trouble to store them from your garden… I would say it is very satisfying to eat food you grew yourself, knowing that no pesticides were used and remembering the pleasure from picking them from your own vines. I don’t really think you can put a price on that.

As I have mentioned before, I love my Excalibur (9-tray) dehydrator, but I also use my Foodsaver vacuum sealer constantly. The Foodsaver has a very convenient hose attachment that allows you to seal standard and wide-mouth mason jars to increase storage life. I made a YouTube video demonstration of this some time ago (please realize that my oldest boy did the camera work and there was a bit of extra camera movement that some have not appreciated!).

Plan ahead this winter as you pore over seed catalogs, planning for your summer garden. Leave plenty of room for tomatoes!
You might be interested in this earlier post about dehydration: Dehydrating From Your Garden

Dehydrating from your Garden

A small sampling of my dehydrated goodies...

Since we left Ft. Worth, I’ve not had a garden. It has been something I’ve missed a great deal. However, almost 15 months since our departure, I’m still enjoying the fruits from that garden because of dehydration. I initially got interested in dehydration from a website called Dehydrate2Store.com. Tammy Gangloff, the owner of the site, has wonderful videos showing tips and techniques for getting started with dehydrating, her preferred equipment and supplies and ways to use the dehydrated foods.

Thank you, Ronco!

Like many folks who fell prey to late-night TV advertising (in my case, while on business trips back in the 1990’s), I had purchased a Ronco dehydrator many years before. I used it successfully to make beef jerky, dried apples and fruit leather. But, as with many things, my interest faded and I got rid of that old dehydrator during one of the purges I make when we prepare to make another move to a new place. So, dehydrating wasn’t a completely new concept to me.

Extreme Drying

However, Tammy’s tips gave it an entirely different focus. Instead of dehydrating foods to the stage that leaves them dry, but not crisp (as with many of the commercially available dried fruits), she advocates drying the foods to about 95% dry– very, very dry. Once the moisture is removed to that level, the foods will store for a very long time and allow you to enjoy the fruits of your garden for very long periods to come. By combining the idea of drying the foods more with the tips on storing them so that they are not exposed to oxygen through the use of mason jars and mylar bags with oxygen absorbers, the storage life of the foods are greatly extended. In fact, for many foods, that life can be up to 30 years with proper storage.

Maintaining Nutritional Value

Another attractive feature with dehydrating foods is how much nutrition is preserved through this method of food preservation. Since dehydrating of fruits and vegetables is done at a relatively low temperature (usually at about 120 degrees Fahrenheit), less loss of food quality is experienced when compared with canning or freezing foods.

One aspect of dehydration that is especially helpful is the fact that storage of dehydrated foods is very simple and requires no refrigeration or freezer space. These dried foods can be stored is a relatively small space at room temperature, for much longer than I really anticipate storing them (I really plan to use mine up before the 30 year mark!).

Sidenote: I became a bit less than thrilled with freezing things in the aftermath of Hurricane Katrina, when I lost my entire freezer full of raspberry and strawberry freezer jam! That was the point that I returned to the more traditional canning methods so that I wasn’t dependent on a steady power supply to keep my preserved foods.

The Cadillac of Food Dehydrators

After watching Tammy’s video demonstration of efficient dehydration, I decided I needed a very good dehydrator for our home. She recommended the Excalibur dehydrator, which I ordered directly from the manufacturer. As it happened, I bought a refurbished unit that had been used for trade shows or demonstrations and got a significant discount.

Excalibur Dehydrator

The 9-tray model I purchased does not have a timer, which people have asked about occasionally. I have never missed not having a timer, I must admit. Dehydrating is not an exact science — the food won’t overdry if you leave it an extra 15 minutes (or an hour — haha). The main features you want to be sure to have on any dehydrator is a thermostat and a fan that blows the air across the trays from the back of the unit. I like the Excalibur because of its high capacity and trust all the customer reports of its long life and durability.

Foods that Dehydrate Well

Among the foods that we have particularly liked to dehydrate are the following: Carrots, Celery, Onions, Peppers, Herbs, Tomatoes, Bread (for croutons and bread crumbs), Apples, Pears, Peaches, Zucchini, Cucumbers, Potatoes, Blueberries, Pineapple, Mushrooms and Garlic.

For a way to preserve more of the bounty from your garden, check out the possibilities with dehydrating… you won’t regret it.