Winemaking on the Homestead

Yummy!
When we moved here to Georgia, we knew this was a temporary move. Living in a rented house, we were not able to have a garden. One of the things I decided I’d like to learn about was making wine at home. I had read about the basic process online and decided to give it a try.

My first batch of wine – Apple Wine (1 gallon)

Before I went whole-hog on the winemaking thing, I decided to try a simple, inexpensive project to see just how it would work. I found a very good recipe and plenty of instructions online for EdWorts apfelwein.

Since I didn’t have a glass jug for the 1st experiment, I used the plastic gallon jug the apple juice came in, poured half out into a sanitized bowl, poured in 1 c. sugar, shook well, poured in part of the apple juice from the bowl, added 1/2 packet of the montrachet yeast, poured almost all of the rest of the juice in, leaving a bit of headspace in the jug.

The lids I ordered for the project didn’t fit the opening of the plastic jug, so had my 12 yr. old use his drill to drill a hole in the plastic lid that came with the jug to use with the airlock (and then sanitized). Using a tip I saw online, I filled the airlock with vodka about halfway.

Since I couldn’t find a local supply of glass jugs, I bought a bottle of that Carlo Rossi Cabernet in a gallon jug (really wanted the jug mostly) for future brewing in gallon batches.

After about a month, I racked the juice into the (empty of wine) glass gallon jug and let it continue fermenting. After the fermentation ended, we bottled it into recycled wine bottles and corked it. The addition of the sugar made it have a pretty good kick. This wine was very dry, a beautiful yellow color and definitely smelled like apples. It had a slight yeasty taste, so I might want to branch out on a more sophisticated recipe on the next try with apple wine.

Concord Grape Wine (1 gallon)

I’ve also tried using Welch’s grape juice concentrate from the freezer for a batch of red wine (and I ordered the other supplies listed for the recipe)… I found this recipe online for a 1 gallon batch:

32 ozs. Concord Frozen Concentrate
12 cups Warm Water
1 cup Table Sugar
1/2 teaspoon Acid Blend
1/8 teaspoon Pectic Enzymes
1 teaspoon Yeast Nutrient
1 Campden Tablet, crushed
1 pkg. Wine Yeast

This was another seriously easy wine that we fermented in the recycled glass gallon jug. After fermentation, racking and letting settle, we bottled it as well. This wine still tastes a lot like concord grape juice (can you say Mogen David?). Since we both much prefer a dryer wine, this one was relegated to service with wine coolers and sangrias.

Beaujolais (5 gallons)

I found a fabulous deal on wine-making equipment on Craigslist, including two 5 gallon glass carboys, a plastic primary fermentation bucket, a wonderful stand corker and all sorts of small winemaking tools (hydrometer, bubblers, etc.). This allowed us to move into larger quantity batches. Still considering ourselves complete newbs, I ordered a juice concentrate to make a batch of Beaujolais from ECKraus.

I followed the instructions that came with the concentrate, adding the ingredients recommended and following the procedure. We bought a siphon system to help with racking (and have been very happy we did).

This batch of wine never was as clear as we would have liked, but it was still pronounced “drinkable” and is completely gone! I used it in cooking and also as a holiday Gluehwein with good success.

Vintner’s Reserve Merlot (5 gallons)

We bought a better kit for the most recent batch of wine — a Vintner’s Reserve Brand Merlot kit from Midwest Supplies.

This is most definitely our best batch yet… only 5 bottles left and going fast. We have no more wine in process since the move to NM is imminent. This batch gave us the encouragement to continue…


Future Plans

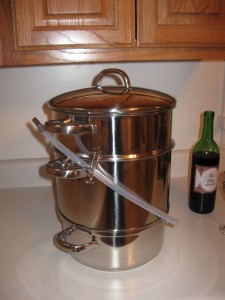
I recently got a new stainless steel juice extractor so that we can make our own juice to start the wine-making from scratch. We will probably continue to order juice kits in the meantime, but I look forward to making juices to store in the pantry and also for winemaking in the future. Isn’t this a cool gadget?

We cannot wait to get settled so we can get back to brewing. Did I mention we also tried our luck at brewing beer? That’s another post in the future…

Colorado Well Drilled and Capped

We have thirty-five acres in southern Colorado, which we bought a couple of years ago. Some of the photos we have posted here on the site are from that land. It is absolutely beautiful and is where we plan to spend free time once we have finished building the homestead in southeastern NM.

The acreage in Colorado has a trout stream running through one corner of the property, so water was available already. However, when we bought the land, the previous owner had already applied for and been granted a homestead well permit for the property. We decided to go ahead and make use of the permit and get a well dug and capped for future building.

Obviously, we are not currently in urgent need of the well, so we told the well-digger to put us on his schedule when it worked best for him and sort of put it to the back of our minds.

This morning he called and told us the great news: We have a well!

Originally, when we talked to him about the job, he told us that other wells in the general area were drilled from 100-180 feet in depth to get a good supply of water, so we had prepared ourselves for that cost (hoping it wouldn’t go much more than 100 feet). At $36/foot for the drilling cost (not including a pump or any accessories — just the digging and capping) in the area, we were expecting a hefty bill to be due.

We got a wonderful surprise… the well only needed to be drilled to 40 feet in depth. He said the water level is only 8-10 feet below the surface, so we are very happy. Instead of a potential cost of $6480, we think the cost will be about $1440.
(with all the bulldozer purchases, we need all the savings we can get!)

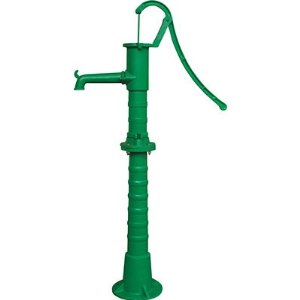
With only 40 feet in depth, we have a lot more options available to us on the type of pump we use. Even a hand pump (like the photo) would work for this well. We have a wide range of choices… manual pump ($99 – $1000, depending on quality and features — the Bison pumps are pricey), solar pump and tank (investigation still needed). We don’t plan to have the pump left on-site when we aren’t there for the time being. Too much temptation for a would-be pump thief.
Workshop Progress

Well… as the infrequent postings have given testament to, the family has been very preoccupied with preparations for the big move to NM. We are packing up belongings in cardboard boxes, finalizing plans and routes, and getting more and more excited about it.

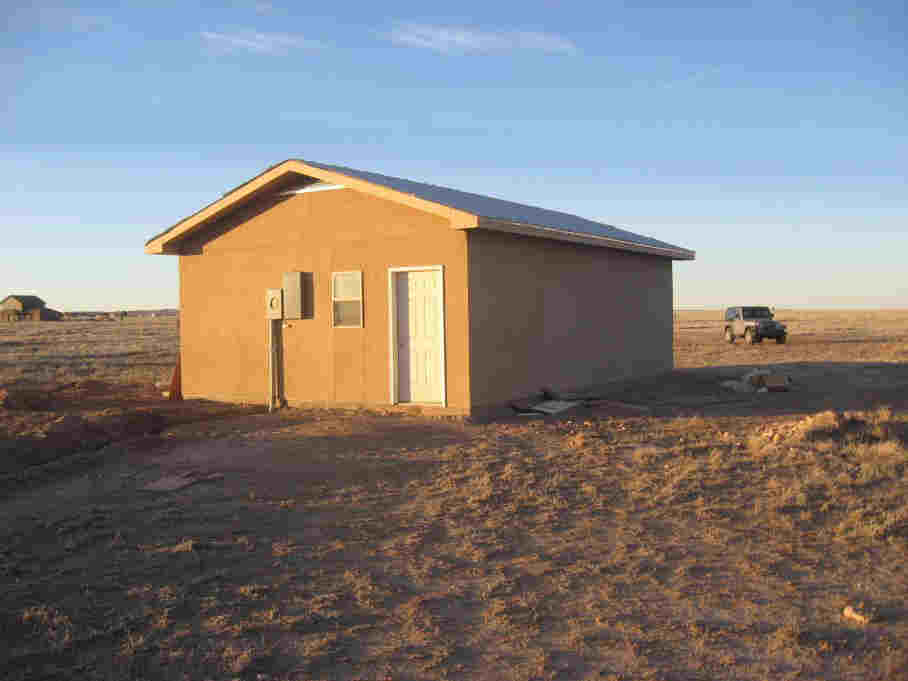
The workshop is nearly complete and we are very happy with the progress. We’ve had a nice driveway finished with stone and a small concrete slab poured at the workshop entrance. The interior is nearly complete. The job was made a bit more difficult for the subcontractors since hooking up the water and electricity are about the last things to happen. It no doubt made the cost higher since a generator had to be used for power, but it seems to have gone very well.

All that remains is the final plumbing hookup to the septic system, the installation of the pressure tank and pump for the well (as well as plumbing and wiring for that system) and the final installation of all electrical fixtures.

Here are a few photos of the progress as of this past weekend:

First, a view of the wall with water heater and laundry hookups. The pressure tank will be in the corner next to the water heater.

Next, a view of the interior of the garage looking toward the bathroom:

The photos were sent to us by my Dad, on a pdf. I’m sorry the quality of the resolution isn’t better, but it still gives a very good idea of the overall appearance.

We will have a somewhat circuitous route in our travels as we make the first trip from Georgia. We will be driving in a northerly route through Oklahoma so that we can pick up a second Clark Airborne bulldozer there. It takes us a bit out of the way, but is still much less time required than to make an entirely separate trip. We’ll be driving a caravan of sorts on this trip, driving both vehicles — the dually with the gooseneck trailer and two bulldozers plus parts and me in the Tahoe pulling a small U-Haul with the WLA motorcycle and bulky items packed to the gills.

{Can you notice the heavy emphasis on military vehicles that are featured in our belongings?}

The guys did a very nice job on the bathroom, adding in a fully tiled shelving area. The glass shower door is still to be installed.

Once those tasks are complete, we’ll have the pad for the RV poured so that convenient living can happen while we build the house.

The move will require us to make another cross-country trek to haul all the belongings. We’ll return with just one vehicle and use a rented truck to load all the rest of our furniture from the house in Georgia back to New Mexico for the final trip.

{Did I mention that we’ll be making another detour on the trip back to Georgia in order to drop off some bulldozer parts in Texas along the way… just thought I’d mention that…}

31 days and a wakeup until the move begins!

Kiwi Vines

Annanasnaja arguta kiwi

Did you know that kiwis have 10 times the amount of Vitamin C in lemons? There are several different types of hardy kiwis that can grow in many different zones — some as far north as zone 3. The female kiwis, with their beautiful vines can produce up to 25 lbs of fruit each year when mature. Since the kiwis need a male for pollination, and the male can pollinate up to 8 different female vines, I’m thinking we might as well purchase several different varieties to see which produce best for our area and to give us extra fruit for trade and wine-making.

The arguta kiwis produce smaller fruit than the fuzzy fruit we are accustomed to seeing in the grocery stores. Rather, these fruits are smaller, perhaps the size of large grapes, but with the same distinctive kiwi flavor. Without the fuzzy skin, these can be eaten out of hand without peeling. Apparently, they are even sweeter than the grocery store kiwis (and easier to eat, I’m thinking).

Ken's Red arguta kiwi

Since they are vines that will need support, I’m envisioning trellises for the outside sitting area in the style of a pergola. Not only will the framework provide support for the vines, but the vines will provide additional shade during the hot summer months.

My plans for using the kiwis (in addition to eating them fresh) include jam-making, juice making and wine-making. Perhaps I can can them for use in pies… I can see that there will be room for experimentation with this fruit that many folks never think of growing in the backyard.

Michigan State Hardy

According to what I read about them at the Raintree Nursery site, it seems most varieties are ready to harvest in either September or October. Apparently, you can store them for a very long while in the refrigerator, setting them out on a countertop for softening when you want to eat them.

Since the arguta kiwis are recommended for Zones 5-9, I think we’ll be smack dab in the middle of their ideal growing climate. With first fruit expected in 2-5 years, and an expected life of 50 years, I can see that we have many productive years ahead.

Book Review – Gaia’s Garden

Gaia’s Garden, by Toby Hemenway

This book is a sort of gateway book into the world of permaculture. With a brief description of the core principles of permaculture, you can get an idea of how to begin thinking the way a permaculturist would in the design of your garden/food forest. Hemenway lays out the basic ideas of permaculture without going into great detail… enough information to be useful, but not so much that you become bogged down in minutiae. Once he lays out the general ideas of the underlying theory, he proceeds to give real-life examples of how the ideas have worked in various locales.

Using permaculture principles in determining garden layout, harvest/storage of water and sunlight, plant biodiversity, a home garden can become less labor intensive and more productive. This book gives many useful ideas for making this happen in your own back yard.

I particularly loved the examples of garden layouts showing non-traditional designs. By using a keyhole gardening bed, you can minimize the space needed for the garden path and maximize growing space (while making the garden more interesting and appealing as well). The herb spiral is another idea that will add beauty and usefulness to the beds right outside the back door.

The theory of zones and how they impact the permaculture design is also discussed, with examples illustrating the ideas. He even shares a zone layout example for a typical 1/4 acre suburban lot that is highly productive.

From design of the space, he moves on to helping with building up the soil. I plan to use his sheet mulching system when setting up our gardens in New Mexico, and will no doubt be referring back to his book often when planning and laying out the garden there.

From plant recommendation, to orchard planning… from attracting helpful insects and birds to chicken tractors, the author puts forward many applications of permaculture principles you can implement at home. The book offers a wonderful appendix with excellent resources including plant suggestions for the various permaculture layers.

This book is a very excellent book to introduce the ideas of permaculture and sustainable food production. I highly recommend it, especially to those who are unfamiliar with permaculture principles. It’s easy to see why this book continues to be a best-seller.

More Clark Airborne Dozer Stuff

Making your own metal fuel lines: Part 2

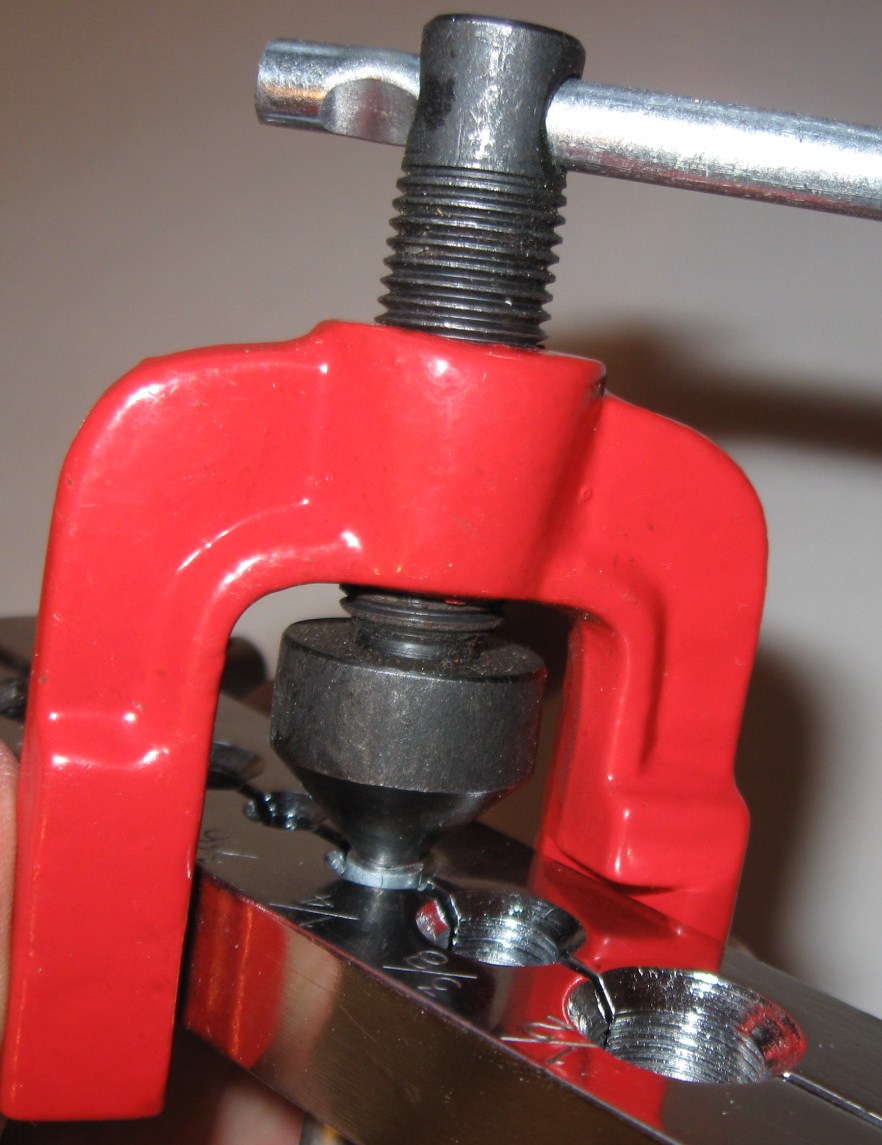
I wrote a previous blog article about making my own fuel lines for the Clark Airborne Tractor restoration project. This is the second part of the article which deals with making the flared endings for the tubes. I am using 37 degree flare tube fittings to seal my fuel lines. The components you are trying to mate together are; the beveled screw, the beveled cap and the flared tube. Each of the mated surfaces is beveled at a 37 degree angle (45 degree for higher pressure lines) so that when the cap is screwed against the flare of the tube and presses it up to the beveled screw end the mating of the 37 degree angled surfaces seals the line. If you create your flares properly and torque the cap and screw down properly, the fuel line will be sealed with no leaks, and no need for sealers or gaskets.
Making the flares is relatively easy as well, but takes some practice. Use some scrap tube and work several until you are comfortable. I am using the single flare. What you do is simply flare the pipe out to a 37 degree angle so that it can seal up between the screw and cap. The process involves the following steps:

1. Cut your pipe end to size.

Prepare the pipe end

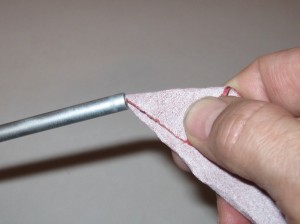
2. Use a small file and de-burr the inside of the tube to ensure it does not crack or split when being flared outward. You may also want to use some fine sandpaper to clean the edges up a bit. The smoother the metal is, the less chance there is for splitting.

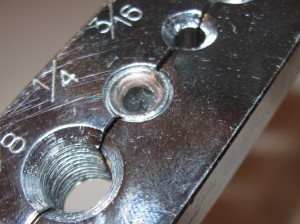
3. Insert the cap fitting on the tube with the threaded ends toward the end of the tube. This is easy to forget sometime, and if you start the flaring process without the cap you’ll have to bend a new piece of tube, because once both flares are made, the cap will not slide on the end over the flare!

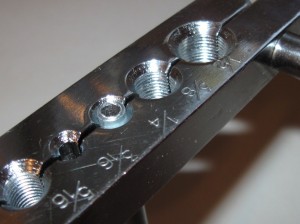
4. Insert the tube to be flared into the proper diameter hole of the vice exposing a very short length of the tube. If you expose too much of the tube, your flare will be too big for the cap. Clamp the vise closed

5. Put a light coating of oil on the end of the pointed flare tool to aid the process of expansion of the flare.

6. Insert the beveled end of the flaring tool using the vice and screw it gently down until the flare is shaped

7. Inspect and clean

Here are some examples of my various previous attempts.

Oops!

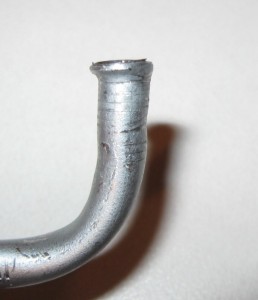
The first one shows an off-kilter flare. It will not seat properly and the line will leak. This was caused by not clamping the tube fully down or by having the flare wedge off centered when screwing it down.

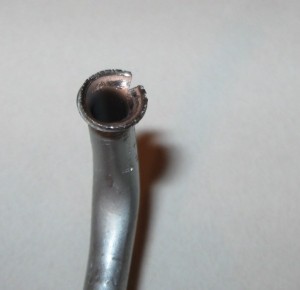
The second tube has split. This is usually because too much tube is exposed above the face of the clamping bar. It should be almost level with the top, or slightly above the top surface of the clamping bar.

Success.

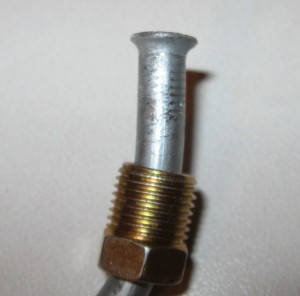
The final example is fairly decent. It should hold pressure and provide a good seal.

If you liked this article, you’ll probably be interested in my previous post on the subject that you can find here: Making Your Own Metal Fuel Lines.

Greenhouse Kits

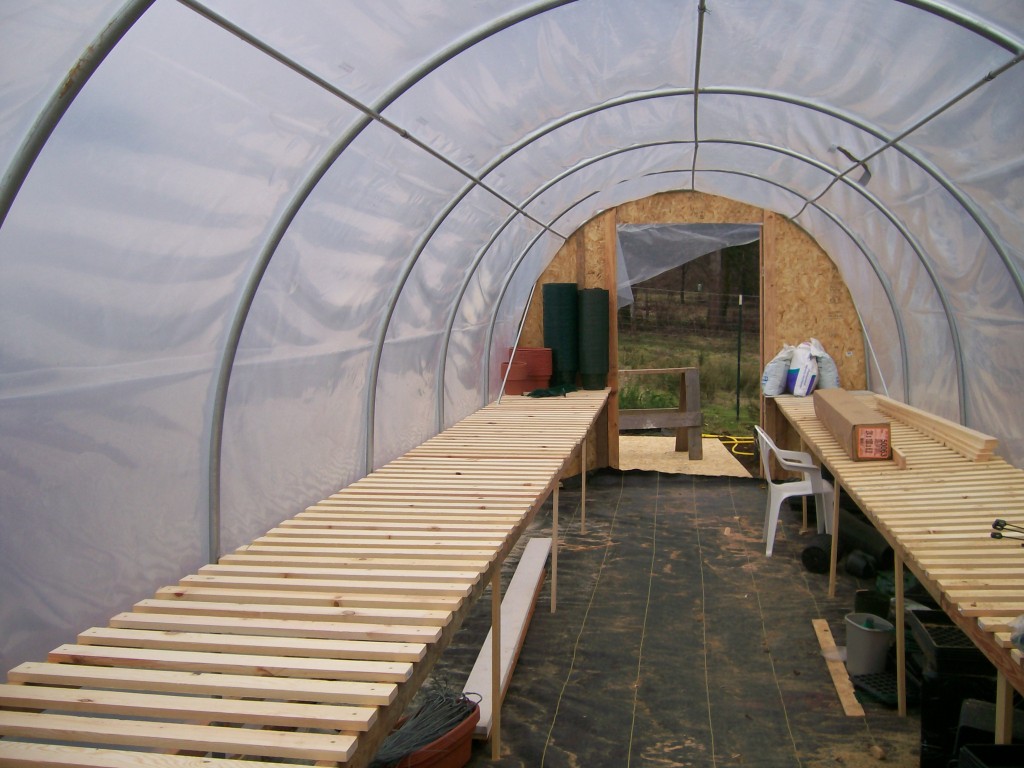
Interior

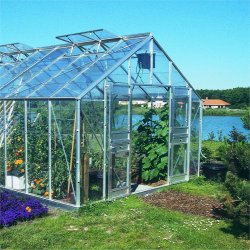
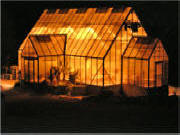
One goal for the homestead will be to establish a greenhouse on the property. By establishing a greenhouse, we’ll be able to take advantage of the space we have available and get a head start on gardening each winter. I have tried starting plants from seed inside during the wintertime and have had mixed results. Since we didn’t have a grow light for the plants, they tended to be very ‘leggy’ due to the lack of proper sunlight. Many of the plants did fine once we transplanted them into the garden, but it wasn’t really ideal. Since we intend to have a much larger space available outside for the garden in New Mexico and will need a great many more starts, it makes sense to establish a place to grow them with plenty of light and space.

It is blazing hot in New Mexico in the summertime, so I know we will need to use shade cloth and roll up the sides for ventilation during the hot months to prevent cooking the plants. However, in the southwest, summertime comes so quickly, it will be wonderful to have a sheltered space to start plants before the last frost to help the garden get a headstart during the winter months.

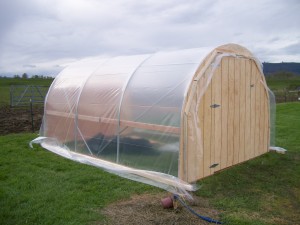
10' x 15' Greenhouse

I found out about a very nice greenhouse kit by seeing a Youtube video made by Jack Spirko about his newly constructed greenhouse and became very intrigued by the kits sold by Steve at Steve’s Greenhouses.

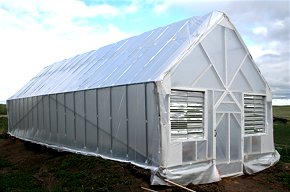
Additionally, since following Steve’s blog over at http://thegreenhouseguy.com , I’ve become inspired to see if it would be worth it to start more plants than we need for trade or sale. I like his commonsense approach to it and the way he shares what has worked well for him. He sells kits for greenhouses at his other site: http://stevesgreenhouses.com/ His kits offer affordability and ease of construction, I think. For about $1000, you can build a 10′ x 20′ greenhouse (using his basic kit costing $685, plus your own materials for the wood end parts, doors, windows and concrete for the support posts). That is a lot of growing space for the price. He offers ideas for heating and ventilation on his blog, too. According to information at his site, the double-layer plastic should last 6-7 years before requiring replacement and seems to be able to withstand snow and wind very well.

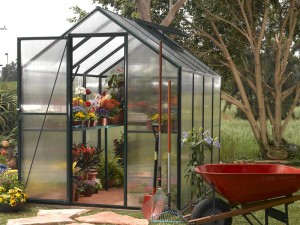
I did a bit more looking around online to see what other options are out there. For some other homebuild kits, I found another site — the Greenhouse megastore — that had a fairly good range of sizes and prices. Even the least expensive model was similar in cost at about $945 including free shipping, but offered much less space for growing. It is a very attractive little greenhouse, though and might be a bit more permanent than the design by Steve. This greenhouse would most likely be approved by many strict HOA’s, so would be a good choice for a family living in a neighborhood and without a huge amount of growing space.

For larger and more permanent designs, I found another site — Greenhouses.com — where there were many options including Cedar and Glass designs, etc. Those kits could run into several thousand dollar costs, so are a bit out of the range of our interest. However, there were many very attractive designs, including the Juliana Gardener (36 sq m = 383 sq. ft) for about $8500.

Juliana Gardener 3600

In my internet searching, I even came across a site where the cost per square foot is more than we plan to spend on our home! Check out the fabulous designs at Gothic Arch Greenhouses. While I cannot see one of these designs giving a return on investment anytime soon, they are very impressive. Let’s see… for a 10′ x 20′ greenhouse of this type, we’d be looking at $20,000! But hey… it looks great and would also give a suburban home the possibility of producing food in winter! You could even refer to it as “The Conservatory” and serve afternoon tea amongst the orchids.

Gothic Arch Greenhouses

I also found a great site at Frugal Living Freedom with designs for building your own greenhouse. This is also very intriguing, so we’ll be considering something of this sort as well. I particularly liked the #2 Design that featured using chain-link fencing top rail material for the structure. It is a very attractive design, too.

Greenhouse #2

Gingersnaps!

Gingersnaps and coffee...
I’ll admit it… I’m trying to use things up and clean out cupboards. I discovered that I have 2 1/2 bottles of molasses lurking in the kitchen cabinet. The perfect way to use molasses (other than for Cracker Jacks — I’ll share that recipe another time) is for Gingersnaps. The boys are going on a boy scout campout, so these sturdy cookies will be a great take-along snack.

Gingersnaps

3/4 c. butter, softened
2 c. sugar
Cream well.
2 eggs
1/2 c. molasses
2 tsp. white vinegar
Add to creamed mixture and mix well. Add:
1 1/2 tsp. baking soda
2 tsp. ground ginger
1/2 tsp. cinnamon
1/4 tsp. cloves
3 3/4 c. flour

Roll into balls… coat with granulated sugar. Place on greased baking pan and bake for about 10-12 minutes at 350 degrees Fahrenheit.

Completely yummy.

Sprouting Foods

If you don’t have your own greenhouse, wintertime can be a time when you don’t have much of your own home-grown fresh food. Sprouting can be a tasty and nutritious addition to the winter diet. When I first learned about sprouting, I also discovered there is an entire community of people who are really enthusiastic about it. I discovered the site, SproutPeople.org. By reading information and watching videos at their site, I was encouraged to try it out.

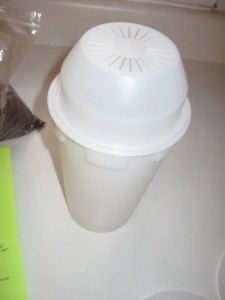
Seed Sprouter
I purchased one of their Easy Sprout Sprouters and have found it to be very excellent. My favorite sprout (so far) is broccoli. Broccoli sprouts are simply yummy. They are great on salads or sprinkled on sandwiches (whole wheat, ham and swiss…).
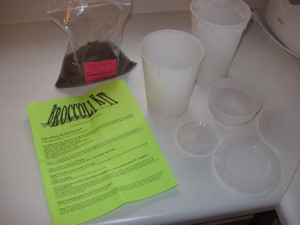
Broccoli Kit

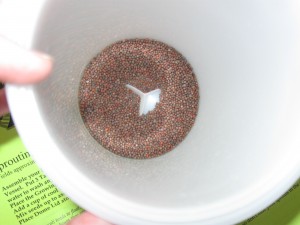
To sprout broccoli, you first snap the extra filter piece (for small seeds) into the sprouter, then add 2-3 Tablespoons of broccoli seed. Rinse well to remove any dust and then add 1 cup cool water to the sprouter. Let it soak for 8-12 hours, after which you drain all the water out and shake it well to remove as much water as possible.

Seeds in sprouter

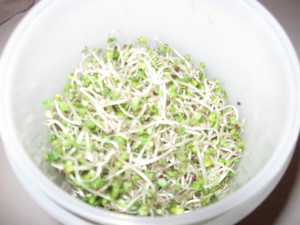
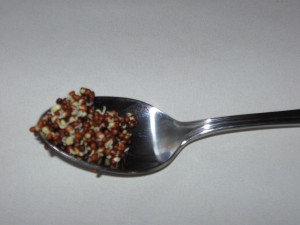
After two days of rinsing every 12 hours, the sprouts are looking good:

After Two Days...

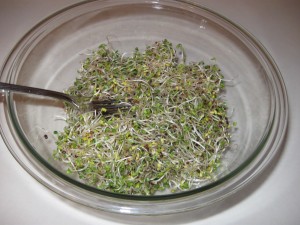
Ready to enjoy.

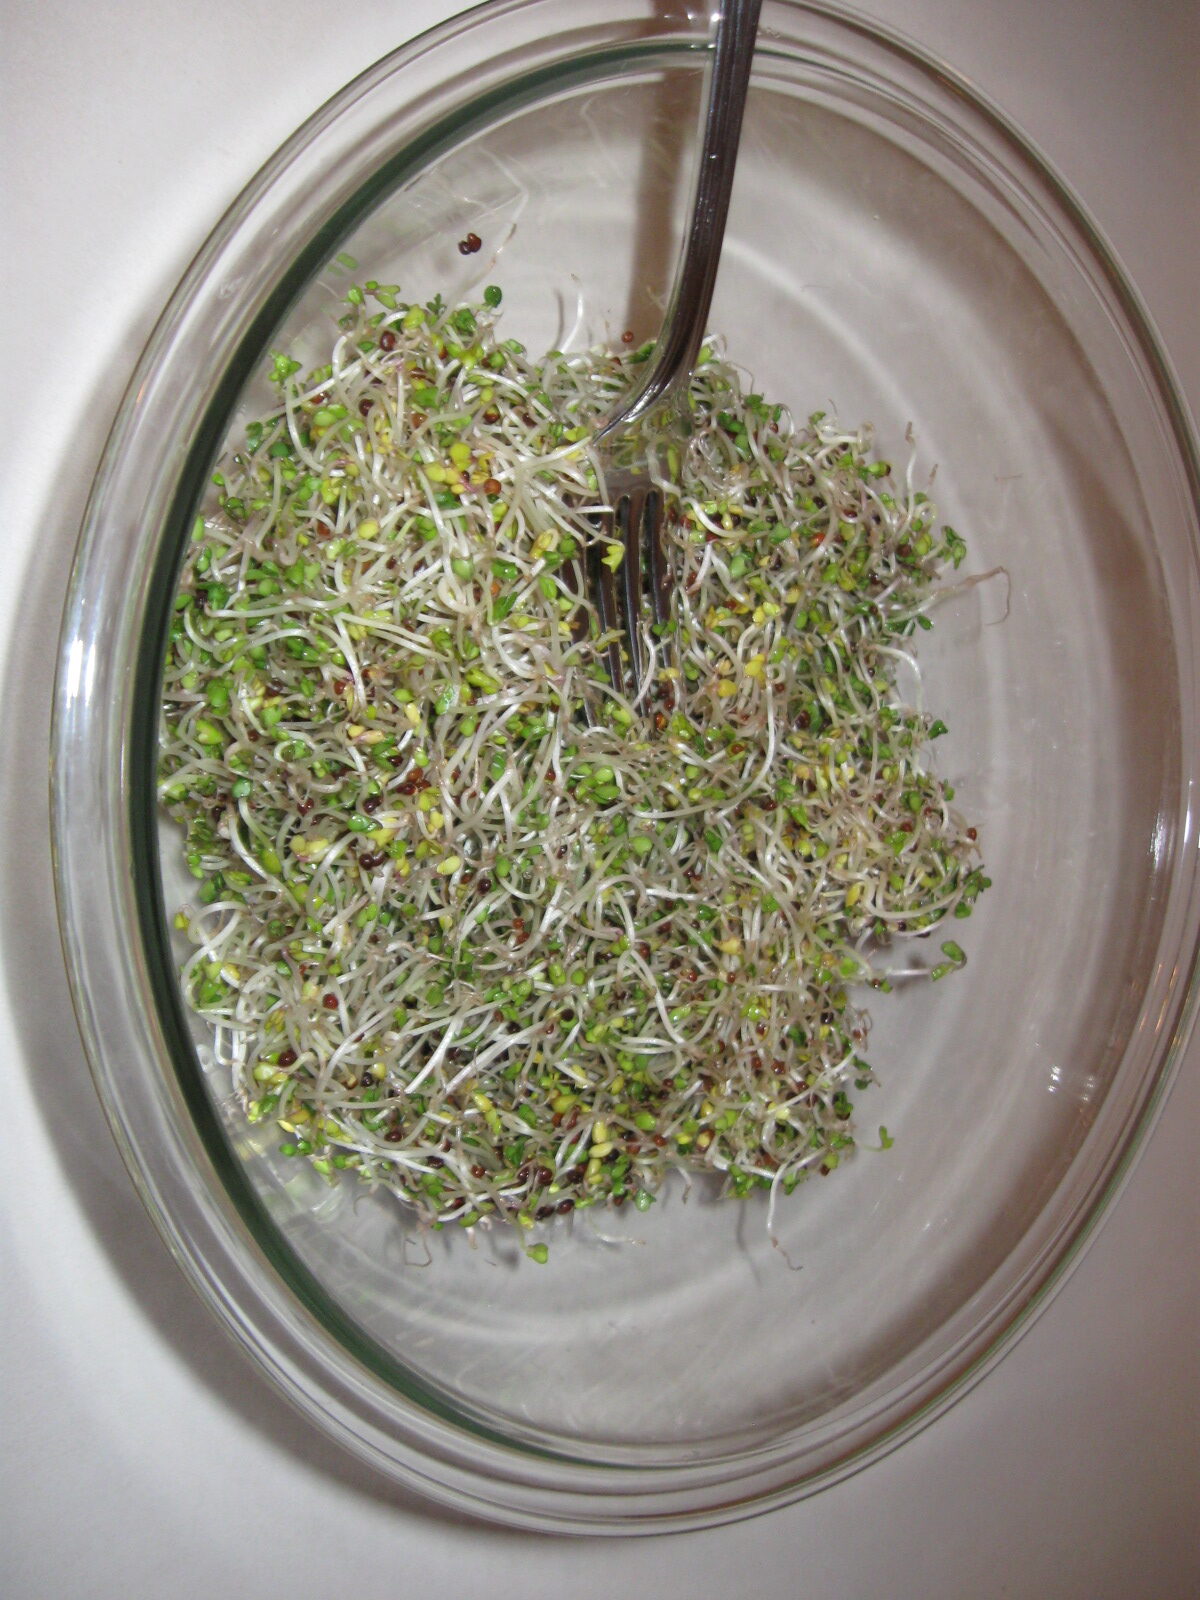
After 6 days, we have beautiful, delicious fresh broccoli sprouts. I have to admit that we used some early on salads as they were growing this week. They were quite tasty. Now that they have grown long enough, I dehulled them by covering them with water in a bowl, allowing the hulls to float to the top and skimming.
Ready to eat!
Using my salad spinner, I’ve got them as dry as possible, let sit for about another hour and refrigerated to keep them fresh and delicious.

SproutPeople have a great video demonstrating this process as well:

Door Hardware -Kwikset Smartkey

Have you ever had an exterior door lock mechanism fail? In our last home (a builder’s spec home, as we discovered after buying), we had not only one, but two different exterior door locks fail. After disassembling the locks, we discovered that pieces of the lock mechanism had simply broken and were not repairable. Now I’d never heard of a lock breaking from normal use in only 6 years’ time before this. Our guess was that the locks were very inexpensive locks — perhaps the cheapest the builder could find. They looked nice — had that stylish antique bronze finish that was very popular — but were obviously not robust.

So… we headed down to the local Home Depot (or Lowe’s — I forget which one) to buy replacements. We discovered a wonderful new invention: Kwikset Smartkey sets. Basically this type of door hardware is a middle-of-the-line quality knob set with a unique feature. You can re-key the locks to match your other locks. That allows you to keep the same exterior housekeys from your remaining locks without the expense of paying a locksmith to re-key the new locks.

I had another thought as we were matching the locks to the keys at the old house… if the entire house had Smartkey hardware, we could change the locks on our doors if we ever felt the need all on our own. You could even change them temporarily, say, if you had a housesitter for a particular period of time. This video demonstrates the method:

Since each door hardware set comes with its own key, you already have as many different possibilities as you have keys to begin with.

As we plan the details of our homestead, I am planning to look at Kwikset Smartkey door hardware for the exterior doors. By planning ahead and watching for specials, I should be able to do much better than paying retail locally. If I can find smartkey systems for similar pricing to other similar-quality models, it will be worth the effort. If you are just in the market for a replacement set, this might be just the ticket for you.

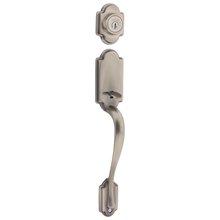
I found very reasonable prices on attractive Handlesets at the www.handlesets.com site.