Finishing the Building Pad

Amidst a bout with kidney stones, extremely hot and windy weather, we finished our building pad and foundation lay out. I started by staking out a general layout of the foundation, placing corner stakes for the foundation in the location that we wanted the house to sit. This was not an exact layout just a general one done with a tape measure, stakes and string lines. Since we sit on 5 acres with no required set backs and no easements, I was not concerned with citing the corner of the house +/- ¼”. It was sorta a “looks about right” placement methodology. Had we been building in a subdivision, I would have used surveying equipment to place the foundation exactly in accordance with the plot plan.

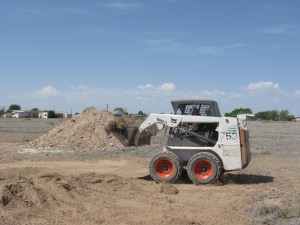
With my foundation line in place, I used a Bobcat and removed the top few inches of top soil under the foundation and scraped away the vegetation around the foundation for several feet. The solid material under the pad has been undisturbed for millennium and we are about 16-24” above the first rock layer. My footers will extend, in most cases, through the soil and rest on the rock. Combined with rebar, 3000psi, fiberglass impregnated concrete; I think we will have a very solid foundation.

I then placed corner stakes for where I wanted the pad built up. I placed them 5’ on the outside of the foundation perimeter. That will give me a good buffer to work with when doing the trenching for the footers, and provide material to create a suitable run-off grade sloped away from the foundation. I then used the CST/Berger 800’ Dual Beam Rotary Laser to set a perfectly level string line at 6” above the highest grade.  The lowest point on the pad was 6” below the existing ground layer.

I ordered more than 200 tons of fill dirt and with a Bobcat I moved layers of dirt around the pad, using the string lines as both a perimeter guide and a height guide. As I moved the dirt I ensured I compacted as I drove the Cat in reverse with a majority of the weight of the machine on a nearly level bucket. The weight of the Cat and bucket being drug across the dirt aided in compaction. It is essential to compact between layers (4-8” recommended depending on soil quality) rather than filling completely and then compacting. Such a manner will result in only the top 6-12” being compacted and the bottom layer rather “fluffy” Over time the ground will settle resulting in foundation complications.

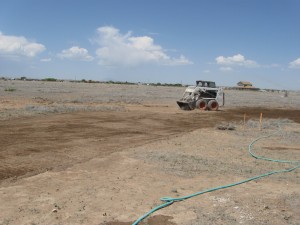
After the boys finished school, the assisted me in getting a fairly level pad (+/- 2”) by running supplemental string lines across the pad. Wherever the string touched the pad it was too high so I removed some dirt. Where the string was above the pad, I added fill and compacted. I was surprisingly able to build a fairly level pad using this method.  During the evening and into the next day, we sprinkled the pad heavily allowing the water to trickle down into the layers as best as possible to aid in further compaction.  I rented a walk behind vibrating roller and ran across the pad at least 4 times resulting in an even greater compaction.

I waited for the top of the pad to dry somewhat to prevent the caking of mud on the rollers. My concrete sub and a very seasoned home appraiser both were impressed with the work. Since I had never built a pad before I wanted a few folks to look at it.

The next step was to accurately (+/- 1/8”) lay out the exact perimeter of the foundation so that the footers could be trenched and the form boards could be placed. I purchased the CST/Berger 800’ Dual Beam Rotary Laser to do the work. I figured rental on the device for as many days as I would need it for the pad, the foundation, interior work, etc. would begin to add up.  It thought it would be well worth my time to buy it. It took me a while to learn the nuances of the device and make sure I was taking accurate readings and properly setting up the level. In the end I will have a lightly used, well cared for device that could be sold. I am certain this is a cost effective decision.

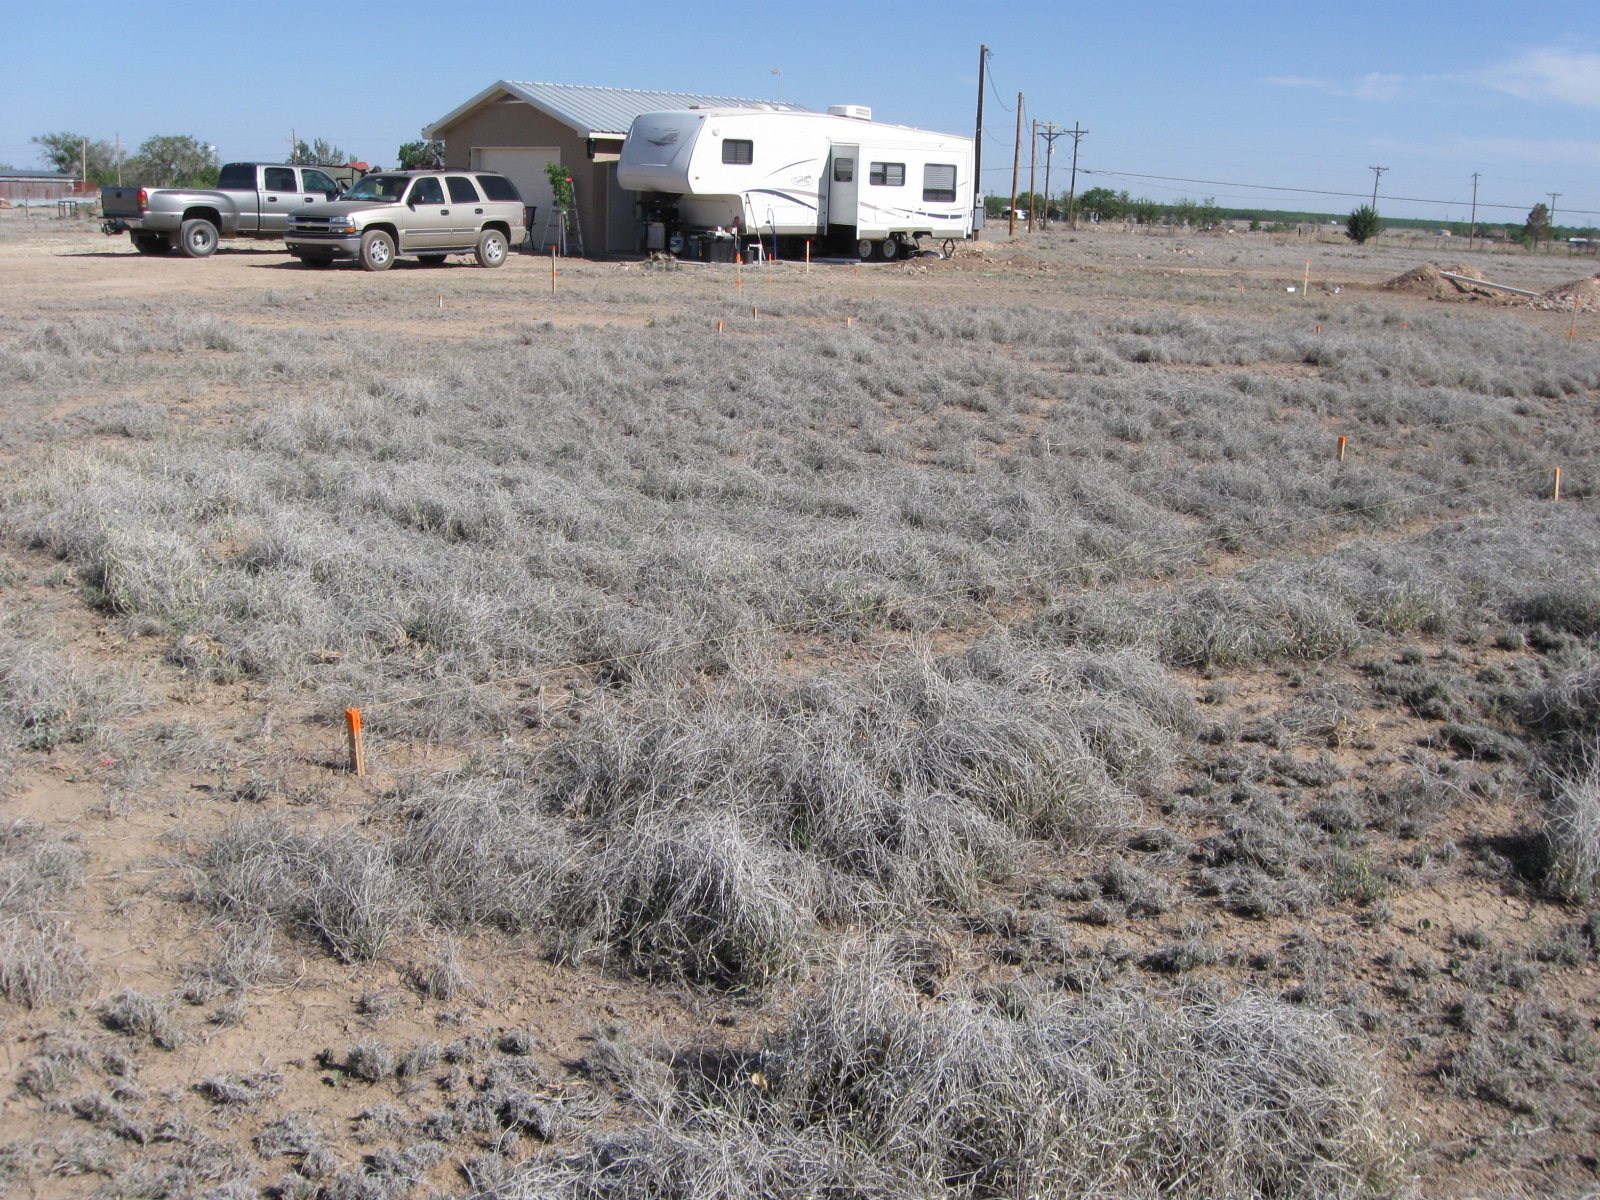
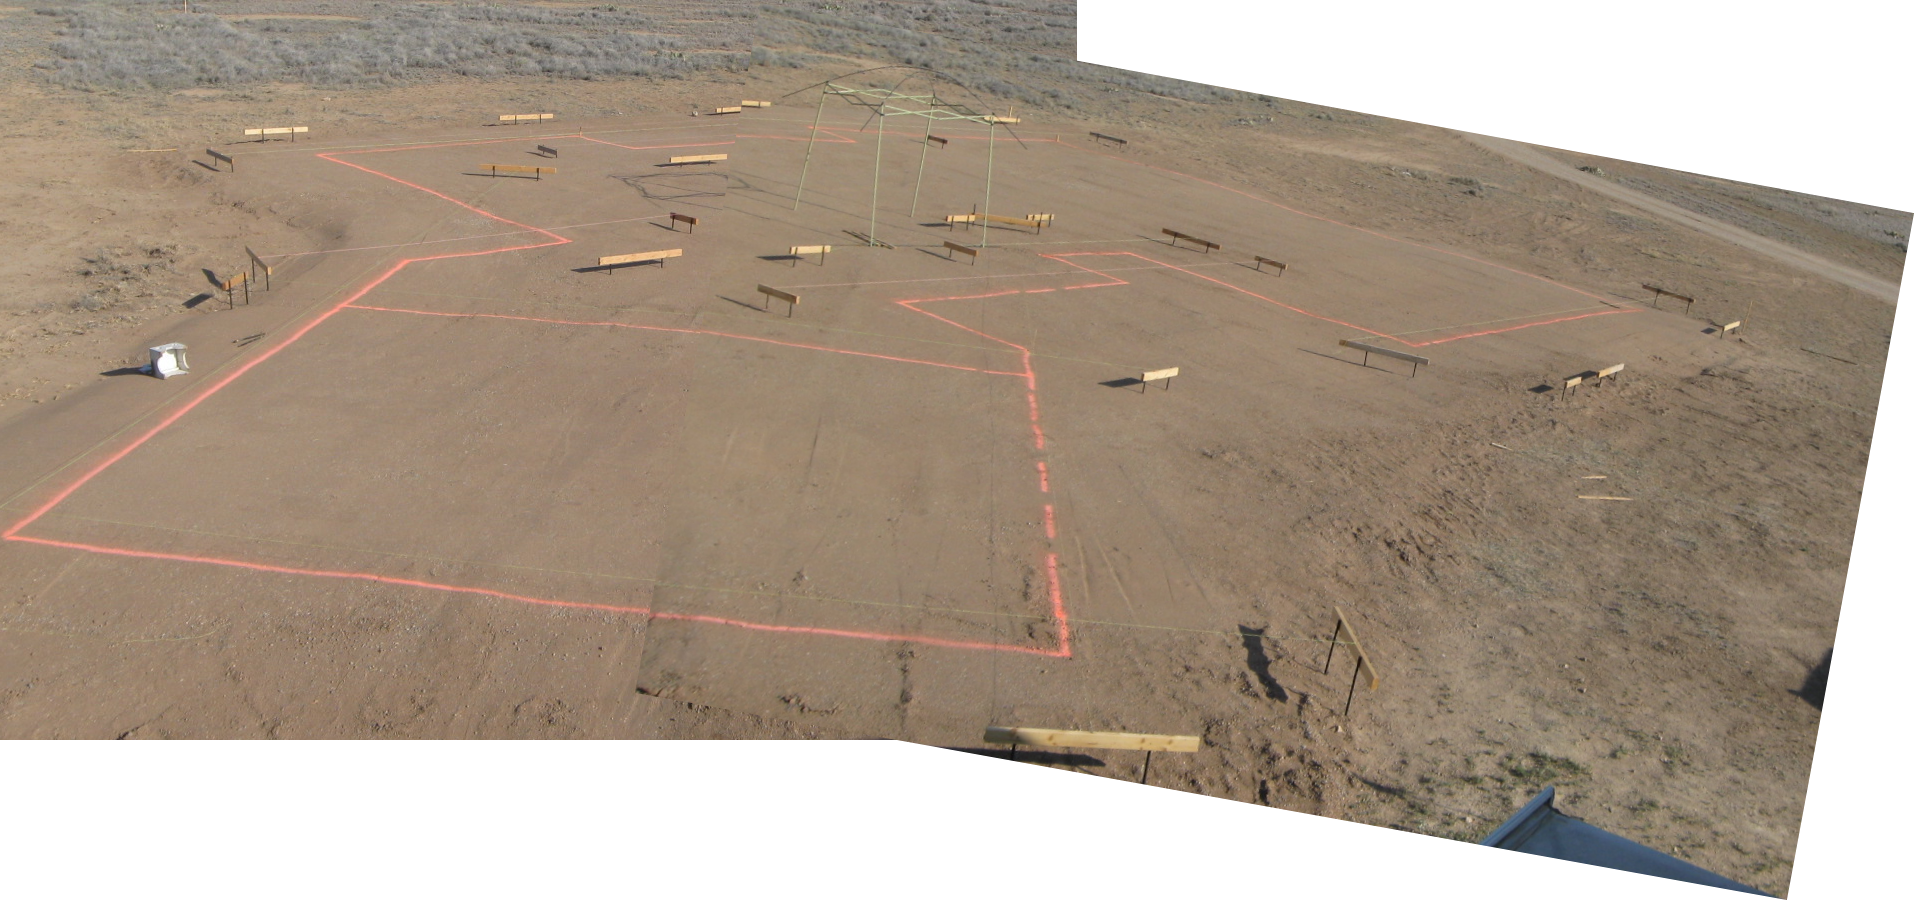
String lines, batter boards and orange marking paint define the outside edges of the foundation.

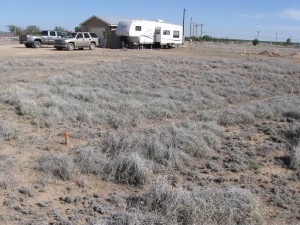
I established a  system of string lines and batter boards which defined the entire perimeter of the foundation. I used conventional methodology for this task, relying on 36” steel stakes rather than wooden stakes, given the density of the ground.  I took several diagonal measurements where possible to ensure everything was square. Given the dynamic nature of the perimeter, with lots of corners and 45 degree angles, taking the diagonal measurements was not easy. My worst measurement was 3/8” over a 60’ length.  I was striving for ¼”, but moving one stake impacts several others. It’s not as easy as squaring a rectangle with four corners. I think I will leave well alone and refine the “square-ity” in the framing stage.  Once I was pleased with the work, I used line marking spray to trace the outline of the foundation, which you can see from the image. The next phase will include trenching the footers and placing the form boards, followed by rough in plumbing.

Rain in the Desert

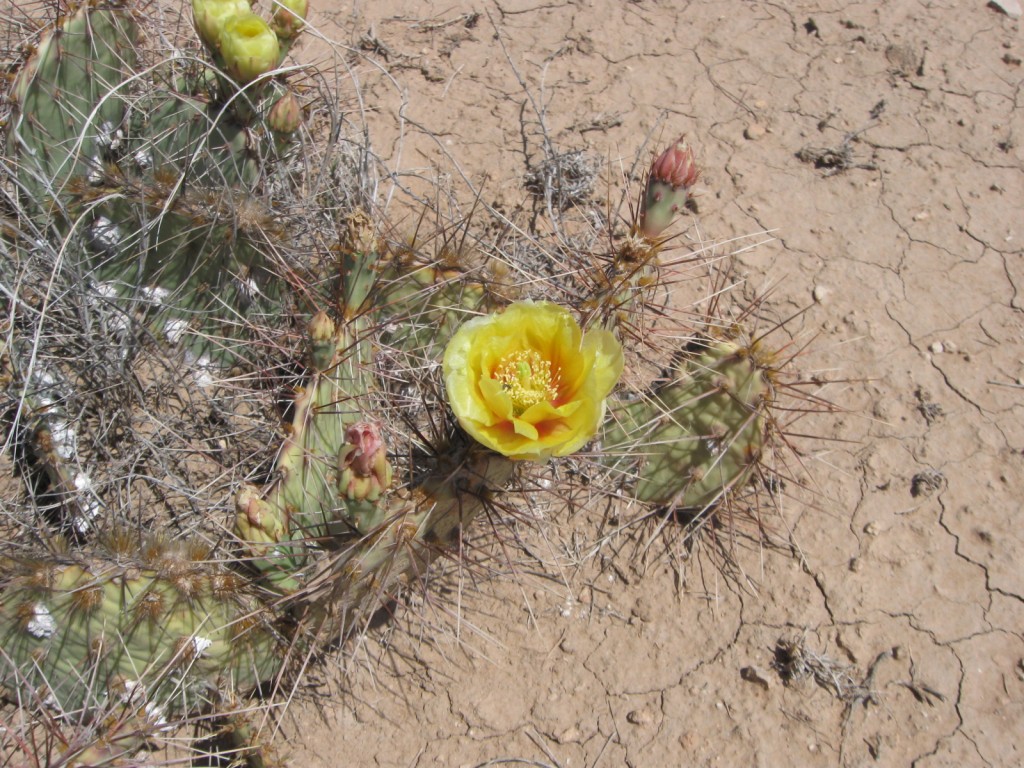
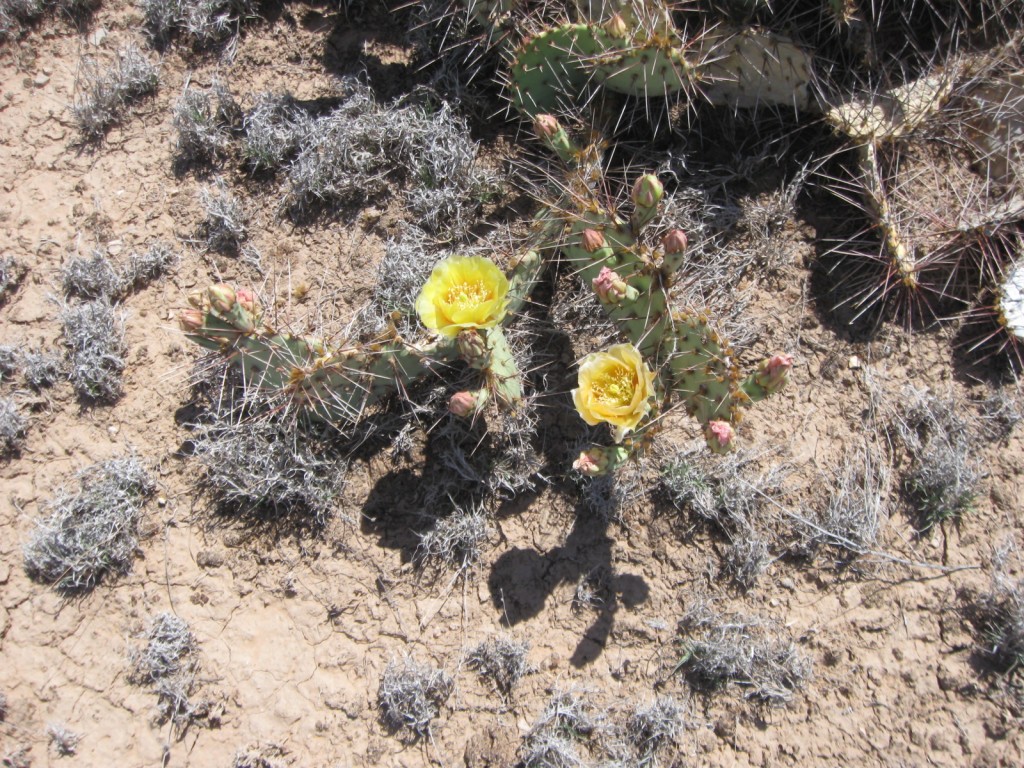
We had a wonderful week of rain here in the dry southeastern New Mexico desert. Because of the dirt road in front of our property, we tried to minimize the driving we did when the weather was so wet, but welcomed the wonderful smell of the rain and much-needed moisture. It came just in time to give additional water to our newly-transplanted pecan trees, as well as the native cacti on the property. Here are photos of the blooms that came soon after the rain:

The prickly pears look like they’ll be producing fruit, so maybe I’ll try my hand at prickly pear jelly after they ripen…

Prickly Pear Blossoms

When we lived in the Ft. Worth area, I also had the chance to taste nopalitos (strips of the green cactus are made from the flat ‘leaves’ of the prickly pear cactus and steamed or boiled and served as a vegetable or an ingredient in burritos). Perhaps I’ll don gardening gloves and try removing the sharp prickles from them to make homegrown nopalitos sometime. I have to admit that our cactus is still not looking pretty enough to try this. Quite a bit more rain is needed, in my opinion.

Prickly Pear
Prickly Pear Cactus
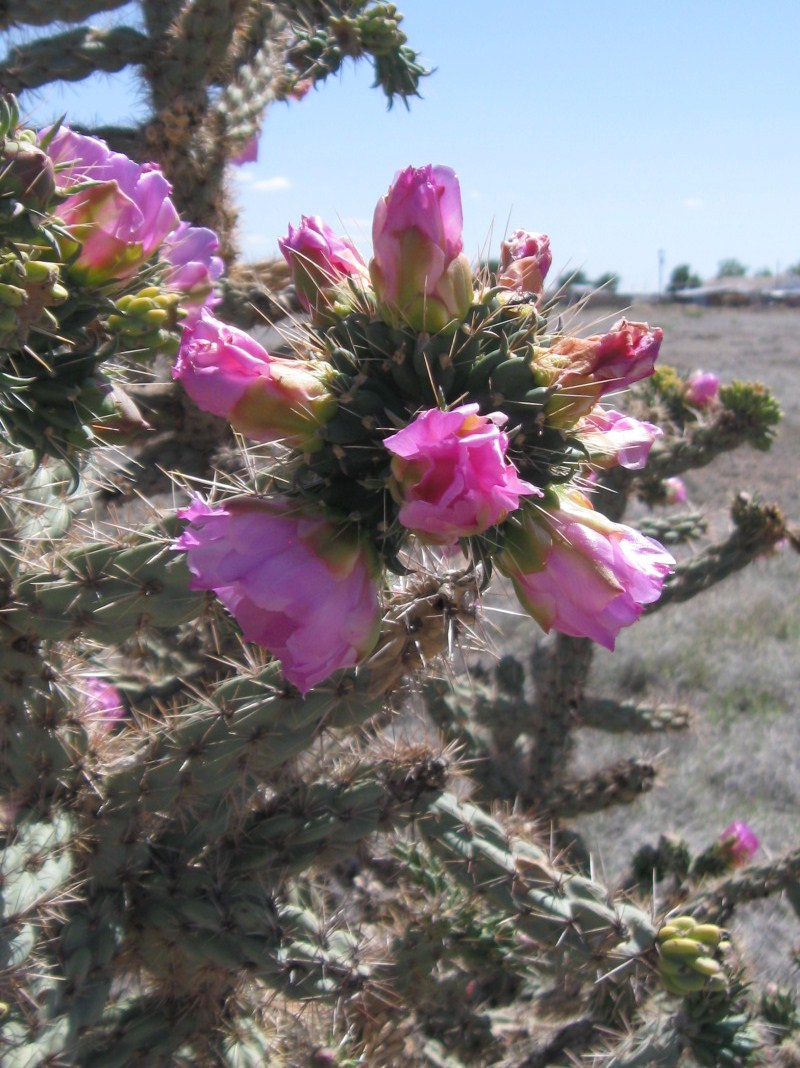
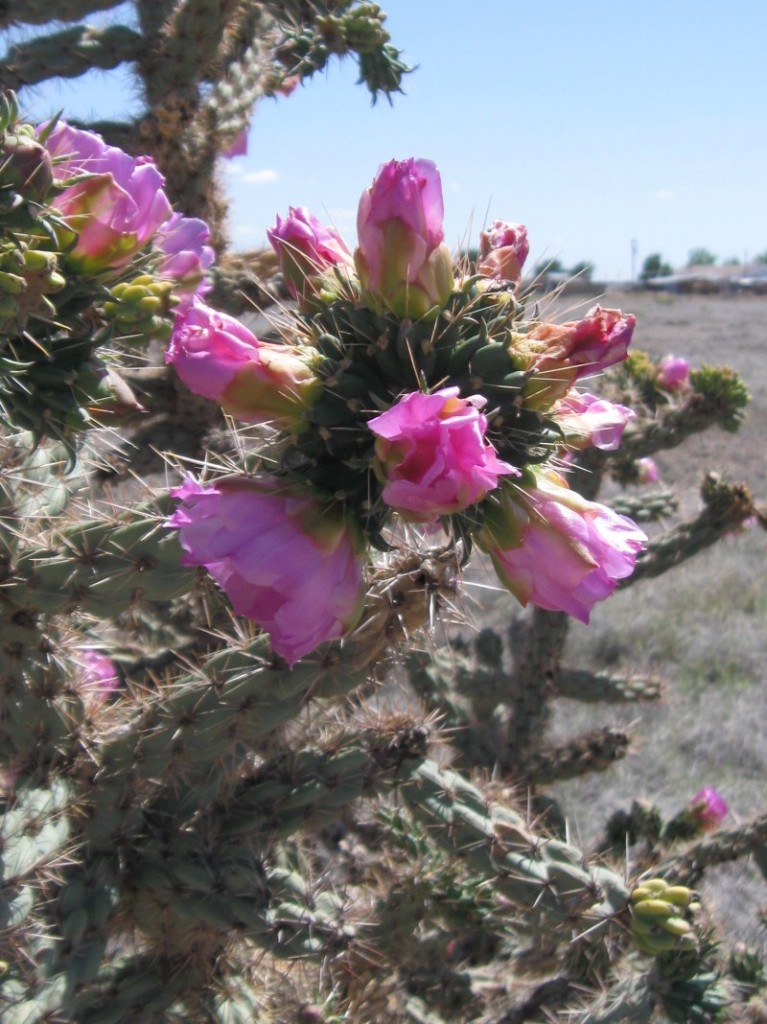
Blooming Chollo

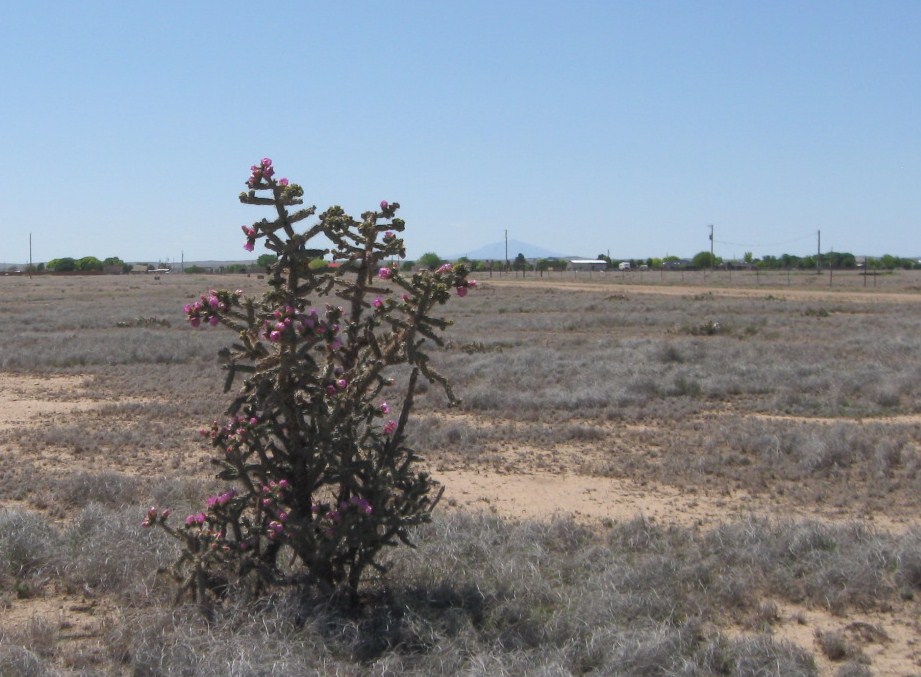
Especially pretty was the rather large chollo (cho-yoh) cactus with the lovely pink blossoms. As I approached to snap this photo, I began hearing the constant buzz of the happy bees, gathering nectar.

Bee-covered Chollo blooms

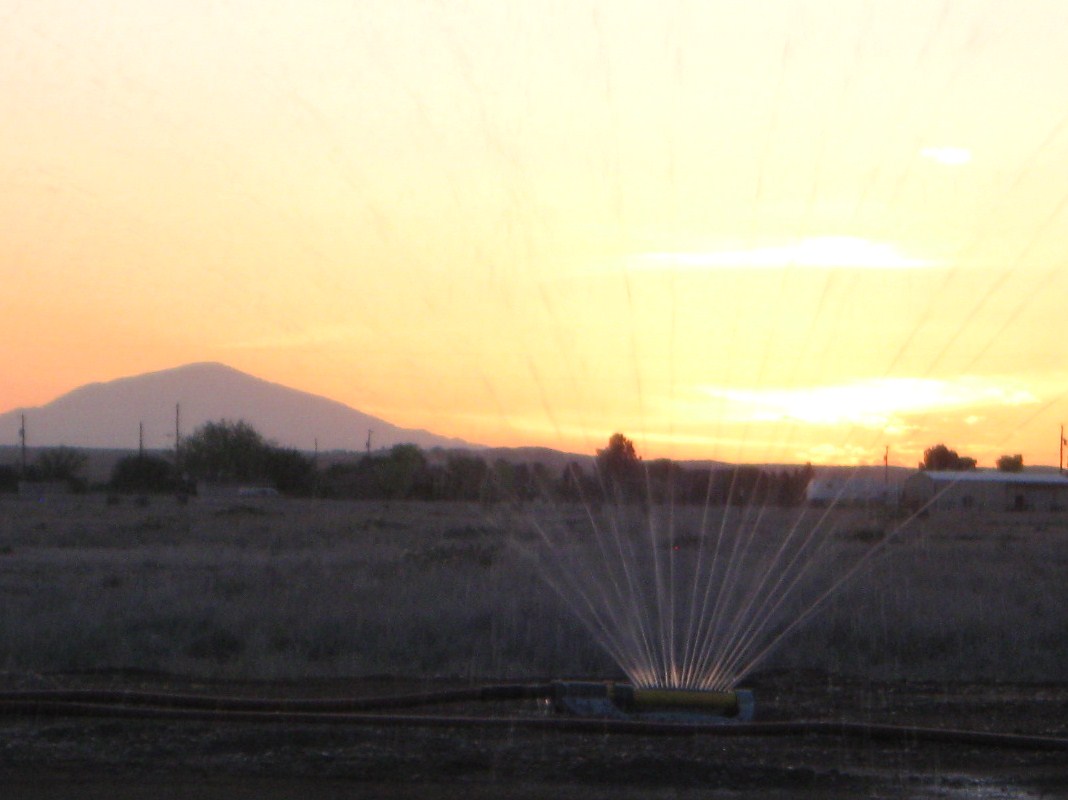
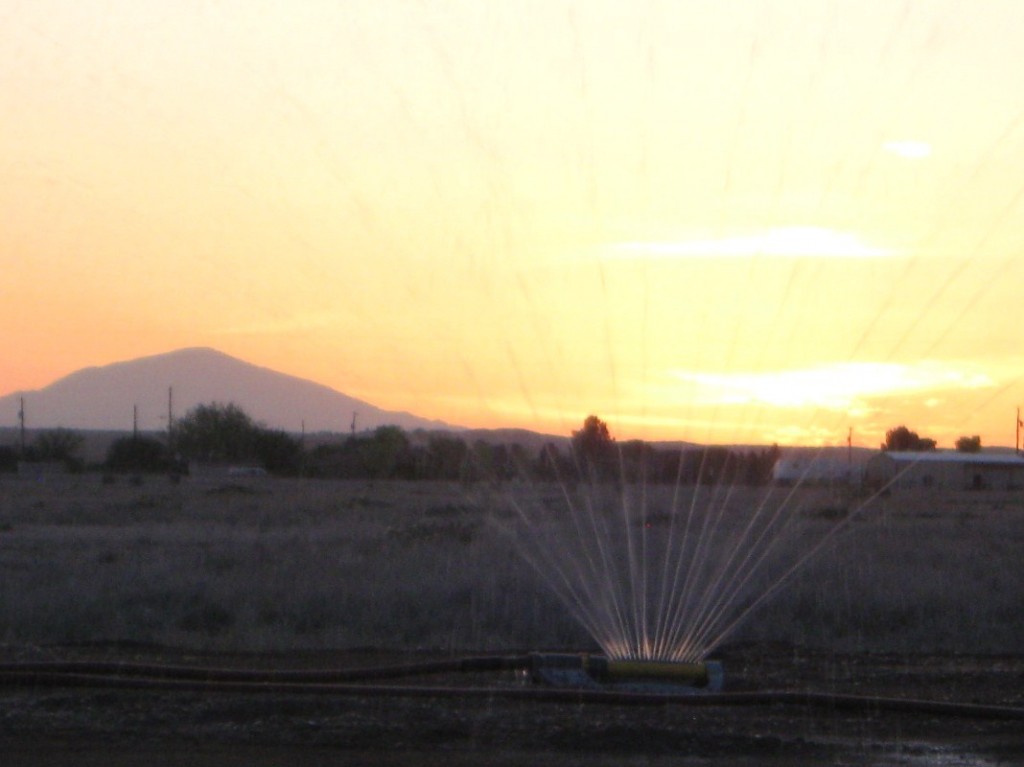
This next photo catches the faint distant view of Mount Capitan. Our back porch will face this direction, so we look forward to nice views once the house is complete.

Sorry for any interruptions…

We’ve been in the process of moving our hosting service this past week. As can be expected, there have been a few bumps in the road from one service to another… getting all the data transferred and into the correct format to work with the new system.

We apologize if you have tried to access pages or previous articles on our site and have had difficulty. With any luck, all is complete and everything should be working now.

Thanks for your patience!

Pecan Tree Placement

Yesterday was a red letter day! We got two of our four pecan trees placed on the Homestead. While the process was going on, I was able to video them. See the progress here:

Preparing the Hole:

Planting the Tree (1st Tree):

Planting the Second Tree:

For more information about transplanting mature pecan trees, check out our previous posts on Mature Pecan Trees and Pecan Trees for the Homestead.

Now that the trees are planted, we know we need to be very diligent about watering them heavily until they are very well established. Initially, we plan to fill up the water wells around the trees about four times/day. After they are well established, deep watering about every 6 days is sufficient for good production. New Mexico pecan farmers are known for harvesting very heavy crops. Brandon told about local farmers producing about 3000 lbs (in the shell) per acre (which means our four trees — about 1/10 acre — have the potential to yield 300 lbs/yr for us). This is very high relative to Texas farmers, who generally yield closer to 1500 lbs/acre.

Brandon Kuykendall, owner of Tree Digger LLC in Roswell, NM took care of the whole process for us. You can contact them at bktreedigger@yahoo.com or by phone at (575) 317-8536. Great people… we highly recommend working with them. They can transplant other types of trees, too…

Planting Mature Pecan Trees

As mentioned in an earlier post, pecan trees do very well in New Mexico. We were fortunate to find someone to sell a few to us for the Homestead. According to my Dad, with the trees having the late spring and summer to establish themselves (assuming we give them good quantities of water), we could possible see some pecans on the next year (2013) winter harvest.

To get ready for the trees, we had to identify where we wanted them, the spacing and how we planned to water them. With the ground being so completely dry (due to lack of rain), we had to prepare the ground, soaking it well for several days before the process of digging the hole and planting a tree could begin.

The company selling us the trees (Tree Digger LLC, owned by Brandon Kuykendall – 575-317 8536) recommended forming a well for the trees at least 8 feet in diameter and soaking it down over time so that the soil would be soft enough to dig with his equipment. Pecan orchards are planted with the trees 30 feet apart in rows, with 40 foot rows separating them. I have heard that typically pecan trees around here are planted with 44 trees to the acre.

The trees we will get are 25 year old trees that have been pruned back to allow transplanting. The cost for trees of this type (including digging the hole and delivery) is $500. We had budgeted $2000 for pecans, so we are able to buy four without busting the budget. We laid out our plan for the trees to be planted 30 feet apart in a square formation. This will make it easy to set up the automatic drip system for watering.

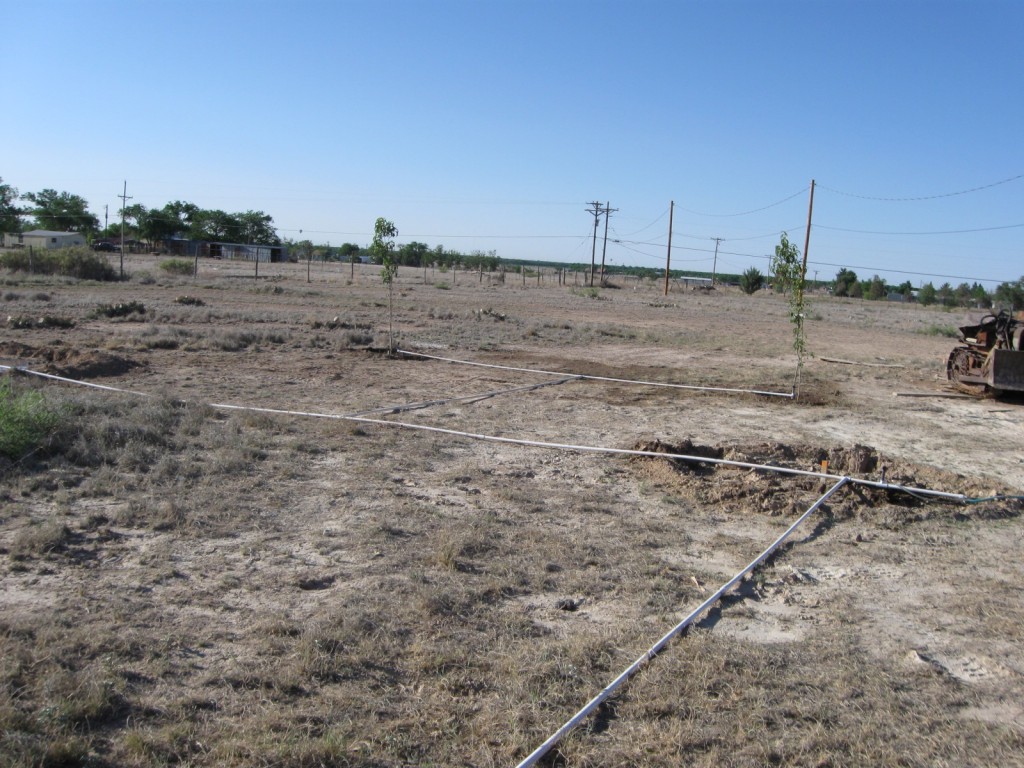
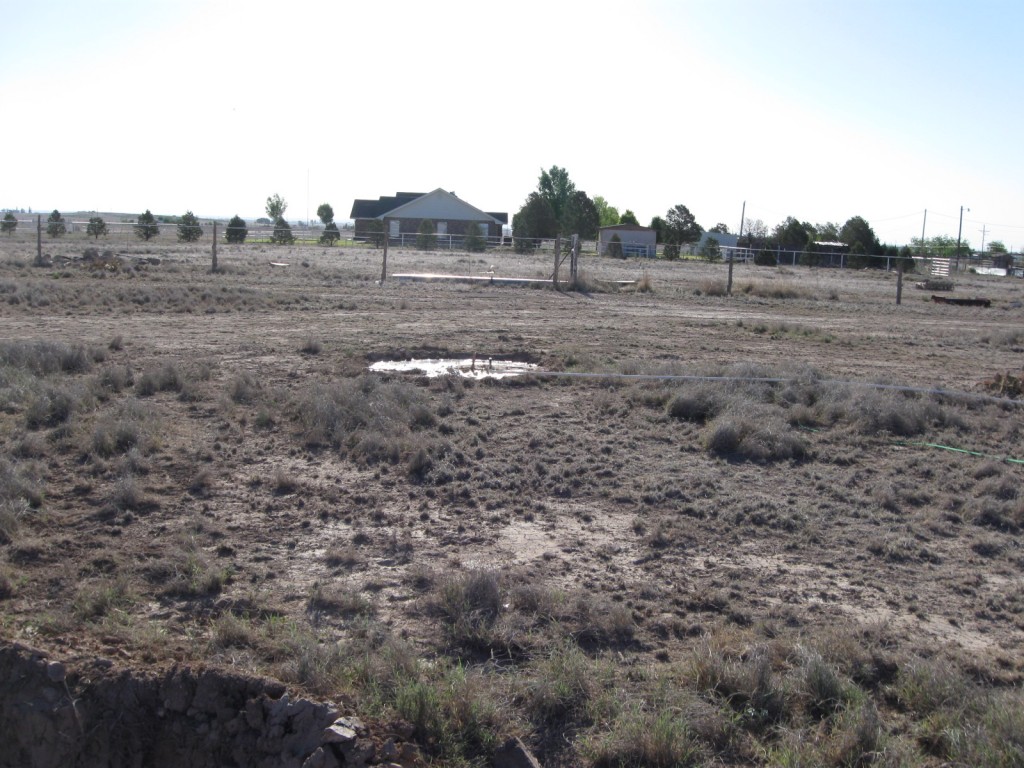
We have prepared the wells, and put together a temporary automatic watering system for the four pecans and two fruit trees (we couldn’t wait and bought the fruit trees our first week in the RV). Basically, DH bought the PVC pipes we will use for the underground system once the trees are in place, but laid it out on top without gluing the pieces together. Then, we attached the layout to a water hose and set up a timer to automatically water the wells a few minutes every 8 hours. This gives time for the water to soak in well into the soil without running over the wells we prepared.

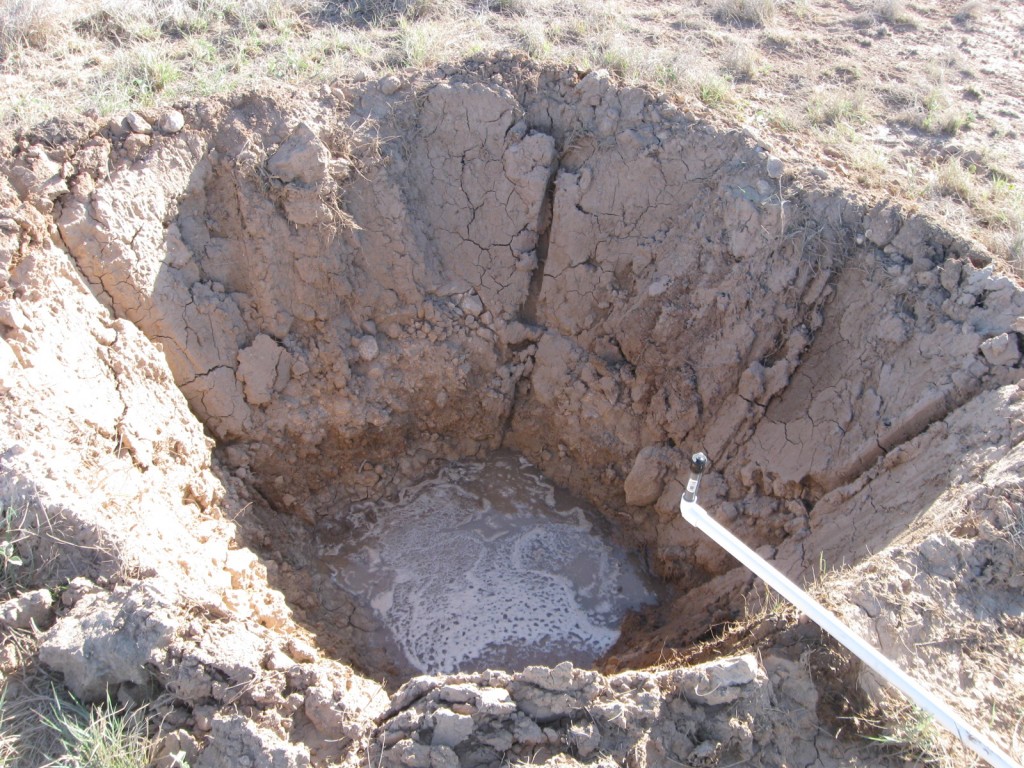
One of the holes for a pecan is ready; we’re now waiting for the delivery of the trees.

Soon to be home for a Mature Pecan Tree

After the trees are delivered, we’ll share more information. I hope to video the digging of the other holes and the tree delivery. I have seen orchards around town that have mature trees that were obviously transplanted either last year or the year before. I’ll try to get a few photos to show what we expect our trees to look like in just a year or two.

With the barren nature of our 5 acres here, the addition of trees will make a huge difference.

Site Preparation — Building up the Pad

Before the buildup

This past week has been spent with various aspects of making life a bit more comfortable on the homestead. Such things as repairing a burnt out water heater caused us to learn a few new things(an error made by our electrician after power was supplied caused the tank to fill to only halfway, above which one of the heating elements burned out, shorted out the tank and began leaking).

We also began unpacking those things we will need during our stay in the RV and organizing things to allow some convenience. The bathroom inside the workshop is excellent… the washer and dryer are very handy… this is so much better already than the RV living we did during our evacuation from New Orleans after Katrina.

When we envisioned building ourselves, we really had not planned to do the site preparation ourselves, thinking it must be something to hire out. However, once we got the estimated cost of $7800 to build it up, we decided to put pencil to paper and see if that seemed reasonable.

After calling the local suppliers of fill dirt to compare pricing, getting information from them about compaction and delivery, we calculated how much fill dirt we would need to build up the pad to the desired 9″ or so. We also checked pricing on rental equipment and called up a brother in law with lots of dirt-moving experience. He provided some excellent tips regarding what type of equipment to rent, how to compact the dirt properly, etc.

After all this, we figured we could do it ourselves for less than half the cost. About $2400 in fill dirt ($11/ton in large loads; $16/ton for the last 15-ton load), and about $750 for a 3-day rental on the bobcat came to only $3150. We still need to rent the roller, but don’t expect that to be terribly expensive, perhaps no more than $150. On this first thing, we were able to save about $3500 by doing the work ourselves. Granted, it took a bit of time to master the technique of spreading the fill dirt evenly, so it may have taken an extra day of equipment rental, but it was still well worth the effort.

The work on preparing the site for building the house began on Monday morning with the renting of a bobcat for site preparation. Over the weekend, DH and the boys used the laser leveling gear to determine just how much slope there was to the building site. As it happens, it was only about 6″ total, so pretty level to begin with. After that, DH used the bobcat to scrape away the vegetation and dig the (very hard) surface off to prepare to add fill dirt.

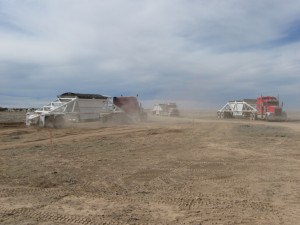
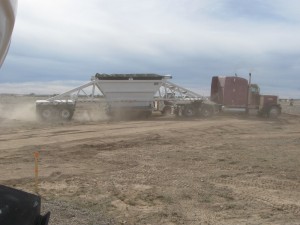
The delivery of the fill dirt was very interesting. Arriving in very large trucks, they delivered 25 tons per truck (100 tons total) the first day… another 100 tons the second day and a final 15 tons in a smaller truck to finish off on the third day. On the second day, during the dumping of the load from the second truck, we had a bit of a scare.

The truck backed up very quickly, coming within 6″ of the RV. My not very excitable husband got excited and yelled at the driver to stop… just in time. I was filming at the time, so it is documented… the noise of the trucks are such that you can’t really hear my husband saying (as he walked away): “Boy, that was close!”

DH took time to teach the boys how to drive the bobcat… both of them thought it was great fun. No doubt their computer game skills helped them a great deal! We have some vids to post showing their skills… The first is of the oldest boy (13 years old), working the magic:

The next video is of the youngest boy (11 years old), at the controls of the Bobcat:

The pad has now been built up to a fairly level state, with extra space built-up around the edges to allow for porches, patios, etc. This weekend has been spent watering the pad in preparation for rolling to compress the soil further next week.

We’re on the Homestead!

Well… it has been a hectic month. We have driven over 4500 miles, criss-crossing the southern U.S., hauling our belongings, pets, kids and selves from Georgia to New Mexico.

The first leg of the trip began on Easter. After playing and directing the choir for Easter Sunday Mass, we loaded up the kids, dog and lizards into the two vehicles and started out. Behind the dually, we had the gooseneck trailer hitched (loaded with 2 bulldozers); the Tahoe pulled a rented U-Haul trailer with the WWII Harley WLA motorcycle strapped inside. We stopped in West Monroe, LA for the first night.

The next morning, we were able to stop for coffee and have a short visit with friends in Bossier City, LA (where we lived for a few years — two moves back). Then, we headed north to Okmulgee, OK to pick up the third bulldozer. {Let me tell you, this bulldozer collecting can become addictive}.

After stopping in Clinton, OK for the night, we made the final push into NM and onto the homestead on the 3rd day. We dropped off the gooseneck trailer with the bulldozers, quickly unloaded the motorcycle and boxes from the other trailer and turned the U-Haul trailer in. We were all very happy to see the progress that had been made on the workshop and seeing Mom and Dad, where we left kids, dog and lizards during the next part of the move.

After a short stay, DH and I loaded up on April 12th and drove the dually (with some bulldozer parts to be delivered to College Station, TX), continuing on to Beaumont, TX, where we stayed the night. The next day, we stopped off in Metairie, LA for lunch with friends (we used to live in Belle Chasse, LA before Katrina). Continuing on, we made Warner Robins that evening.

Saturday, April 14th, we picked up the 26′ U-Haul truck in preparation for the packing up of the rest of our stuff (we ended up needing an additional pull trailer to fit everything, as it turned out). It was a relatively relaxed weekend, spent packing up any last things, cleaning house and having dinner with friends on one evening.

Monday morning, the real work began. We had scheduled a 3-man crew to load the truck for us from a local company — ReadytoMove… well only two guys showed up, and one was apparently hungover and was nearly worthless. About 1/2 hour after their arrival, we was tossing his cookies in the front bushes and then made a mad dash for the bathroom…

Seeing the hours slipping away, DH and I got busy helping with the carrying, loading, etc. We got done in about 5 hours, sending them on their way. We were still very happy that we had help for the heavy stuff, but were less than impressed with the company, even though they didn’t charge us for the extra time.

We scrubbed down the quarters, passed our inspection early on Tuesday morning and hit the road.

It was an easy and uneventful drive across the southern states and into NM, with a pleasant stop on the way to see more friends in Azle, TX.

Arriving in NM, we had a 2-man crew to help with unloading (they were excellent and finished up in quick time — thanks to American Moving and Storage) Everything miraculously fit in the workshop… the RV was moved to the pad and hooked up with water and power… life is good.

Colorado Well Costs Update


COST UPDATE: After talking with the driller, we found out that all the drillers in the region have a minimum fee for drilling that is about $2500. Apparently, even though it was not quoted to us, it is the going price for the work involved in hauling out all the equipment, setting up, etc. We are still thrilled with the fact that the well came in at only 40 feet, but would caution folks to ask what the minimum charge will be in a case of this sort so that they are not surprised.

Based on my research online, this seems to be quite a bit higher than some areas (it ended up being $62.50/foot). I don’t understand it, but based on the results we had of talking to several other drillers in the local area, it seems to be standard. Since we just had a well drilled in New Mexico not long before, in a similar situation and region, we were surprised.

I know in New Mexico the quote we received was done differently. The fixed costs were charged as separate line items (mobilization (if charged), gravel pack, cement surface seal (if required by state law), well cap, steel surface liner (if required due to formations), permit), and the cost per foot varied at a lower rate including drilling and casing. The cost for drilling and casing in NM was $21/foot, with the other costs being fixed. I think this is a much more fair way to quote without surprises.

In Colorado they all seem to quote at the standard $34-$36/foot, regardless of depth. They have a minimum which tends to make the break-even point at about 75 feet. After that depth, they make a lot of profit.

Example 1: Based on a 300 foot well:

NM rates for a 300 foot well:
Drilling/casing @ $21/foot $6300.00
Gravel pack, surface seal, cap, steel surface liner $797.50
Total cost: $7097.50 (not including tax)

Colorado rates: $34/foot including everything: $10,200.

Example 2: Based on a 40 foot well:

NM rates for a 40 foot well:
Drilling/casing @ $21/foot $840.00
Gravel pack, surface seal, cap, steel surface liner $797.50
Total cost: $1637.50 (not including tax)

Colorado rates: minimum charge: $2,500.

In both states, the permit charge was about $125 from the state.

Knowing what we do now, I’d probably ask for the quotation to be done differently for the Colorado well. (As they say, hindsight is 20/20). It appears to me that the Colorado drillers are overcharging a bit. (Or, at least, I haven’t been convinced that the pricing is fair). It does seem to be standard in the area so far. In all fairness, our driller wasn’t charging much more than the others in the region. He even matched the lowest minimum price for us.

The driller we worked with was Scott Heersink, out of Alamosa, Colorado.

Pack ’em up… move ’em out.

This week has been marked by large quantities of stuff being packed into cardboard boxes. I have long said that the only advantage that is universally true as a result of making a geographical move is that it forces you to sort through your stuff.

Each time this happens (this is move number 19 for us), I am amazed at the amount of stuff we have that we don’t really need. Things I might have thought would be useful to have ended up stuffed in drawers or cupboards… only to be discarded on the next chance to examine it in the light of day.

We have a room in the house that is becoming full of packed boxes. As we go through the process, leaving the things we think we need to live with for the next 26 days, the house looks strangely neater and more organized. It actually is looking much better around here without all our stuff!

We have houseguests visiting this weekend, and I’m frantically trying to get most of the packing done before I have to buckle down and give the house a good scrubbing…