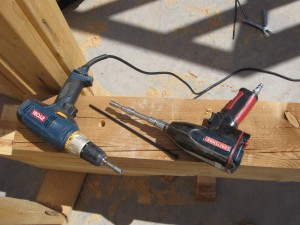
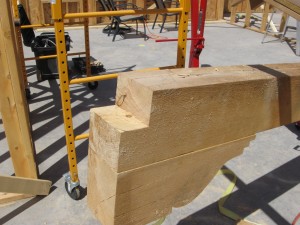
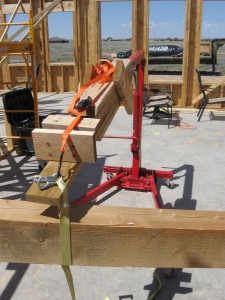
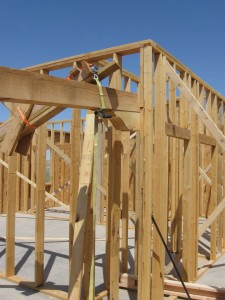
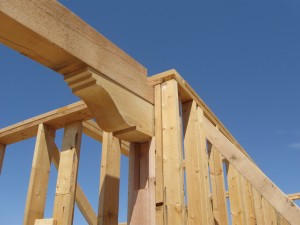
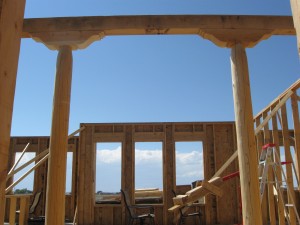
While I was busy in town (haircuts, canning and lawn-mowing), Oz was able to get the interior beams and posts into place. He used a standard drill, the impact drill, hand saw, circular saw, scaffolding and our fondly named “T-Rex” modified engine lift. Again, it proved helpful in getting the beam lifted into place without back strain or injury. In preparation for the project, the beam was cut to size and then notched so that it fit into the interior framing. After the notch was prepared on each end, the beam was attached to the corbels using 10″ wood screws. Support framing was built to fit into the interior framing to support the beam.
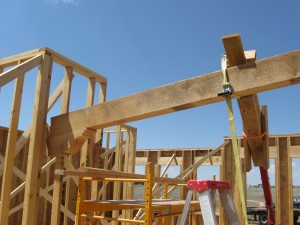
T-Rex was then used to lift one side of the beam to the height of the scaffolding.
After the first side was set onto the scaffolding,
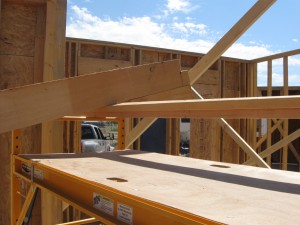
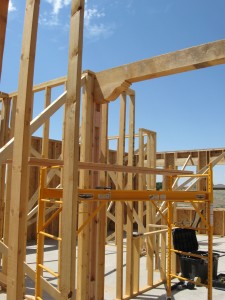
the other side was lifted into place into the wall. Support framing was put into place beneath it. The process was duplicated at the other end, again using T-Rex.
Once both ends of the beam were secure, the posts and their corbels were attached to the beam. Still to be done: drilling anchors for the posts into the concrete and covering the bolts with wooden dowels and sanding to match the surface.
