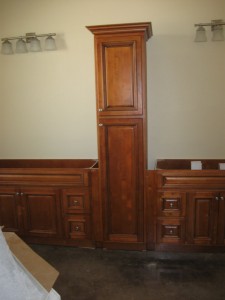
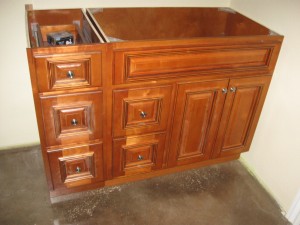
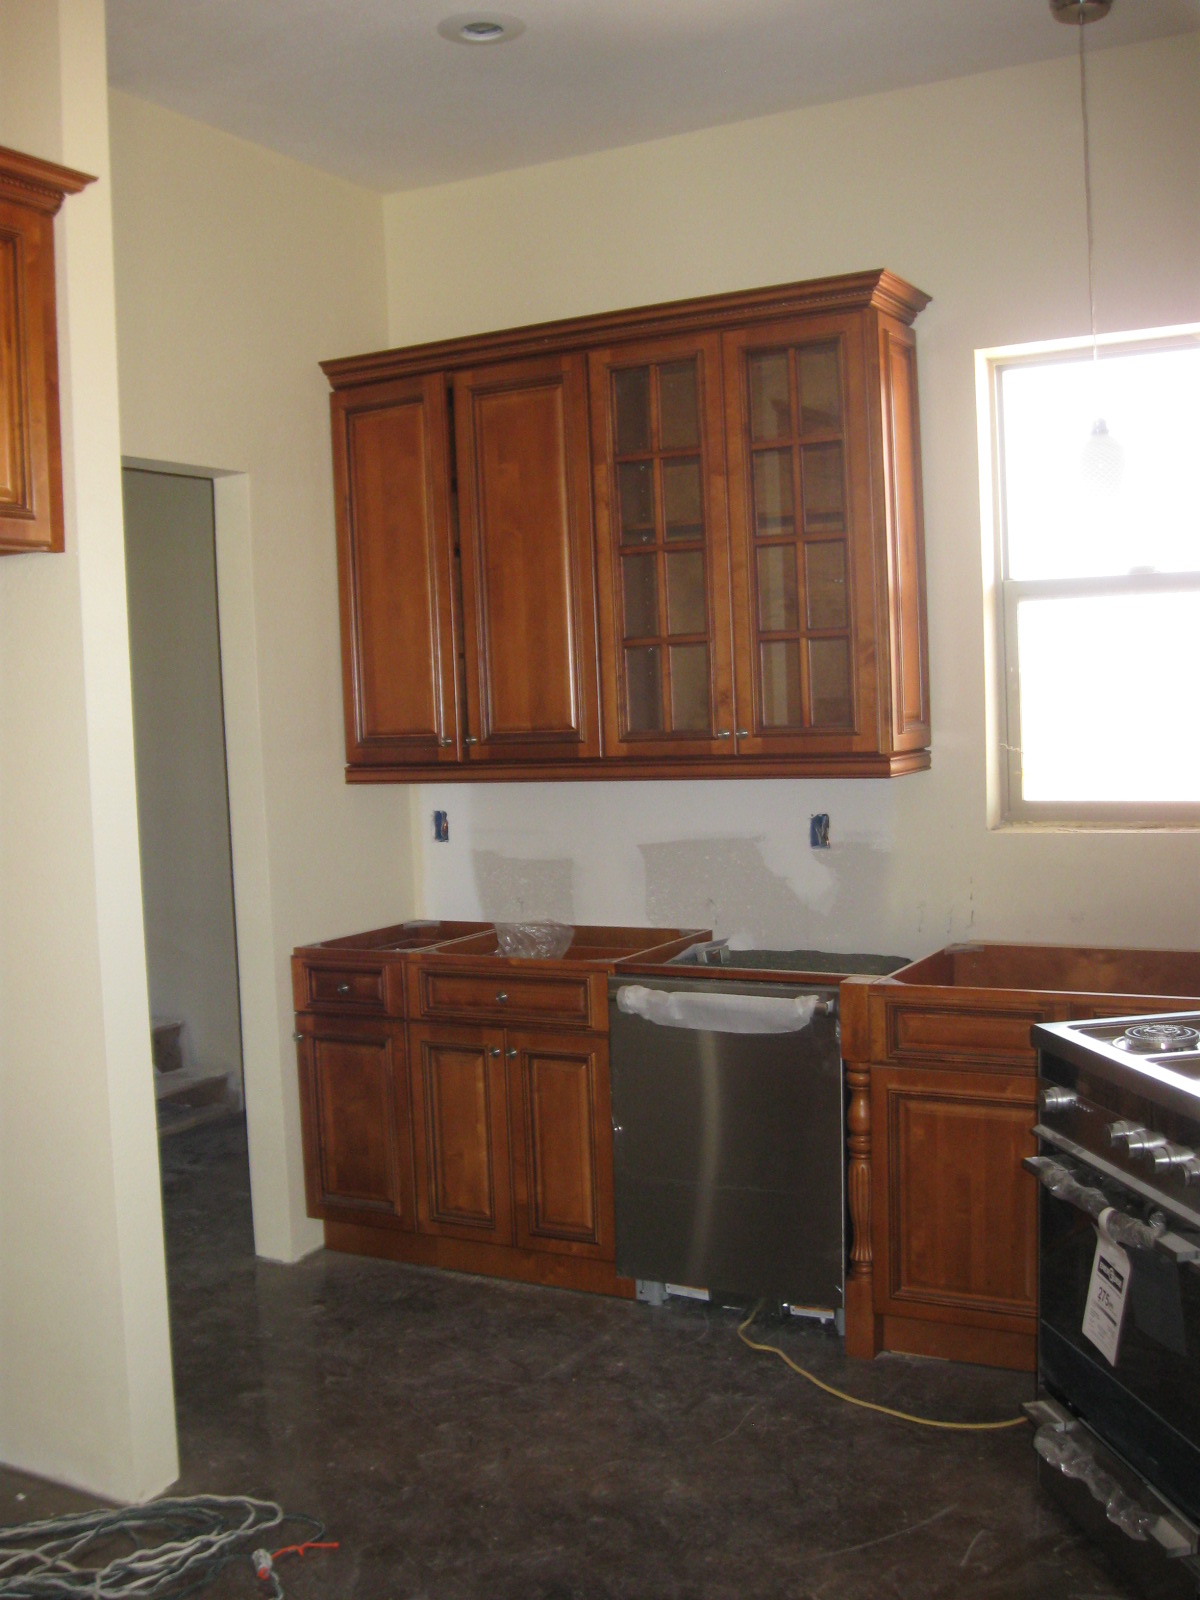
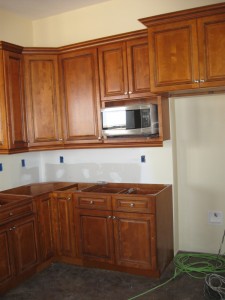
RTA Cabinets are in place

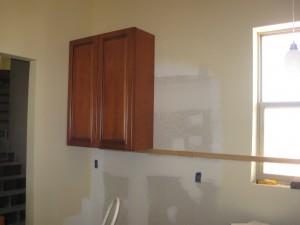
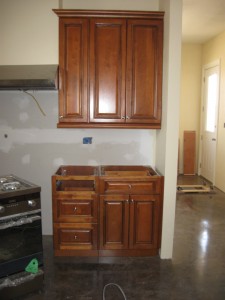
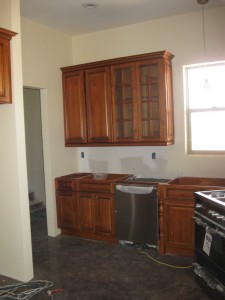
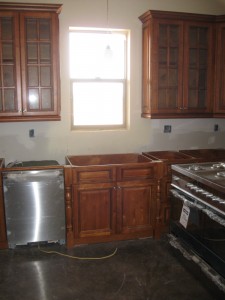
We opted to put RTA (Ready-to-Assemble) cabinets in the house that we purchased from mycabinetplace.com. As I mentioned in an earlier article, the quality of the RTA cabinets is very good, but with huge savings when you assemble them yourself. I documented receiving the cabinets, but realized this morning I had failed to post about assembling and installing them in the house.

We have learned a few things as we passed this milestone that might be helpful to others:

1. The instructions are only a rough idea of what to do…

The hardware mentioned on the instruction sheet may or may not match what you receive with the cabinets, but will work if you just work with it a bit. We found there were some boxes that did not have the same type of hardware as the rest… some missing corner braces, some missing soft close door hardware… extra screws of one type, extra shelf hangers, etc. Overall, we were short some things and contacted the distributor about getting them sent (no word yet).

2. Large shipments tend to have more damages in shipping. We had a pretty large order the first time… and LOTS of damage to the shipment along the way. I documented the damages and we received a second large shipment with replacement pieces. It also was a large order and had quite a bit of damage. Luckily, we could make use of most of the second shipment, placing end pieces with scratches where they wouldn’t show (butted up against another cabinet, etc.).  The last shipment (with backordered cabinets) was very small and had no damage at all. I’m sure the distributor would rather get a single large order and be done with it, but my thought is that you could possibly save yourself and the distributor (and, of course, the warehouse) a lot of hassle by ordering the smallest quantity you can at a time.

The company we used had a minimum $2500 order for free shipping. We could have split the order into three separate orders and still had free shipping. In hindsight, I’d do that, grouping like-size items together (all the tall cabinets and long trim pieces in one order, for example).

3. Hang the wall cabinets before you place base cabinets… much easier to work without having to lean over base cabinets while setting wall cabinets in place.

4. Buy the correct screws for installing cabinets… makes the work go better.

Here are some photos of the process and finished product:
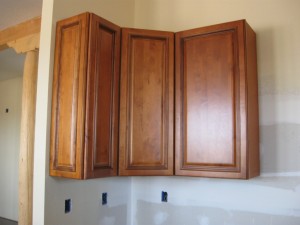
Installing the first Wall Cabinets
More Wall Cabinets...
Installed with Light Rails

With Crown Molding and Light Rails

Trim complete and Dishwasher in place...
Kitchen sink with pedestal trim
Master Bath with Linen closet
Oldest son's bath with hardware installed...

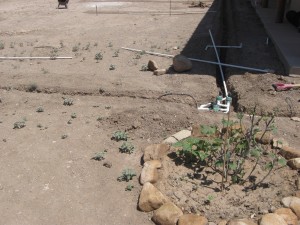
Irrigation System in place

Well, since we finished scrubbing all the paint off the floors, we had to wait for delivery of the new products from thestampstore.com. We ordered:

Walnut Acid Stain
2500 Floor Sealer
3000 Floor Sealer
Cherry Wax
Cherry Wax Applicator – Wooster 12″ Lambswool.

They all finally arrived on Wednesday or so… We were already in the midst of the next project, though, so we continued on with the irrigation system.

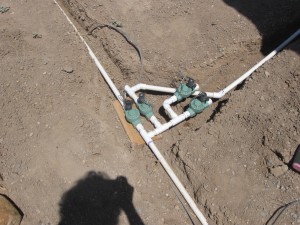
Since last May we’ve had a temporary watering system set up for the four pecan, one peach and one nectarine tree that are all planted northeast of the workshop. The new system completely replaces it with a permanent system, complete with automatic valves, underground pipes, etc. The old system was not ideal, since the pvc piping was sitting in the sun (getting more brittle by the day) and occasionally leaked. We have a very large crop of wildflowers all throughout the trees… some of them noxious weeds that I’ve spent a lot of time pulling. We think the new system will reduce the amount of weeds, since the water will only go in the tree wells now. However, for your pleasure, I’m posting a few of the interesting wildflowers we’ve gotten.

No idea what this is...
pale lilac color blossoms...
daisies
Gaillardia pulchella
maybe wild blue flax?
Orange wildflowers
Purple verbena
Again... no idea.
Calendula starting to bloom
Lovely clumps of white flowers
More white flowers... scorpion flower in background?
Bees like this one...
More yellow/purple together
Happy Gaillardia
Lovely delicate pink flowers on tall stalks
delicate pink blossoms
Bachelor buttons among the grass
This one gets stickery, so I yank them out.
Mesquite -- they get awful thorns... this one is now gone.
Peach and Nectarine trees
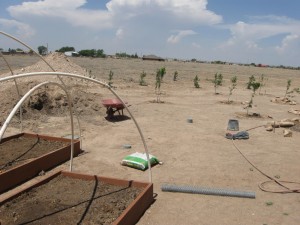
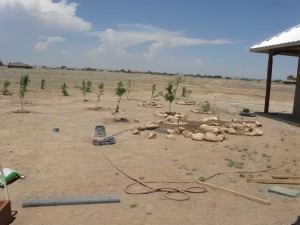
Pecan trees with irrigation system in place

Here are some more photos of the garden, back yard area with irrigation system.

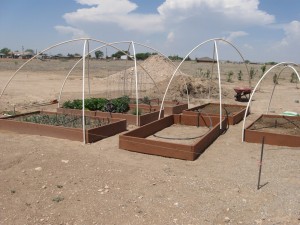
Garden boxes - recycled pvc pipes
Afghan pines planted for future windbreak
Garden beds and fruit trees...
Valves for back yard/afghan pines
Pipes for backyard (fig tree in foreground)
Front yard... trees irrigated

We were afraid none of the grapevines we got from a friend were alive, but continued watering them… and now we see that they are starting to grow:

Grapevines are growing
Afghan Pines

Attic Insulation

Well, after the Christmas break, we got back to it, finishing up the attic insulation.

Initially, we had thought we would subcontract this job, never having attempted it before ourselves. So, we got a quote on the job from a recommended subcontractor. He quoted us a rate of $1.50/sf for R-30 insulation blown in to the attic. For approximately 2600 sf (just the main part of the house — not the WWII museum and research center), this equates to a cost of $3900. We actually wanted more insulation — up to R44, so we decided to see how difficult it might be to do it ourselves.

It turns out not to be very difficult or time-consuming. Oz went to the local Home Depot, where he found out they allow use of their machine for free if you purchase the insulation material from them. They calculated how much material would be needed for the 2600 sf for R44 insulation. Lo and behold… it came out to be only about $1700 total. Not knowing for sure how much extra the contractor would have charged for R44 vs R30 insulation, we don’t know exactly how much we saved, but we figure it is about $2500 (certainly no less than $2200).

The job does take two people — one to man the blower end in the attic — one to load the machine continuously. It is messy work, requiring goggles, facemasks and gloves to be worn. However… all that being said, we were completely finished in only two days. We figured it was a good use of our time and well-earned sweat equity on the house. We have found a definite difference in the constant temperature inside the house since it was done, even though we haven’t finished all the mudding and taping of the sheetrock to seal the cracks.

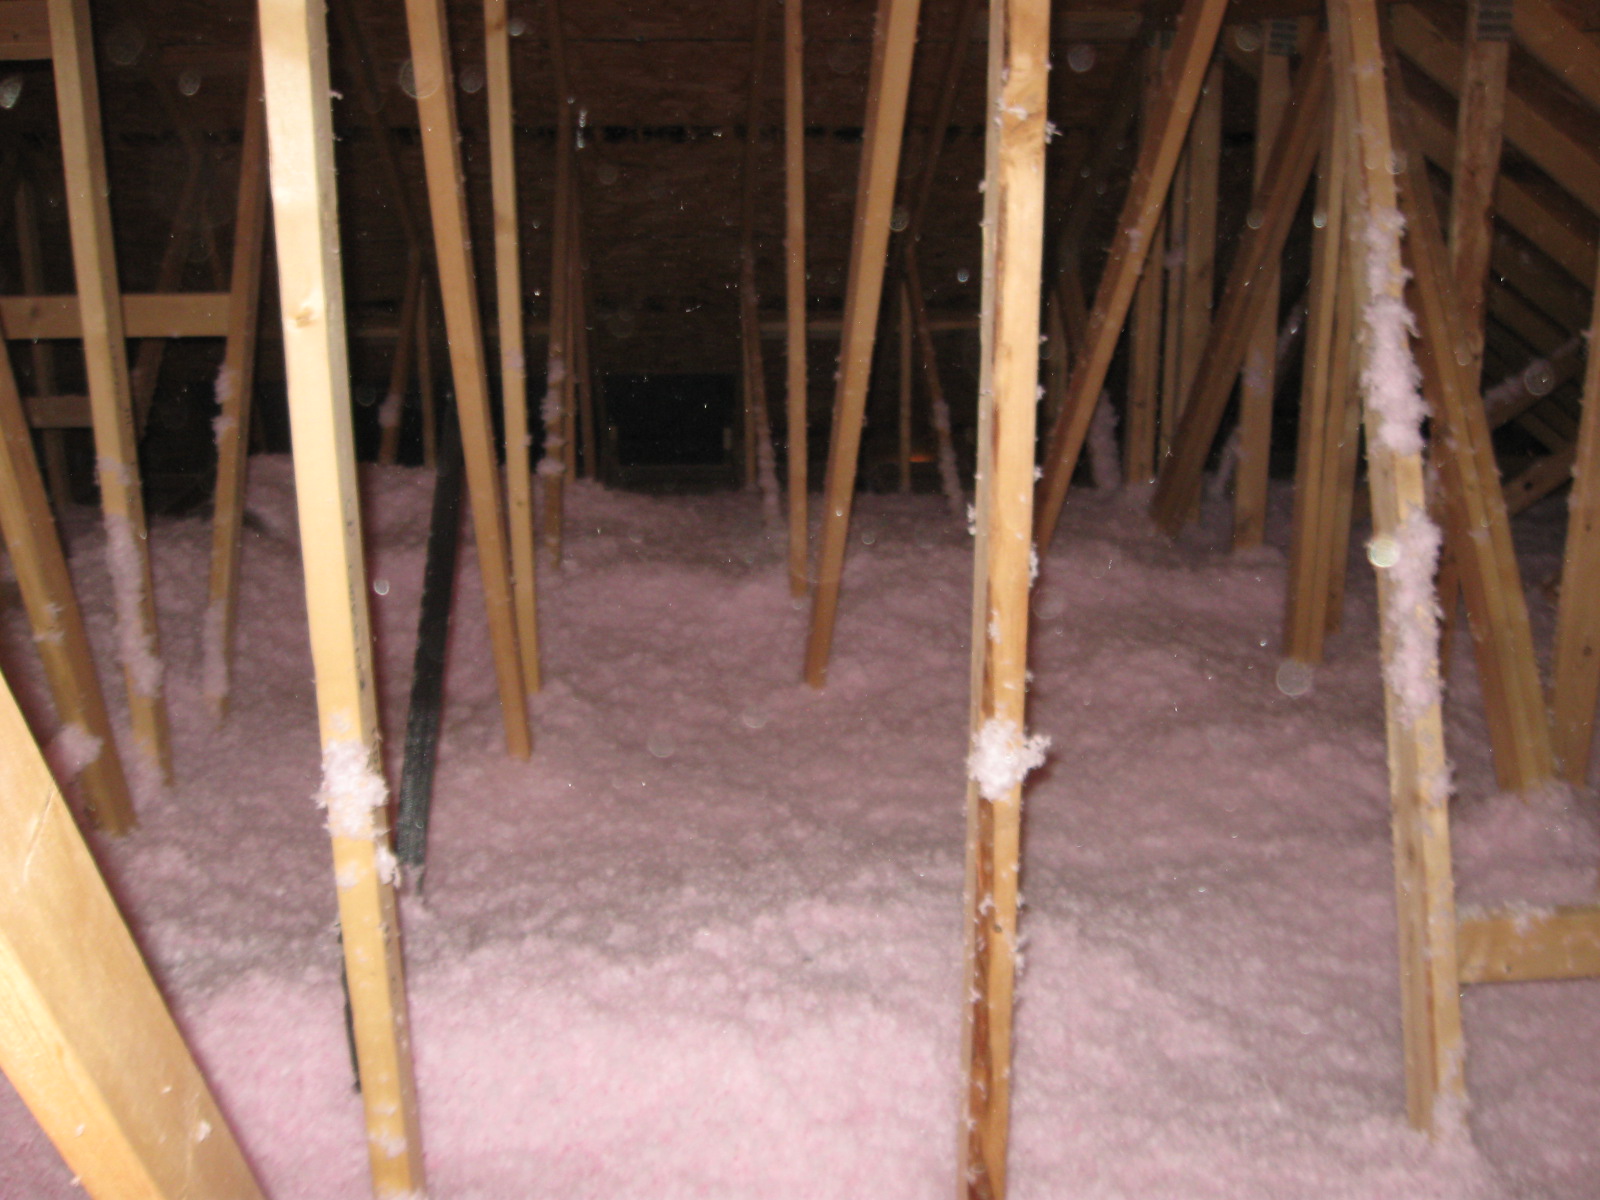
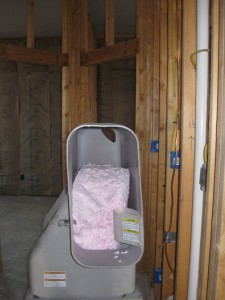
Here are photos of the machine and the result in the attic:

Attic Cat blower machine
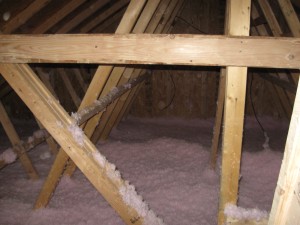
R44 blown into the attic
...dreaming of a pink Christmas

Photo Tour Update

We have been so very busy on the house that posting has been spotty (we admit it). Here are some photos to give you a view of the work that has happened in the past couple of weeks. It is really starting to look like a home.

Framing complete
First Window installed...
House wrapped... stucco begins.
Stucco in progress...
Window installation...
Stucco on the back begins..
Back porch stucco begins...
Tarpaper going up...
Scaffolding for front gable...
Front door prepped...

Installing Vinyl Windows

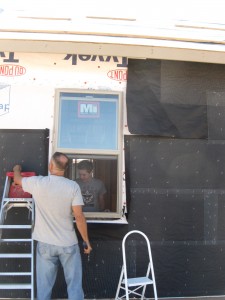
This week our windows arrived…all 23 of them. They ranged in size from 2’x3′ to 3’x6′. The larger sizes were very heavy. Installation was fairly straight forward. We reviewed several videos and how-to sites and reviewed the material from a few books we have. 

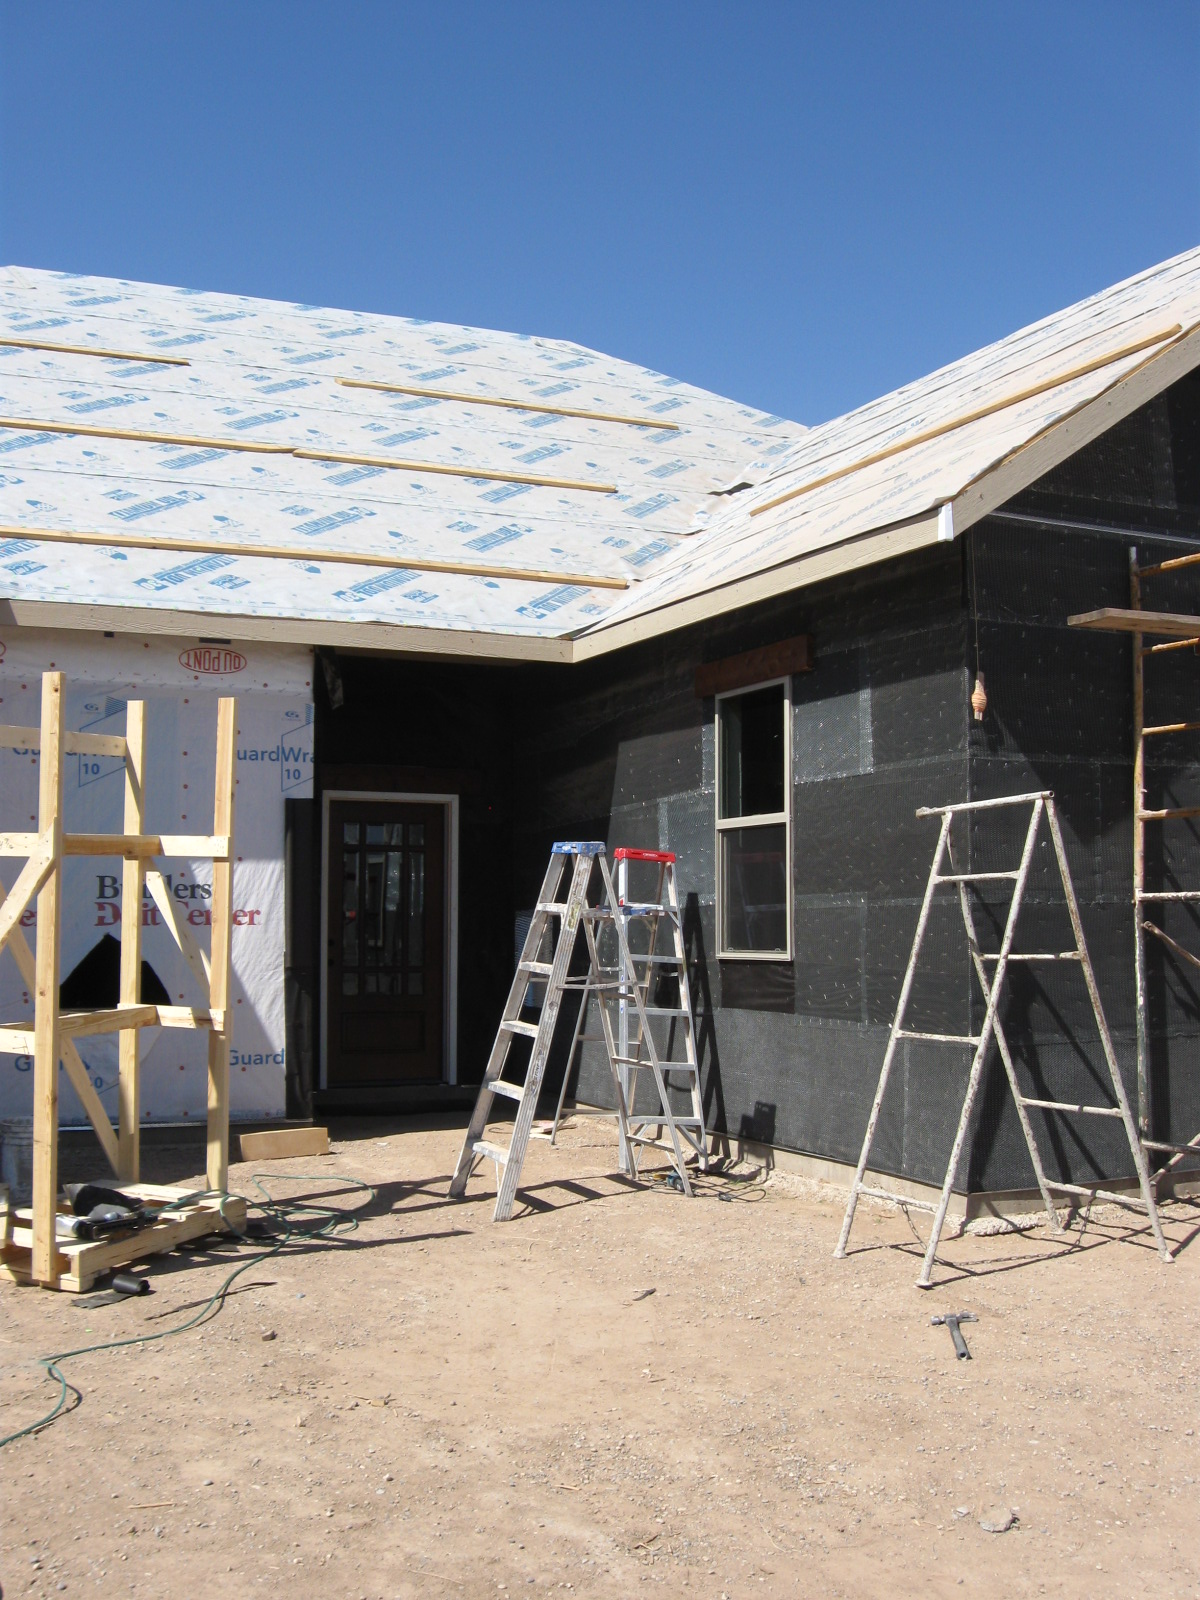
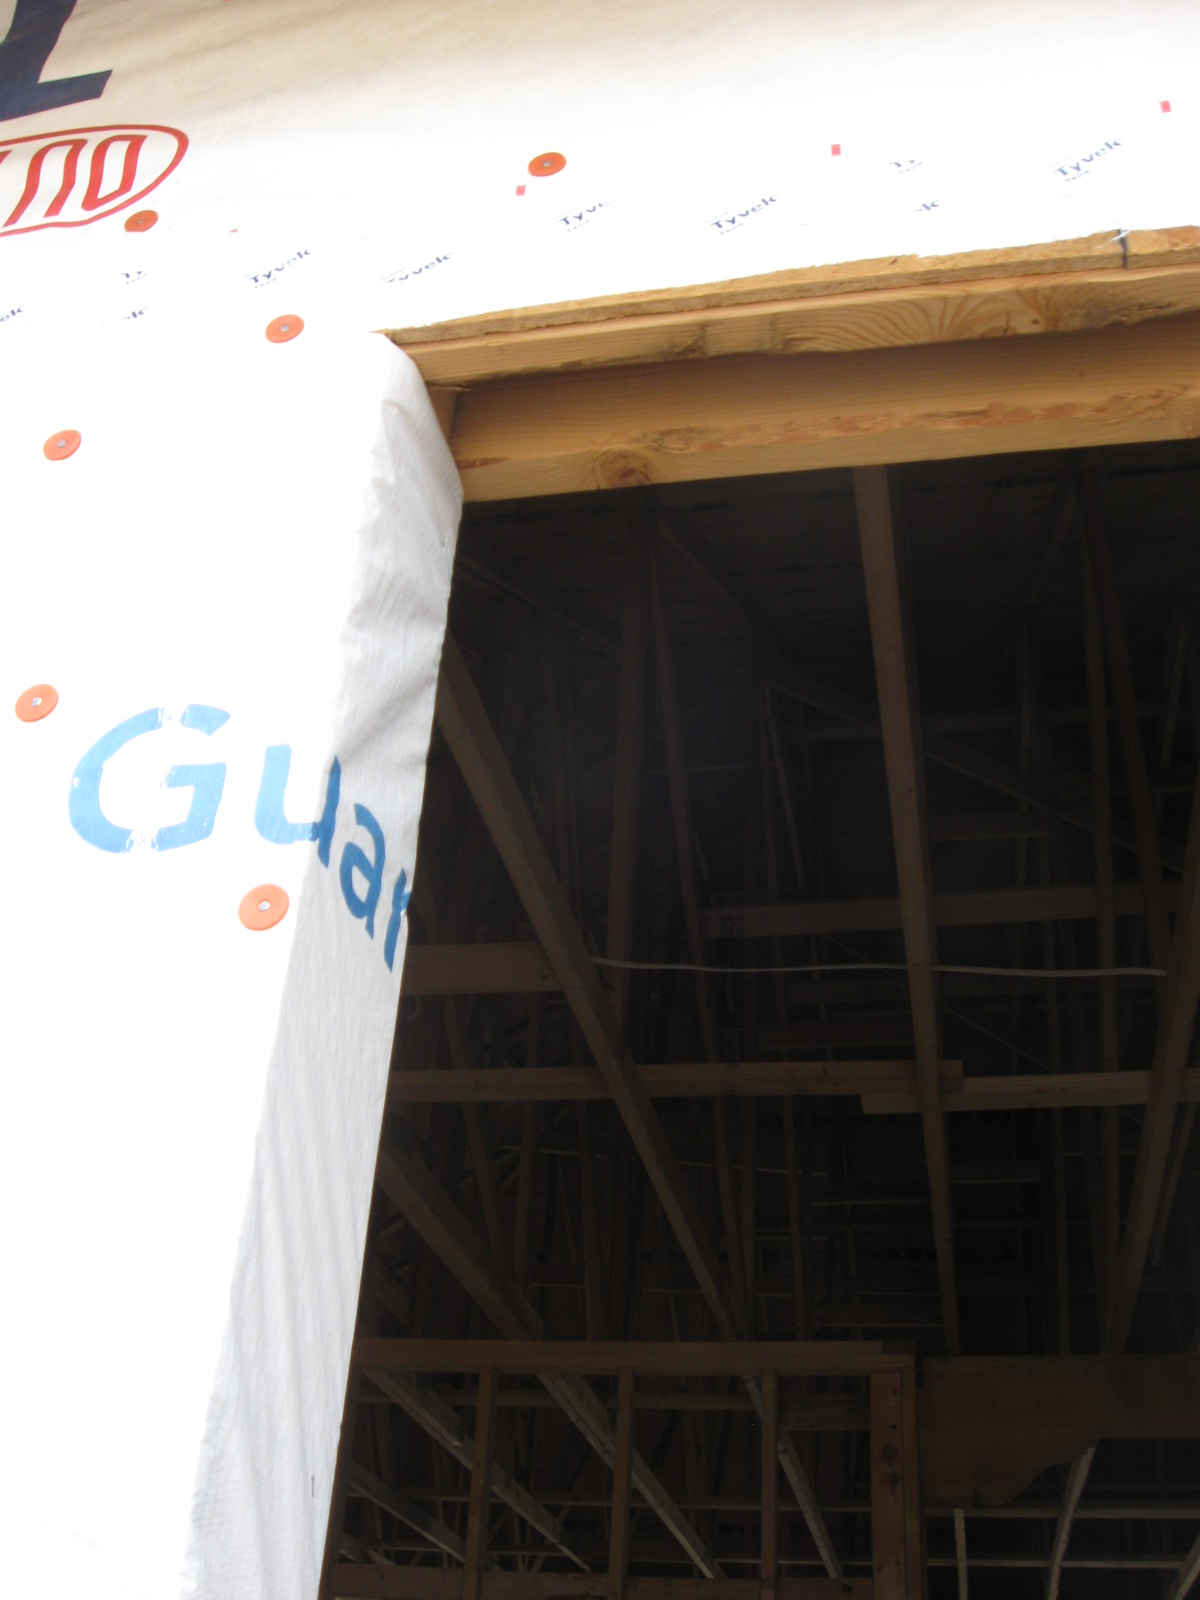
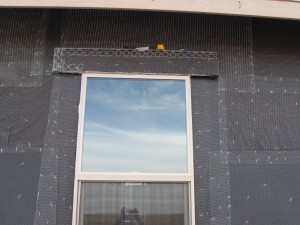
We prepped the openings by cutting the house wrap. The cut was horizontal at the top of the window, vertical in the middle and ending in an inverted “Y” at the bottom. Each of the flaps were pulled into the window opening and stapled on the inside of the frame. Excess material was cut off.

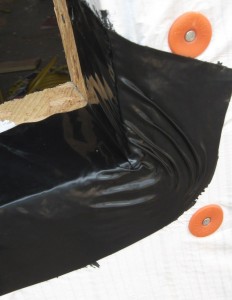
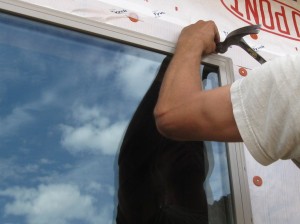
Next we installed a bottom ledge moisture barrier using 6″ wide butyl rubber tape. The tape is installed over the outside lip of the lower window opening. We used a blow dryer to heat the tape and pull it nicely around the lower corner to form a water tight barrier.

The window openings were caulked top and sides. Bottom is left uncaulked to allow any moisture to drain down.

We installed the window in the rough opening, ensuring it was roughly centered from the inside. We checked level, using shims on the bottom to make adjustments. The window was then nailed in place at two points and checked again for plumb and level.

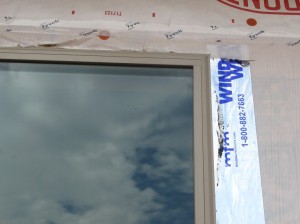
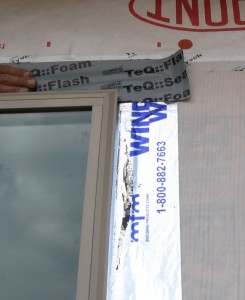
One the window was level, we nailed it home. It was then sealed by putting window wrap tape first on the bottom edge, then on the sides and finally on the top.

Military Principles of War: Simplicity

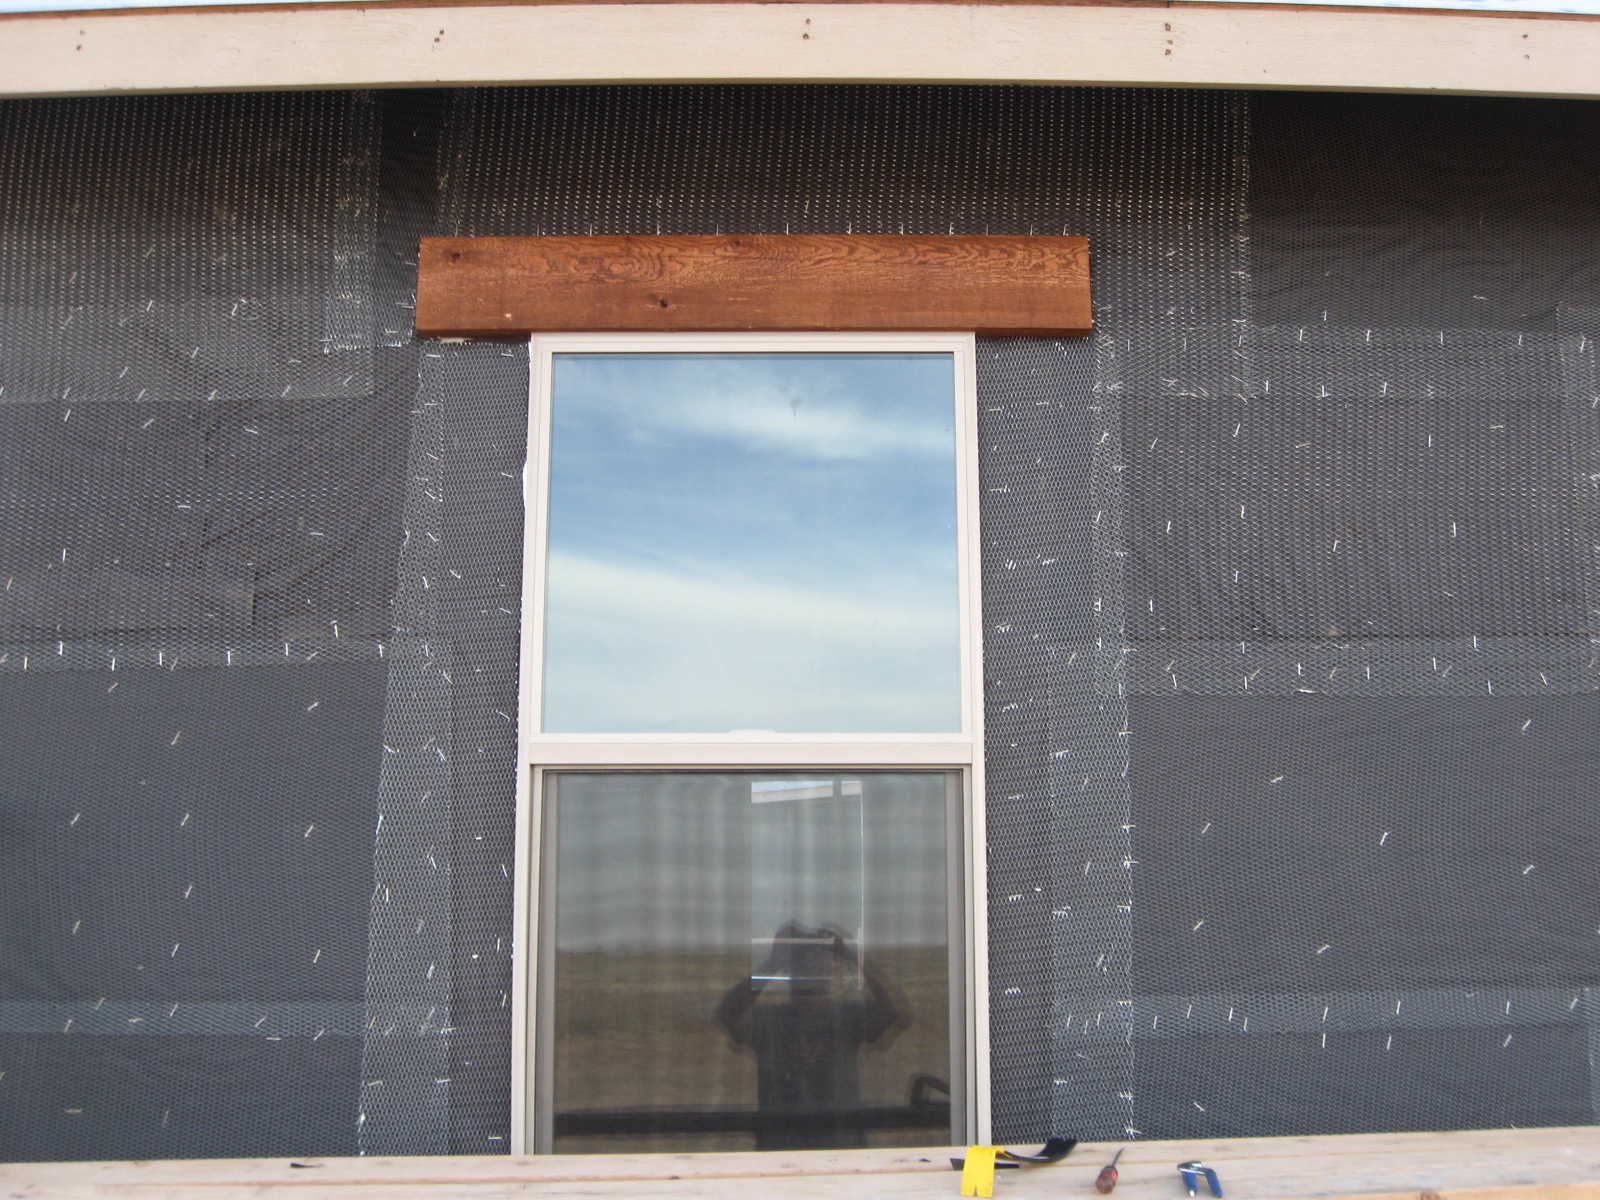
I have relearned the military principle of war-Simplicity-many times. I was taught at West point: “Issue clear, concise and simple instructions.” Doing so will minimize the possibility of confusion and enhance effective mission accomplishment. Obviously I failed to observe this principle when directing the Stucco Subcontractor.
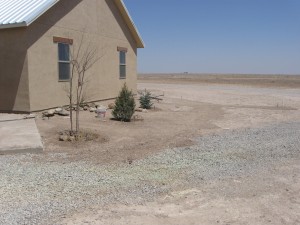
What I thought I conveyed(first image):

After issuing clear and concise orders my wife and i move to the opposite side of the house to install some more windows……

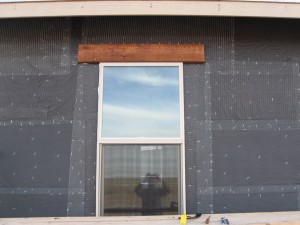
What the subcontractor heard (second image):

Meanwhile, the sub is busy covering up those expensive cedar beams which have been beveled, stained and neatly installed above the windows. Why the heck would they want those ugly things showing…let’s stucco over them.

3 Full days of Framing Progress

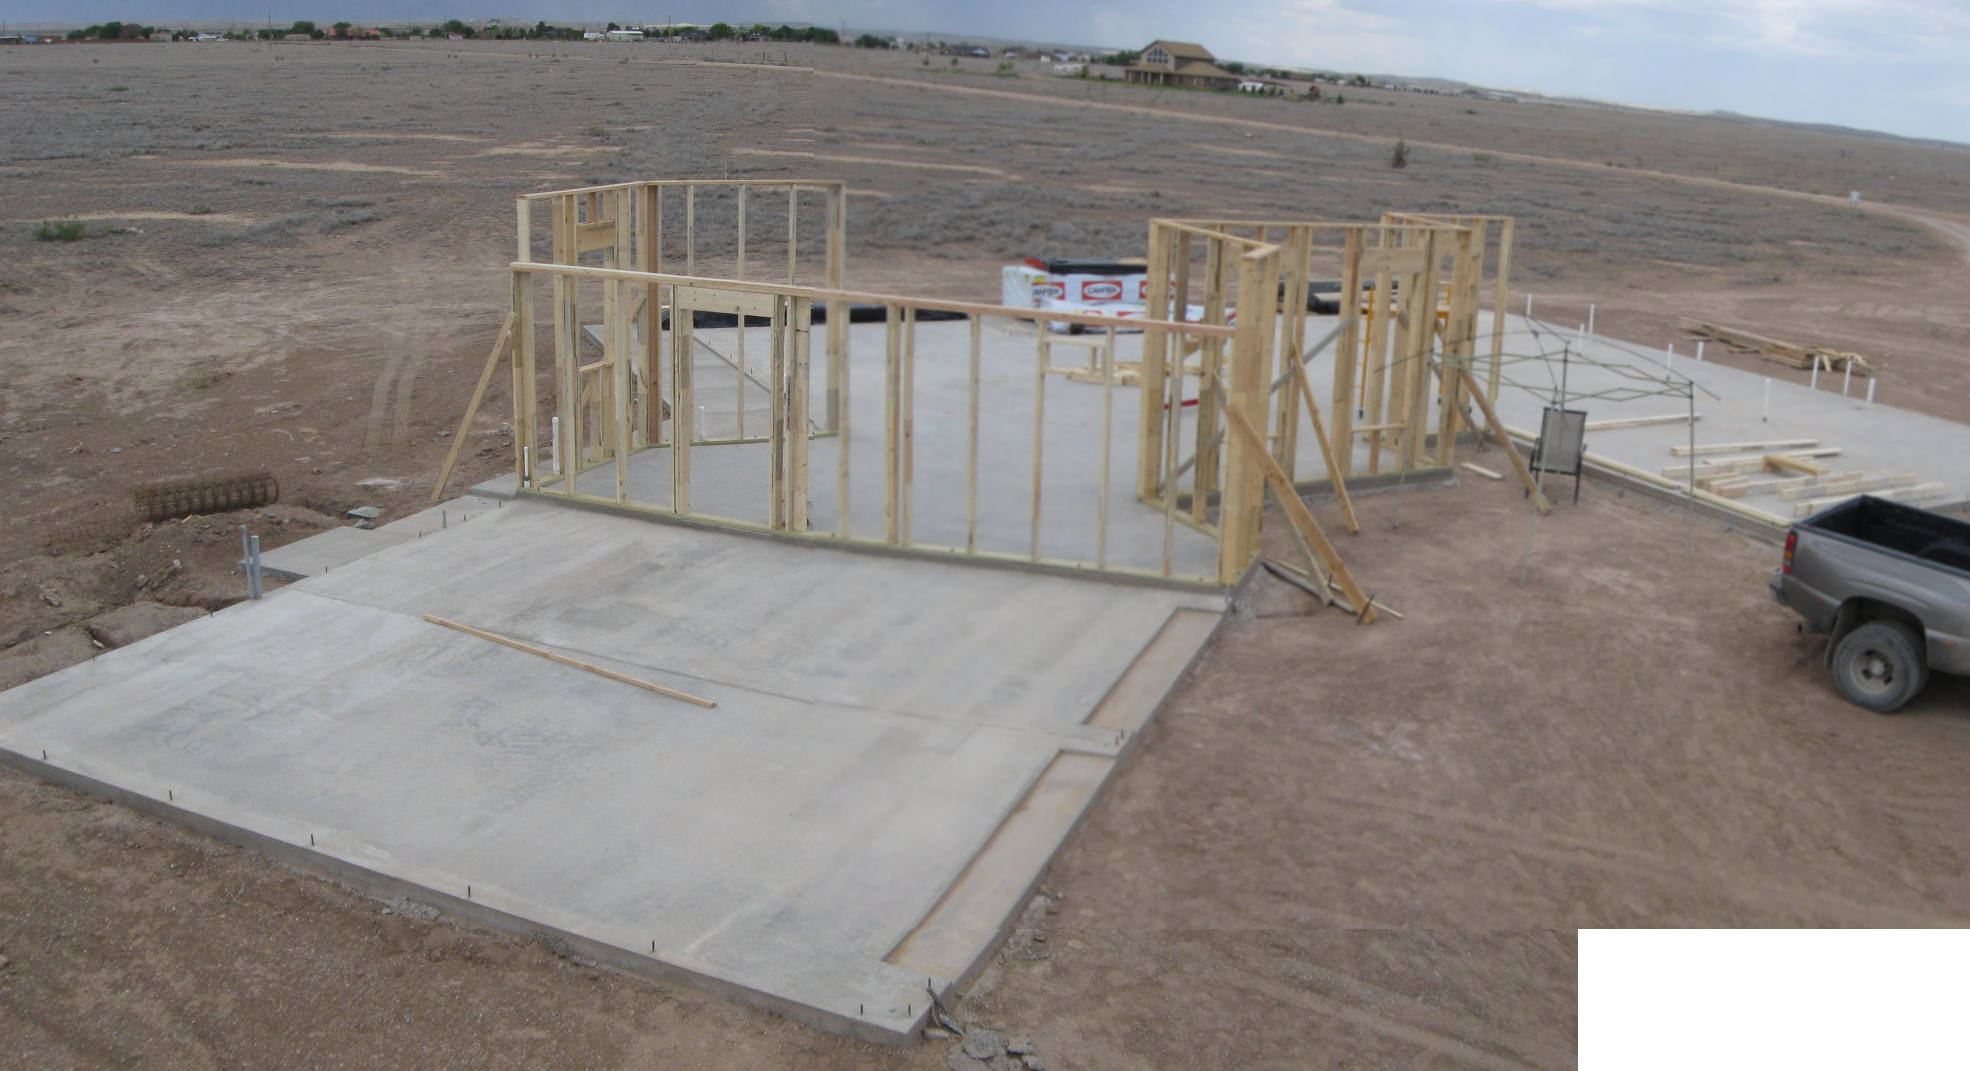
Today we finished our 3rd full day of framing.  Our progress includes 9 completed walls and one completely cut, laid out and ready to frame and erect. With each day we make better progress, capitalizing on lessons learned from previous days. Last night at 2230 hours I realized I needed to frame the garage to house wall at a different height. The garage ceiling is at 8′ and the house at 10’/ There is a 3.5″ step down to the garage, and the garage ceiling joists are trusses at 12″ height. Adding all this together required additional calculations and the us of a slightly shorter header above the garage to laundry room door. Thankfully we did not start framing there yesterday. As you can see from the pano, the height difference is evident. The space above the ground will be a hobby room with 8′ ceilings. Dropping the garage height allowed us to gain most of the room above the garage without having too narrow a room above due to the pitch of the ceiling.

Framing day 3 pano

Framing the First Wall

First wall almost framed

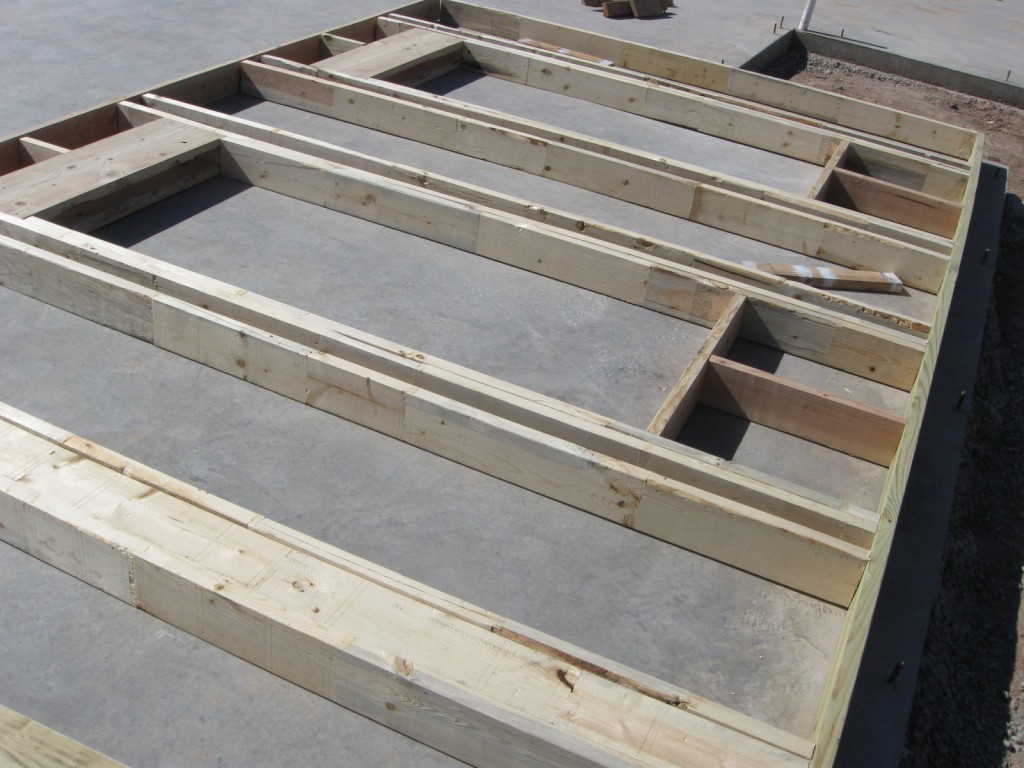
With quotes as high as $14,500 to frame the house (excluding lumber and material and we already have the roof trusses orderd and paid for) we decided to frame the first floor ourselves. Depending on how it goes we are looking at using a sub-contractor to set the trusses, frame out the room above the garage and add roof sheathing.  Rather than using hammer and nails we decided to purchase a framing gun. I purchased a low-end Porter and Cable 30degree framing nail gun. The old compressor I had just was not up to the task so I also purchased a 10 gal. compressor. Granted, these are costs for things I may not use often, but with the massive savings from DYI, we will be well under budget.

We spent the better part of the morning poring over different framing books again to get it right. I drafted a diagram for laying out the different types of windows and doors with measurements for all the studs, jack studs, cripple studs and sill plates.  Since the types of windows are few, most of the rough openings will be similar.  We are following standard convention for laying out the top and bottom plates, and marking openings and stud positions. By laying out the top and bottom plates at the same time, we will make fewer mistakes. We are using 116 5/8″ wall studs to frame a 10′ ceiling height. These arrived pre-cut and will save much time for us. All we have to do is layout the plates,cut jack and cripple studs, cut  headers and nail it all together. Once we got our stuff all in one bag and actually started the layout, it went rather quickly, except for the “new” compressor which does not work automatically. When the pressure drops below the dialed setting, it is supposed to kick on and bring the pressure back up. It would not do so, so I have to take it back. It slowed our progress so we did not actually finish the first wall. The enclosed images show our progress. Once we have our equipment working, we should be able to make rapid progress.

Sorry for any interruptions…

We’ve been in the process of moving our hosting service this past week. As can be expected, there have been a few bumps in the road from one service to another… getting all the data transferred and into the correct format to work with the new system.

We apologize if you have tried to access pages or previous articles on our site and have had difficulty. With any luck, all is complete and everything should be working now.

Thanks for your patience!

Pecan Tree Placement

Yesterday was a red letter day! We got two of our four pecan trees placed on the Homestead. While the process was going on, I was able to video them. See the progress here:

Preparing the Hole:

Planting the Tree (1st Tree):

Planting the Second Tree:

For more information about transplanting mature pecan trees, check out our previous posts on Mature Pecan Trees and Pecan Trees for the Homestead.

Now that the trees are planted, we know we need to be very diligent about watering them heavily until they are very well established. Initially, we plan to fill up the water wells around the trees about four times/day. After they are well established, deep watering about every 6 days is sufficient for good production. New Mexico pecan farmers are known for harvesting very heavy crops. Brandon told about local farmers producing about 3000 lbs (in the shell) per acre (which means our four trees — about 1/10 acre — have the potential to yield 300 lbs/yr for us). This is very high relative to Texas farmers, who generally yield closer to 1500 lbs/acre.

Brandon Kuykendall, owner of Tree Digger LLC in Roswell, NM took care of the whole process for us. You can contact them at bktreedigger@yahoo.com or by phone at (575) 317-8536. Great people… we highly recommend working with them. They can transplant other types of trees, too…