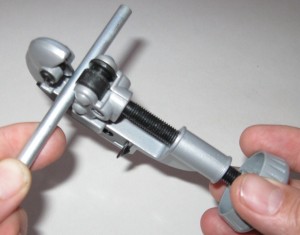
Making your own metal fuel lines: Part 2
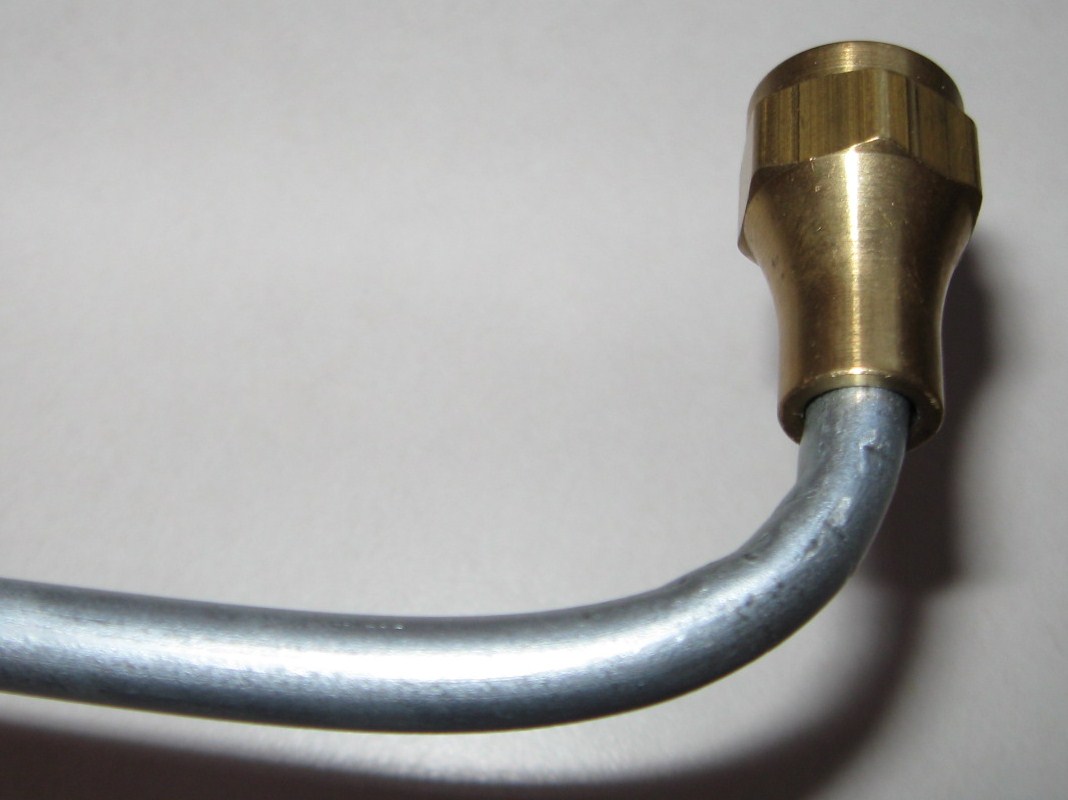
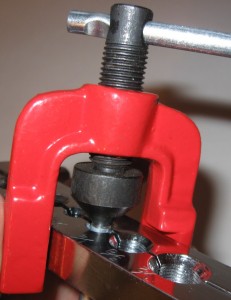 I wrote a previous blog article about making my own fuel lines for the Clark Airborne Tractor restoration project. This is the second part of the article which deals with making the flared endings for the tubes. I am using 37 degree flare tube fittings to seal my fuel lines. The components you are trying to mate together are; the beveled screw, the beveled cap and the flared tube. Each of the mated surfaces is beveled at a 37 degree angle (45 degree for higher pressure lines) so that when the cap is screwed against the flare of the tube and presses it up to the beveled screw end the mating of the 37 degree angled surfaces seals the line. If you create your flares properly and torque the cap and screw down properly, the fuel line will be sealed with no leaks, and no need for sealers or gaskets.
Making the flares is relatively easy as well, but takes some practice. Use some scrap tube and work several until you are comfortable. I am using the single flare. What you do is simply flare the pipe out to a 37 degree angle so that it can seal up between the screw and cap. The process involves the following steps:
1. Cut your pipe end to size.
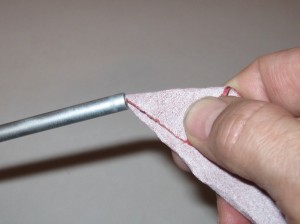
2. Use a small file and de-burr the inside of the tube to ensure it does not crack or split when being flared outward. You may also want to use some fine sandpaper to clean the edges up a bit. The smoother the metal is, the less chance there is for splitting.
3. Insert the cap fitting on the tube with the threaded ends toward the end of the tube. This is easy to forget sometime, and if you start the flaring process without the cap you’ll have to bend a new piece of tube, because once both flares are made, the cap will not slide on the end over the flare!
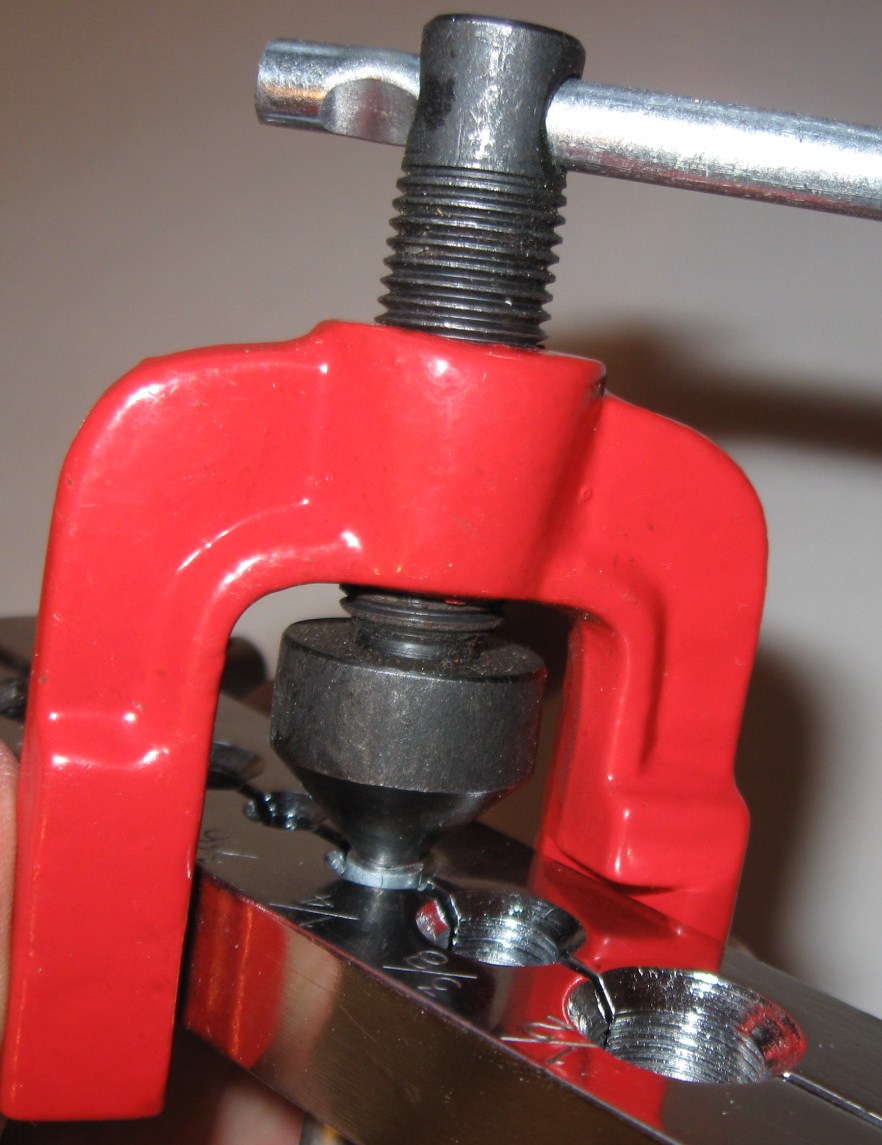
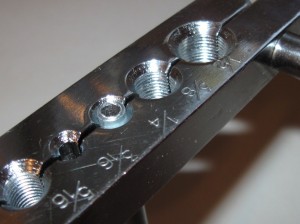
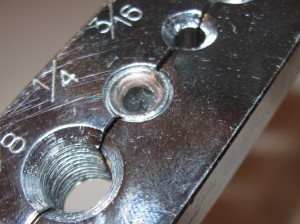
4. Insert the tube to be flared into the proper diameter hole of the vice exposing a very short length of the tube. If you expose too much of the tube, your flare will be too big for the cap. Clamp the vise closed
5. Put a light coating of oil on the end of the pointed flare tool to aid the process of expansion of the flare.
6. Insert the beveled end of the flaring tool using the vice and screw it gently down until the flare is shaped
7. Inspect and clean
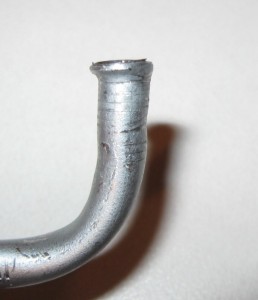
Here are some examples of my various previous attempts.
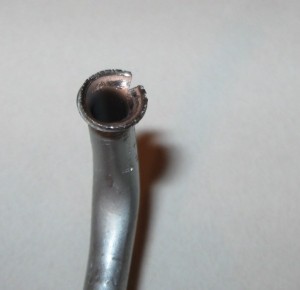
The first one shows an off-kilter flare. It will not seat properly and the line will leak. This was caused by not clamping the tube fully down or by having the flare wedge off centered when screwing it down.
The second tube has split. This is usually because too much tube is exposed above the face of the clamping bar. It should be almost level with the top, or slightly above the top surface of the clamping bar.
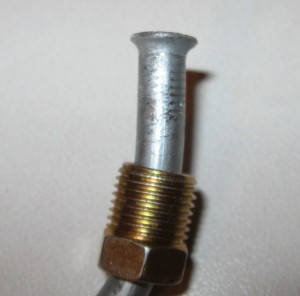
The final example is fairly decent. It should hold pressure and provide a good seal.
If you liked this article, you’ll probably be interested in my previous post on the subject that you can find here: Making Your Own Metal Fuel Lines.

