… and it works!
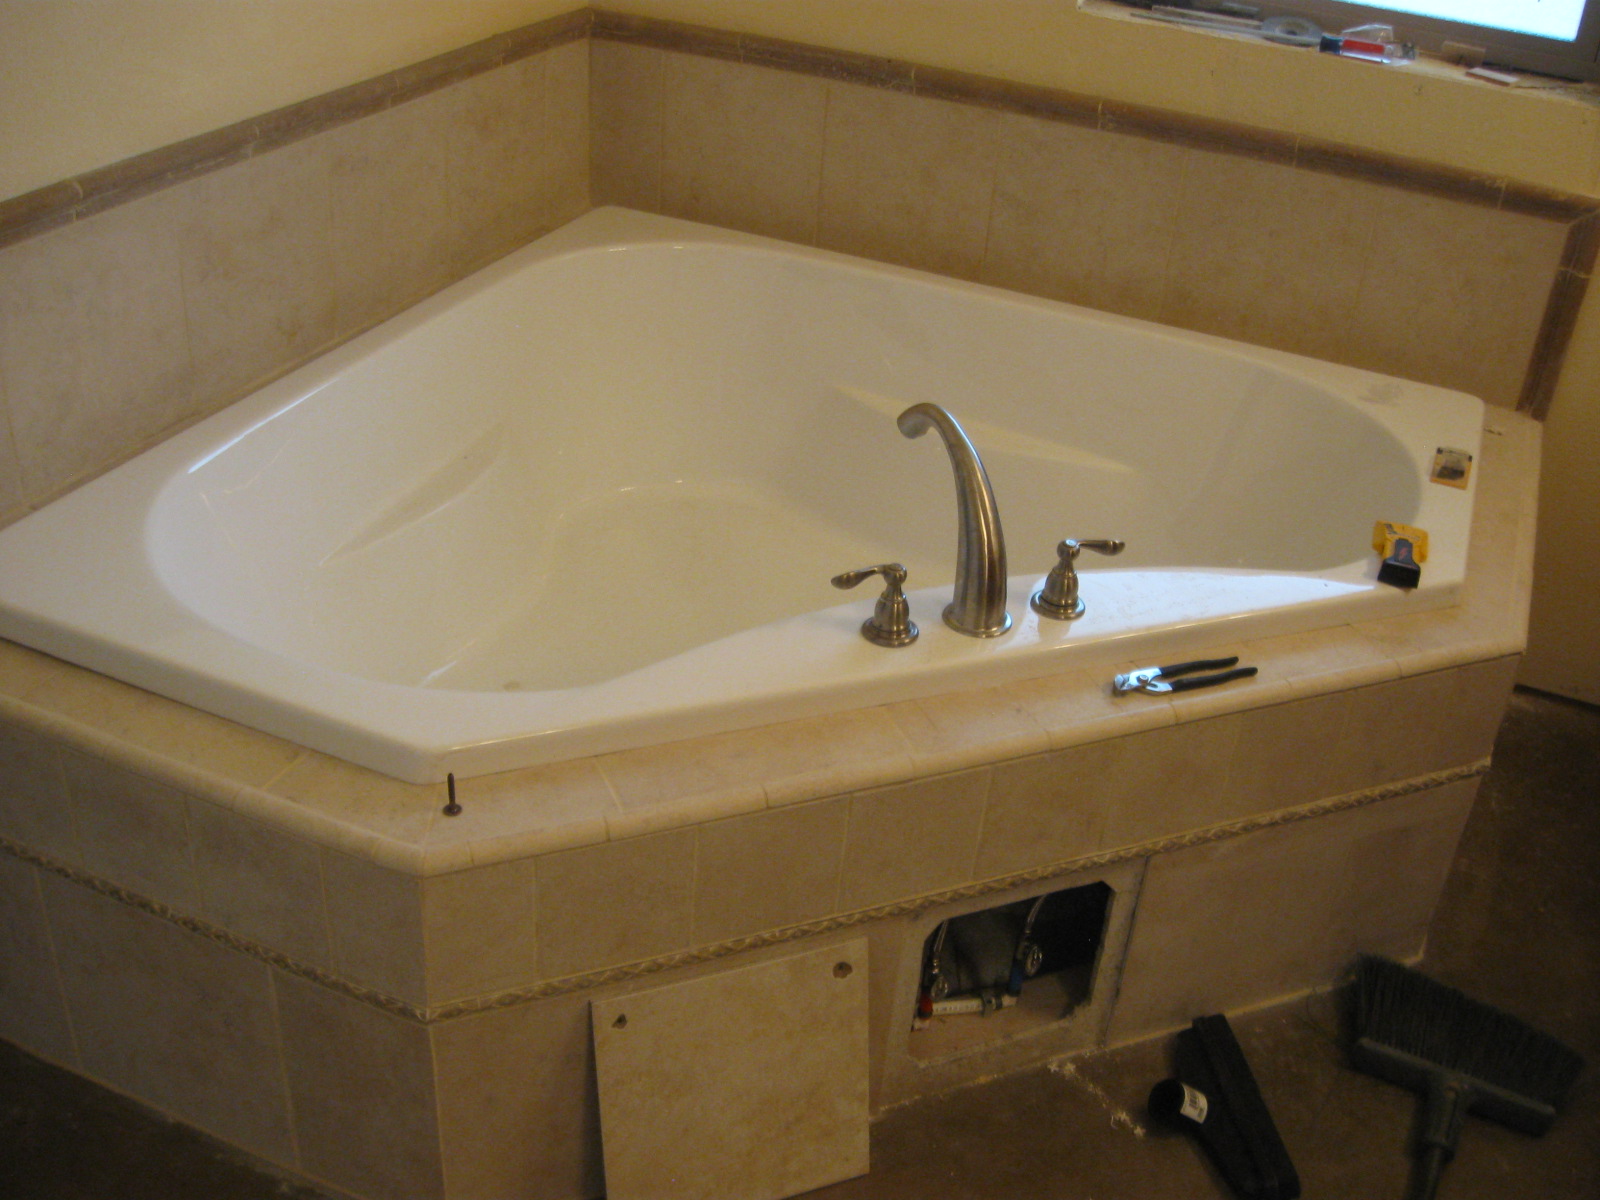
Oz, the oldest boy and I set the tub in place… After Oz finished the plumbing, we were very pleased that it works well and does not leak!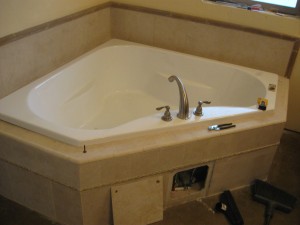
… starting a new phase of life.

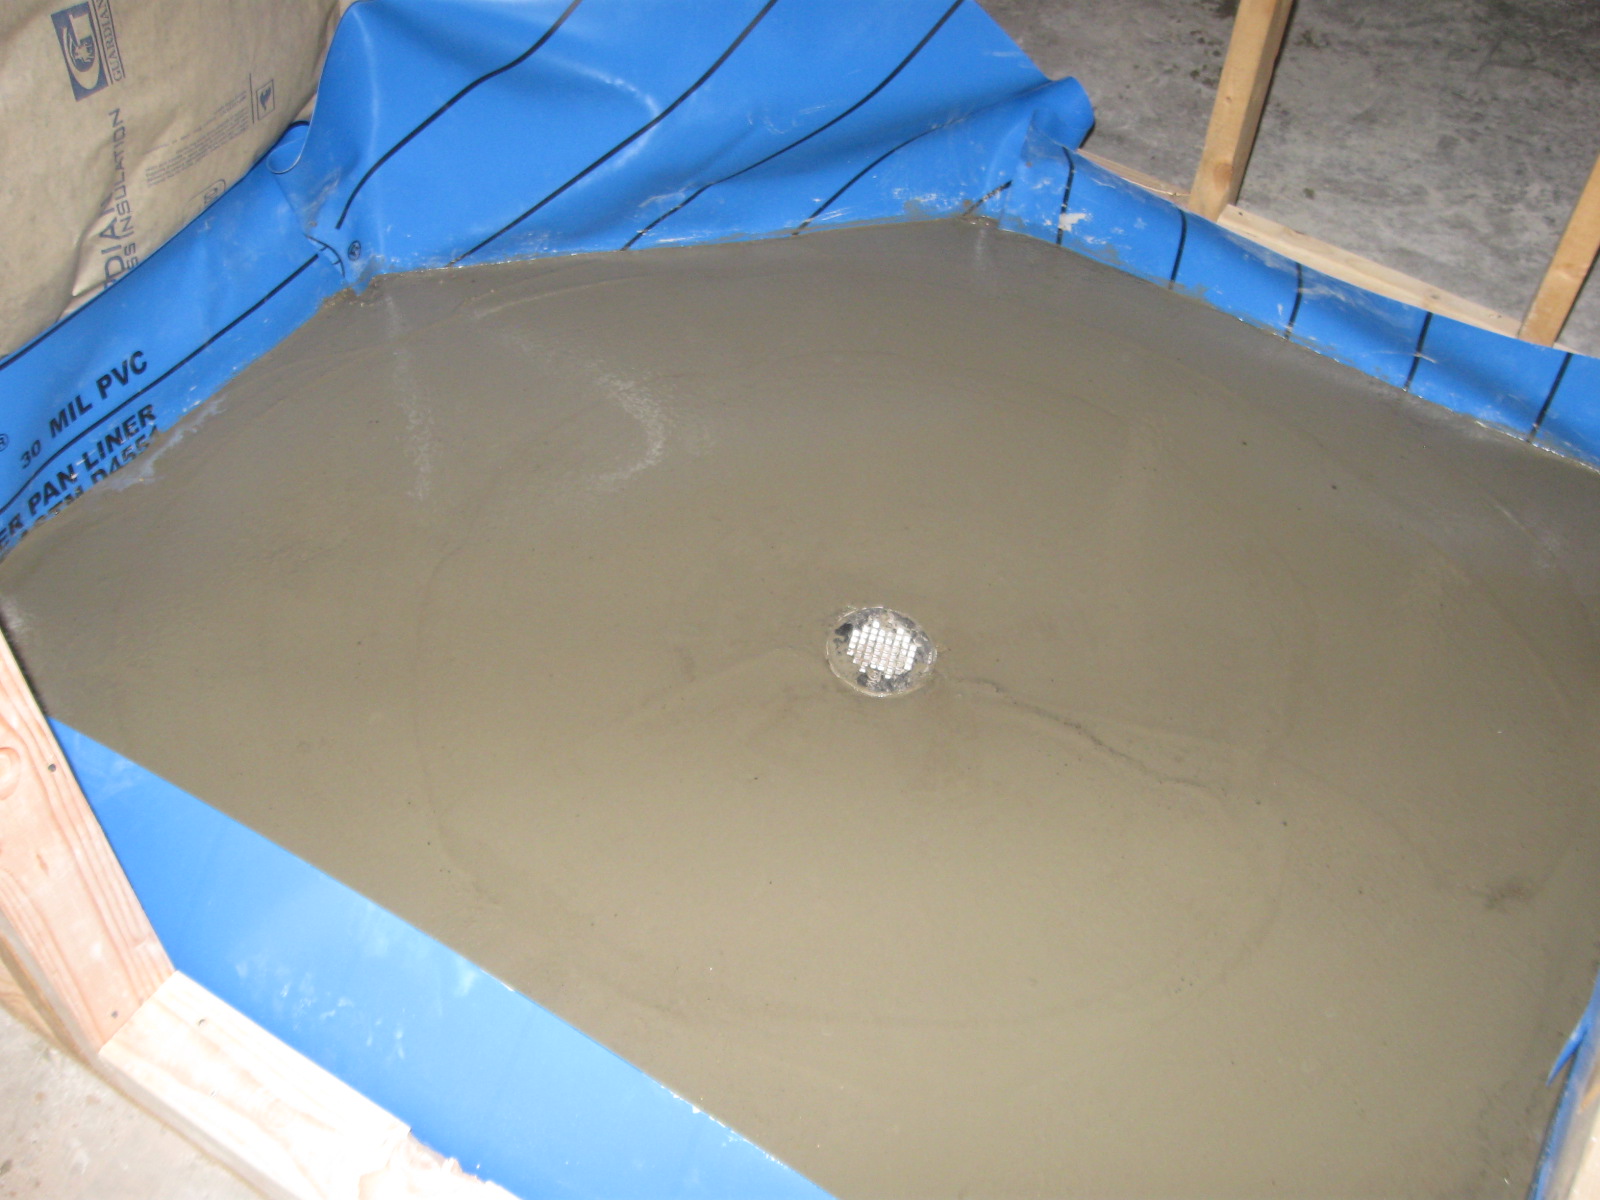
Being a bit uncertain as to how much time it would take to do these, we decided to hire this part… Having never done it before, and wanting to be very sure the shower pans don’t leak, we got a quote from the same fellow who did the workshop for us before we came here. For three shower pans, he charged $500 for labor (not including materials). In hindsight, we may have overpaid, considering that it took one guy (plus a little time by the boss) one day to do them (and it wasn’t an early start — 10 a.m.). But, we are happy to know that it was done correctly and it did save time and irritation (learning curve woes) to have it done by the subcontractor…
Photos of the process:
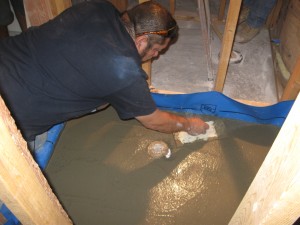
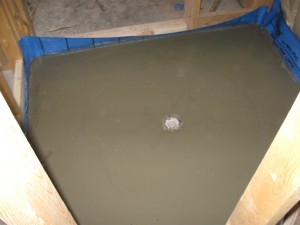
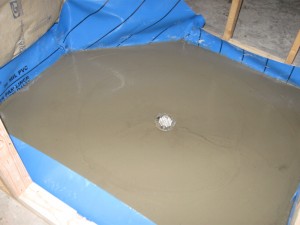
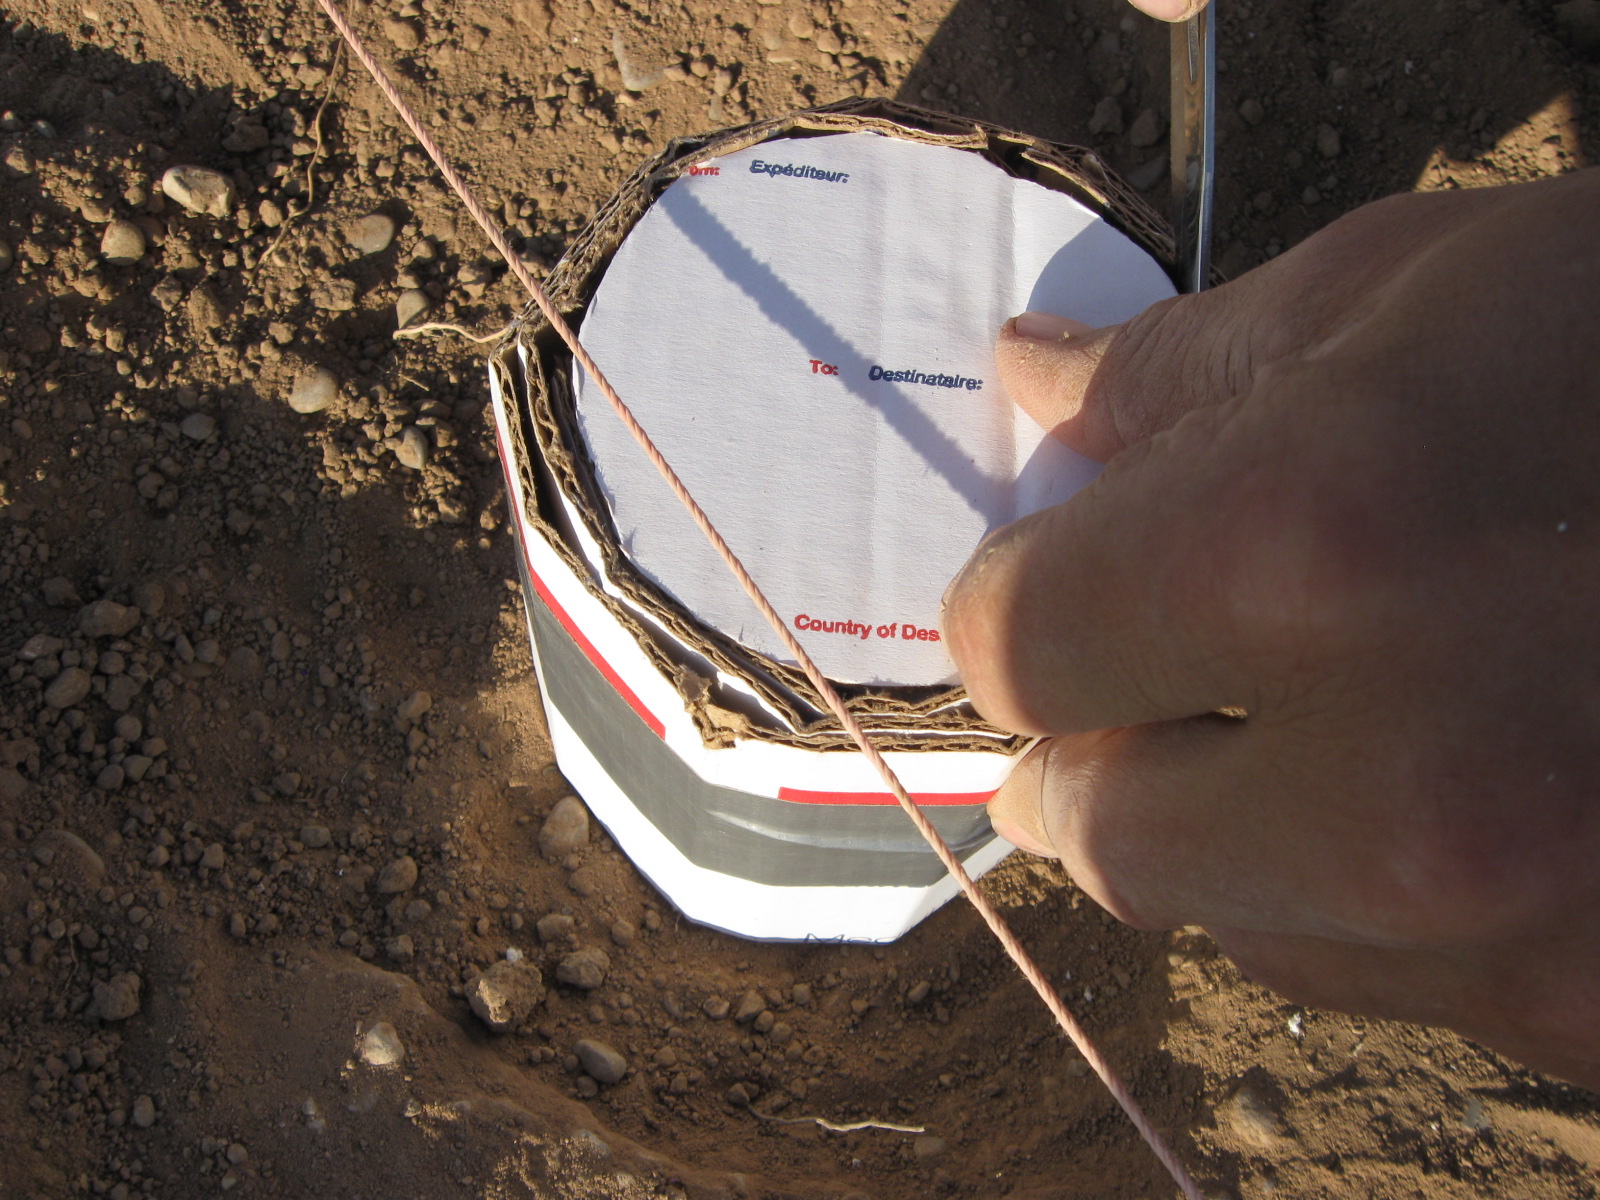
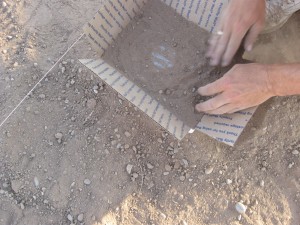
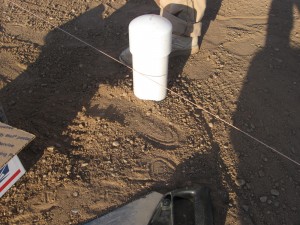
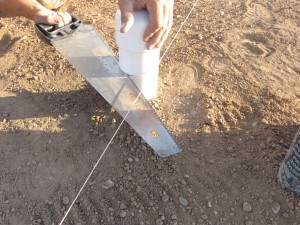
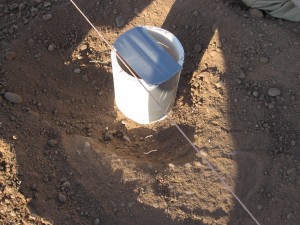
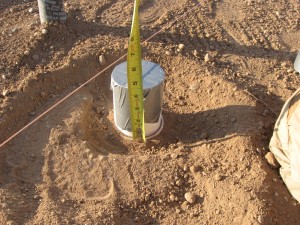
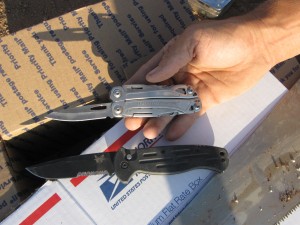
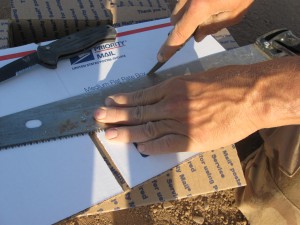
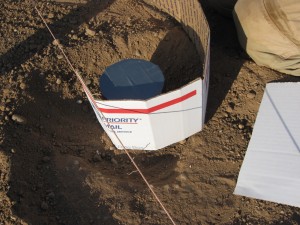
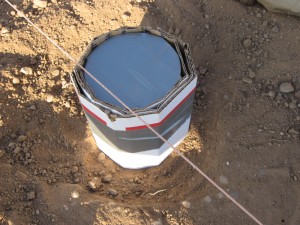
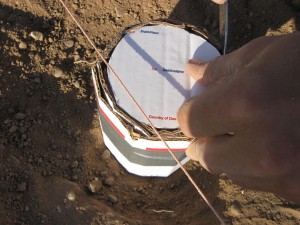
In order to protect the plumbing from the concrete during the pour, after the pipes for Showers, Toilets and Bathtubs are cut to 1/2″ below the finished surface, sealed with duct tape and then protected with cardboard. For the toilet drains, three layers of cardboard is fitting around the PVC and one layer of cardboard is cut to size for the top. For shower and tub drains, a cardboard box is cut to the correct height, filled with filldirt and sealed shut. A small amount of fill dirt is placed on the box flaps to hold its position. This allows the concrete to be poured and smoothed right over the tops of these drains. After the pour, the openings can be accessed by chipping away the small amount of concrete on the tops.
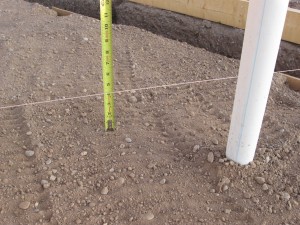
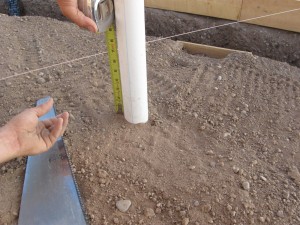
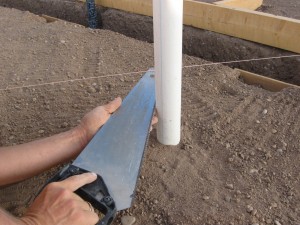
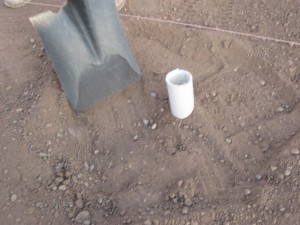
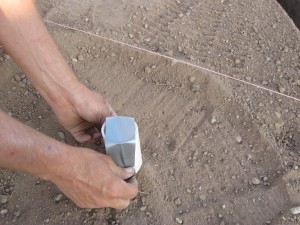
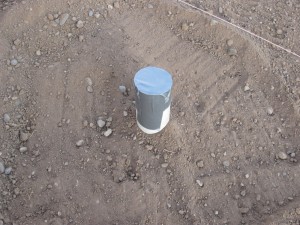
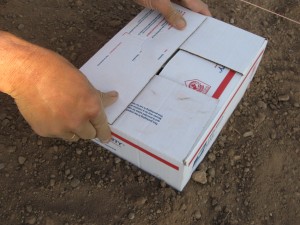
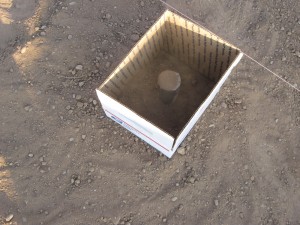
Toilet drain dab-outs are slightly different, so a separate set of photos also follow:
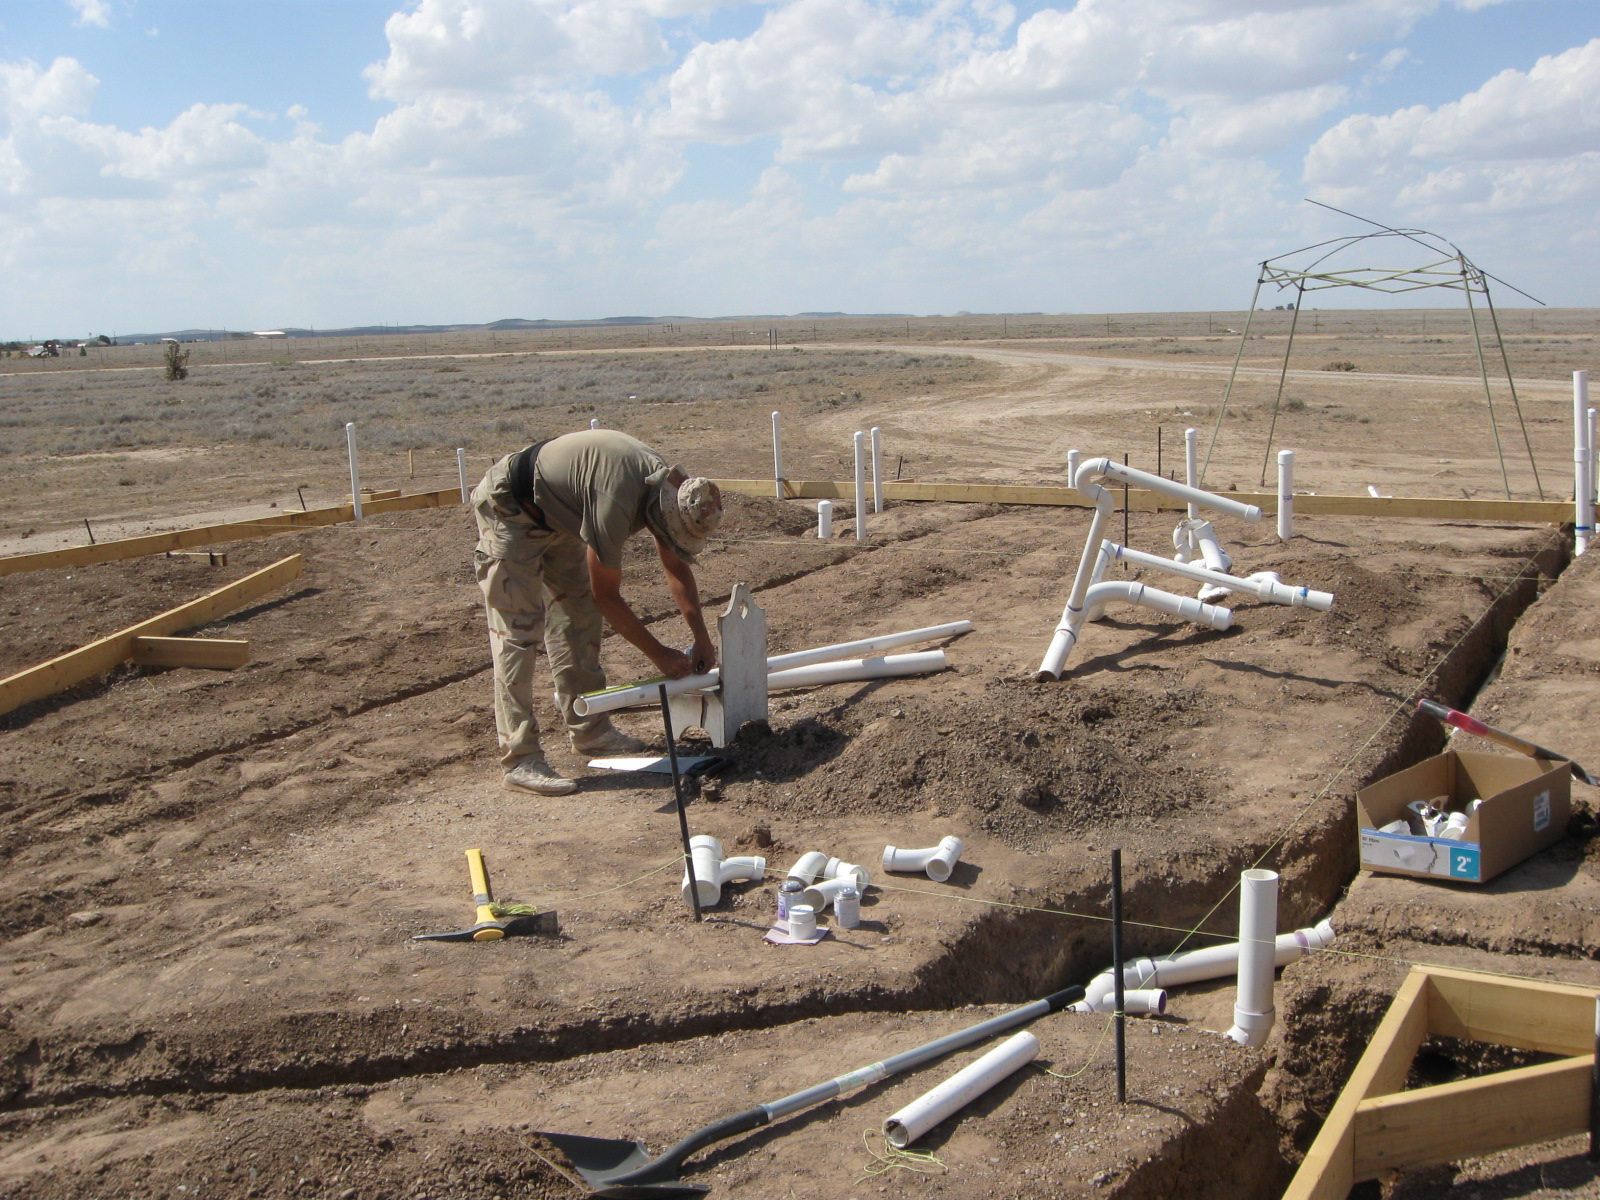
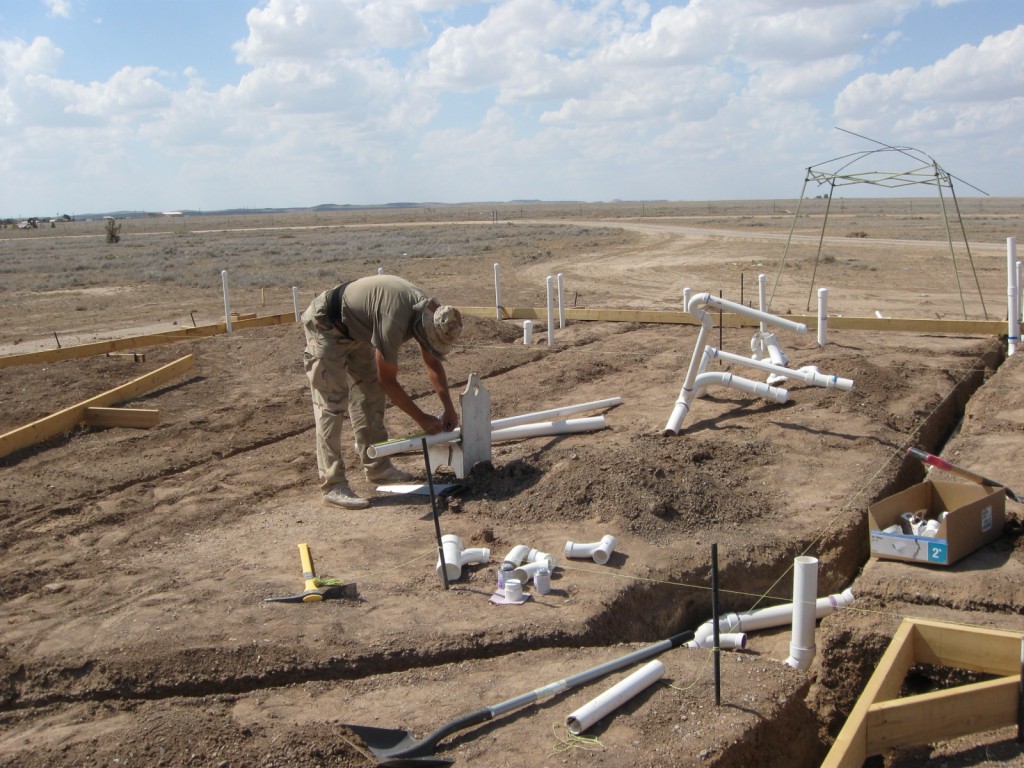
This week has been a very hot and tiring week of plumbing work. After trenching the main lines for the plumbing plan (6″ wide and up to 59″ below the surface of the slab as the trenches sloped toward the septic tank) the real work could begin.
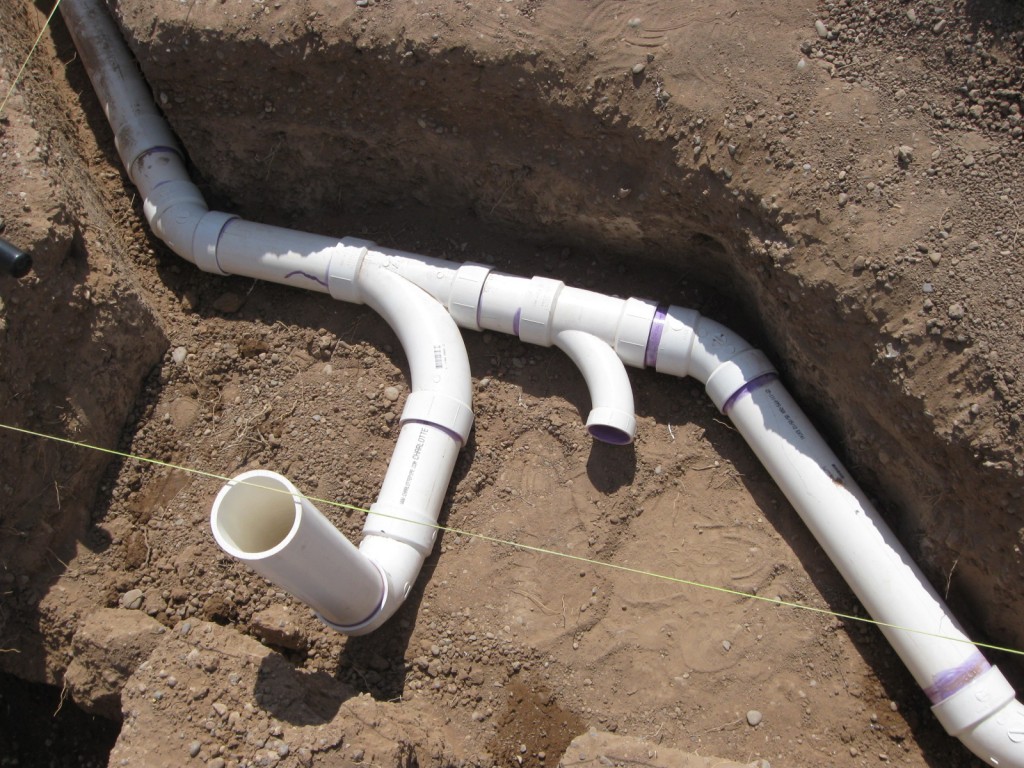
We began by taking the difference between the elevation of the slab and the depth of the entry pipe into the septic tank. That difference was 59″. Since the ground slopes toward the septic tank, there was a natural slope that required us to dig less deep trenches on certain parts of the foundation.
The distance from the farthest fixture to the septic tank was approximately 140 feet. Using a combination of 1/4″ slope for the 2″ pipes and 1/8″ slope for the 3″ pipes, we were able to lay the initial pipes fairly deep below the slab and then slope the drain and branch drains toward the septic tank.
Using a riding trencher ditch witch with a 6″ wide trencher, we dug the trenches. It is critical to lay out the trenching plan to avoid driving over trenches and collapsing the sides. It is also critical to use string lines and exact measurements on the form boards to insure your trenches are placed in the proper locations. We further used intersecting string lines (again with exact measurements) to mark the locations of fixtures within the foundation. Failure to locate these exactly will result in toilets placed too close or too far from walls or waste and drain pipes that do not exit the foundation in the center of a wall. This is extremely critical; measurements should be taken multiple times, string lines placed and rechecked before and after placing fixture location.
A few things we learned…
To avoid leaks, you cannot kink pipes at intersections and no pressure can be placed on a fitting. Blue glue can help with sealing minor seapage during the pressure test (apply, let dry for 2 hrs; reapply), but will not stop a leak. A leak will require you to cut out the offending fitting and replace. (Don’t ask how we know this — ).
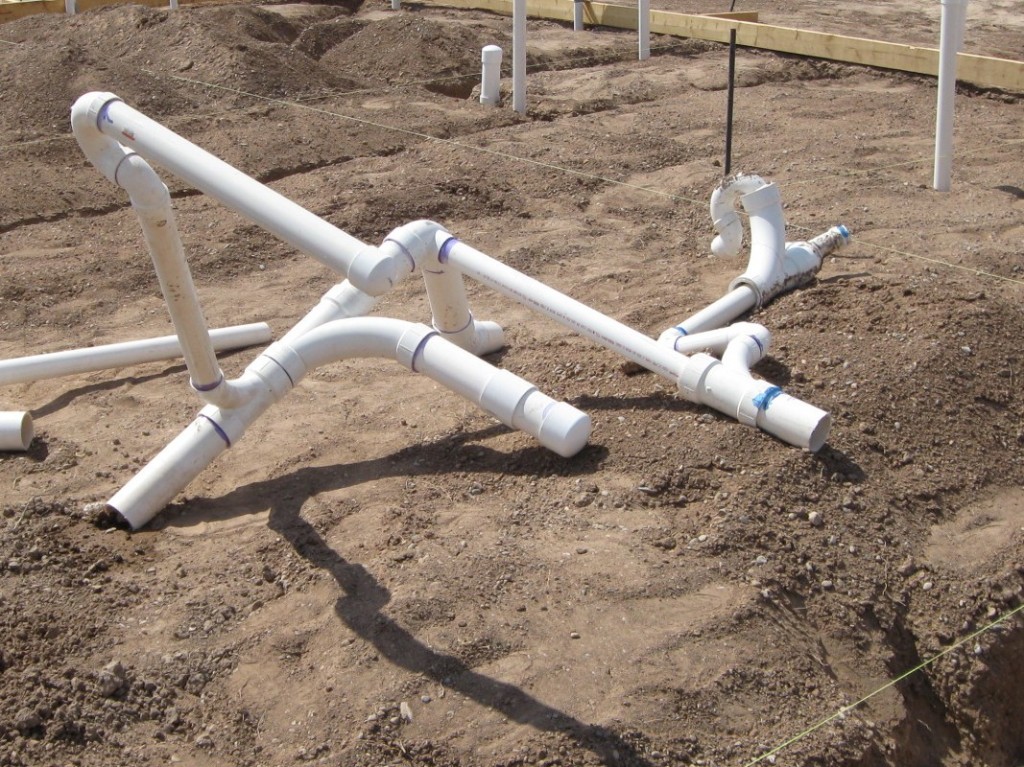
Make sure when you are building your fittings, make sure you don’t work yourself into a corner and find that you have two sections that need joining and no room to pull the lines together for the joint… leave yourself room for mating up different branches of the system by working in the best sequence to allow room to maneuver.
The good news was that, with a few changes, our rough-in plumbing inspection was a success. The local inspector came out and did the inspection with the water test yesterday. He complimented the work, but required us to make some changes on the design because we used the wrong code book. Apparently, the international standards (which we used) are not acceptable. The local inspectors use the universal standards, which required us to completely rip out the fittings for one of the bathrooms (and a couple of other individual fittings) and lay it out differently. Finding out this information in advance would have saved time and fittings…
After this final work to finish the changes, we’ll be able to cover the plumbing ditches and begin work on the rebar for the foundation. This makes us very happy.