November update

I cannot believe it has been more than a month since I posted an update… suffice it to say that we have not stopped working and been laying about!

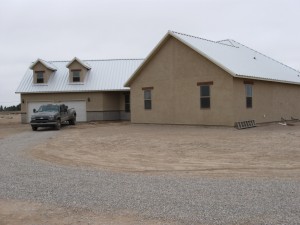
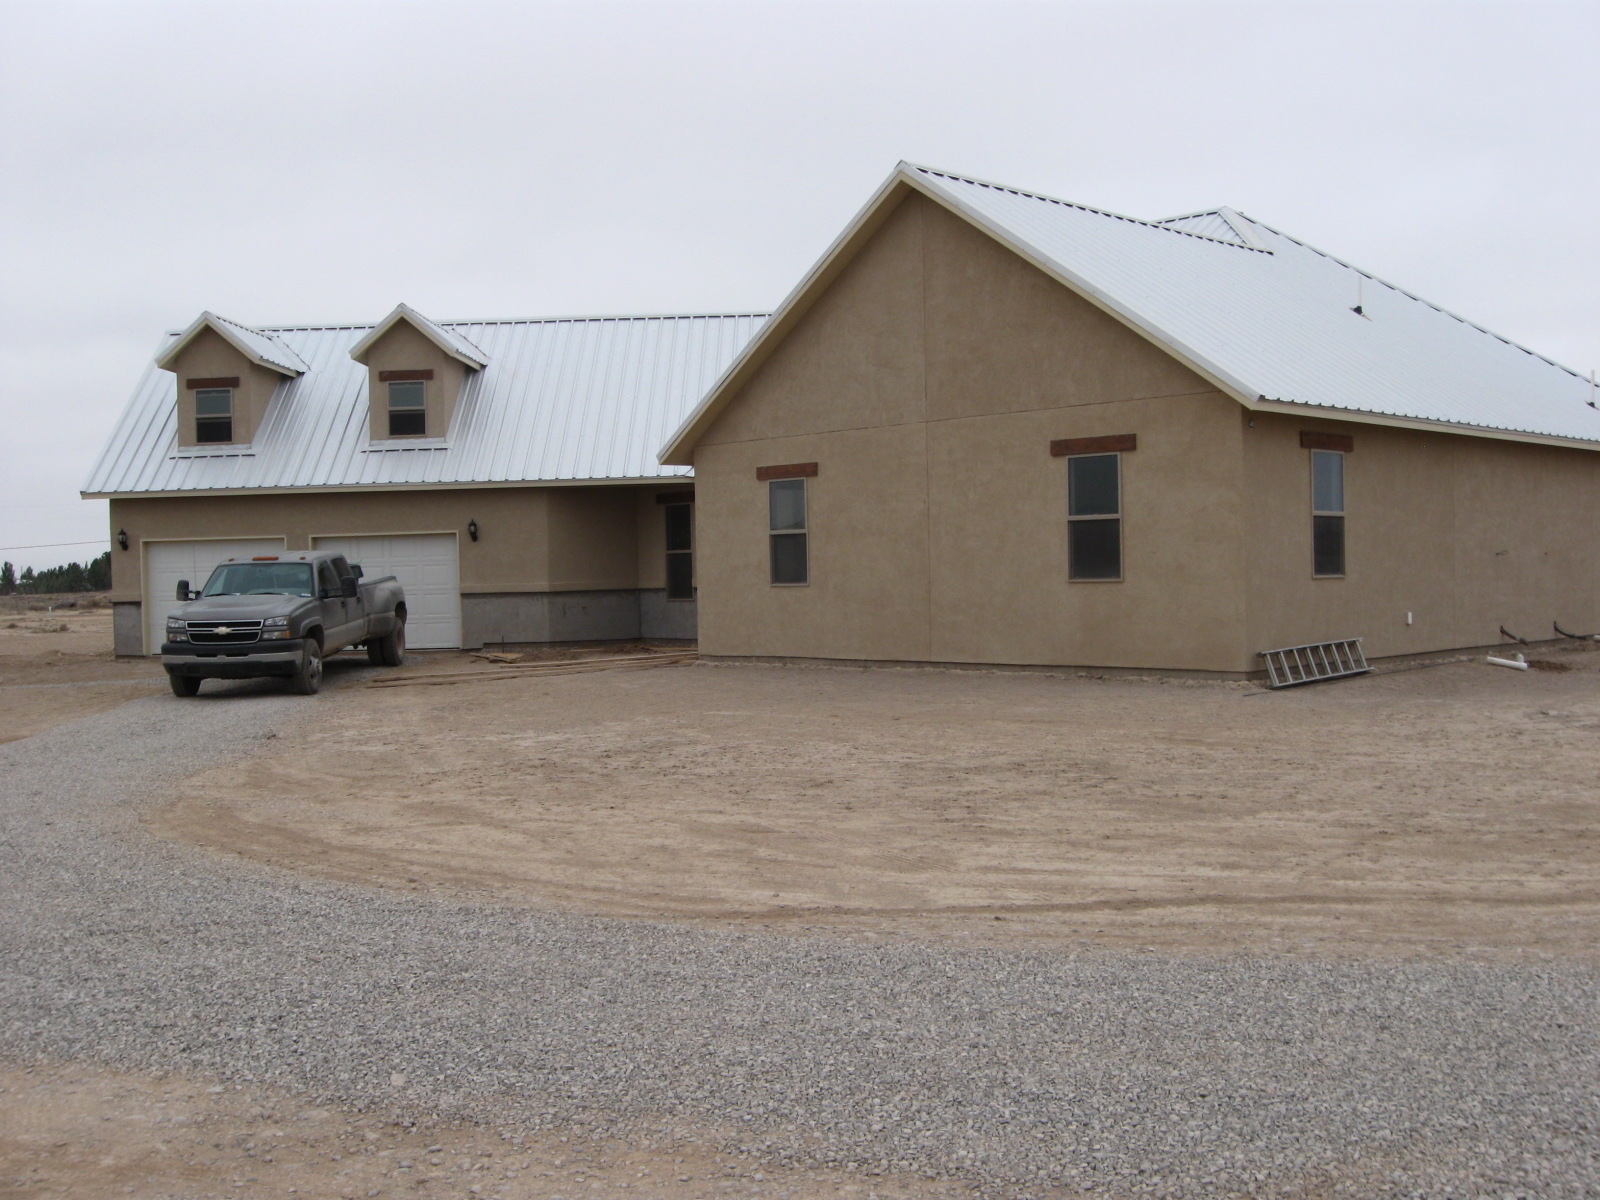
In the past month, the exterior of the house has been almost finished, including:

Stucco
Caulking and Painting Exterior Trim (soffits and fascia)
Exterior Door installation
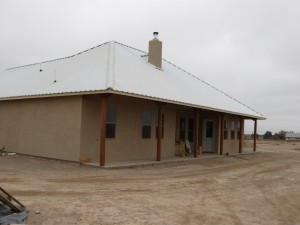
Chimney
Roofing
Installation of Garage Doors
Gravel placed on drive and on road
Exterior Light fixture installation

We hired a subcontractor for the stucco. While they worked on stucco, I kept up (barely) with painting and caulking all the soffits and fascia. We used the elastomeric stucco that is well-suited to our dry climate. I know that in some parts of the country the tight seal the synthetic stucco provides brings potential problems. Here in the dry southwest, it works very well.

We did our own installation of all doors, including the garage doors. This allowed us to secure the house while we are away from home and also cuts down on the dust and dirt inside. Since the garage doors were installed, we were able to move all the tools and building materials over to the new house garage and give ourselves a bit more space in the workshop. Exterior light fixtures have also been put into place.

The roof is a metal roof, installed by a local contractor. We chose a somewhat unusual color — simple galvalume. The reasons we decided on that color are that 1) the unpainted metal surface has the highest reflectivity of any of the metal roof materials, and 2) it is also the least expensive. We think it goes well with the territorial-style of our home and will last virtually forever. Low maintenance, baby.

Finally, as the winter weather approaches, we put down a layer of gravel on our formerly dirt road. During the driest parts of the summer, the caliche in the area causes the dust to build up several inches deep on the road. Driving on our road at that time raises a veritable cloud of dust. The roads are also very nearly impassable after heavy rains. So… laying several inches of gravel has vastly improved the road. Heck, I may even wash the car…

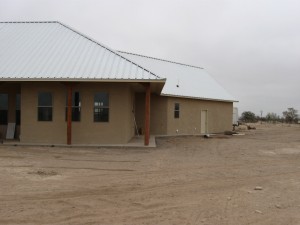
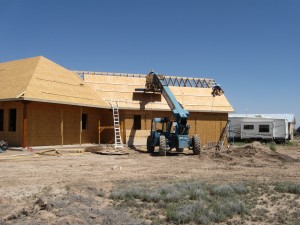
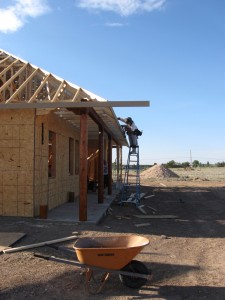
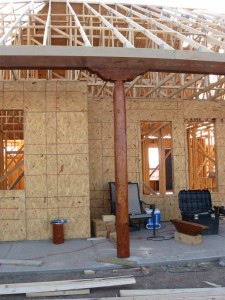
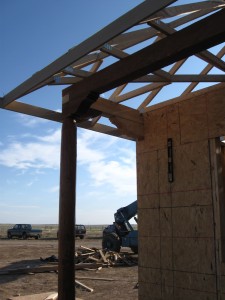
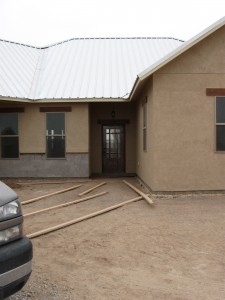
See some photos of the exterior:
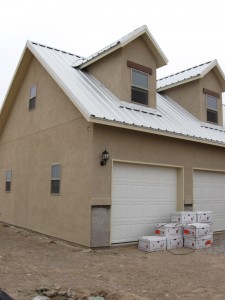
Synthetic rock trim delivered and ready to install...

Front entry (door wrapped in plastic)
View from the northwest
Back porch view
Side porch and garage rear

Military Principles of War: Simplicity
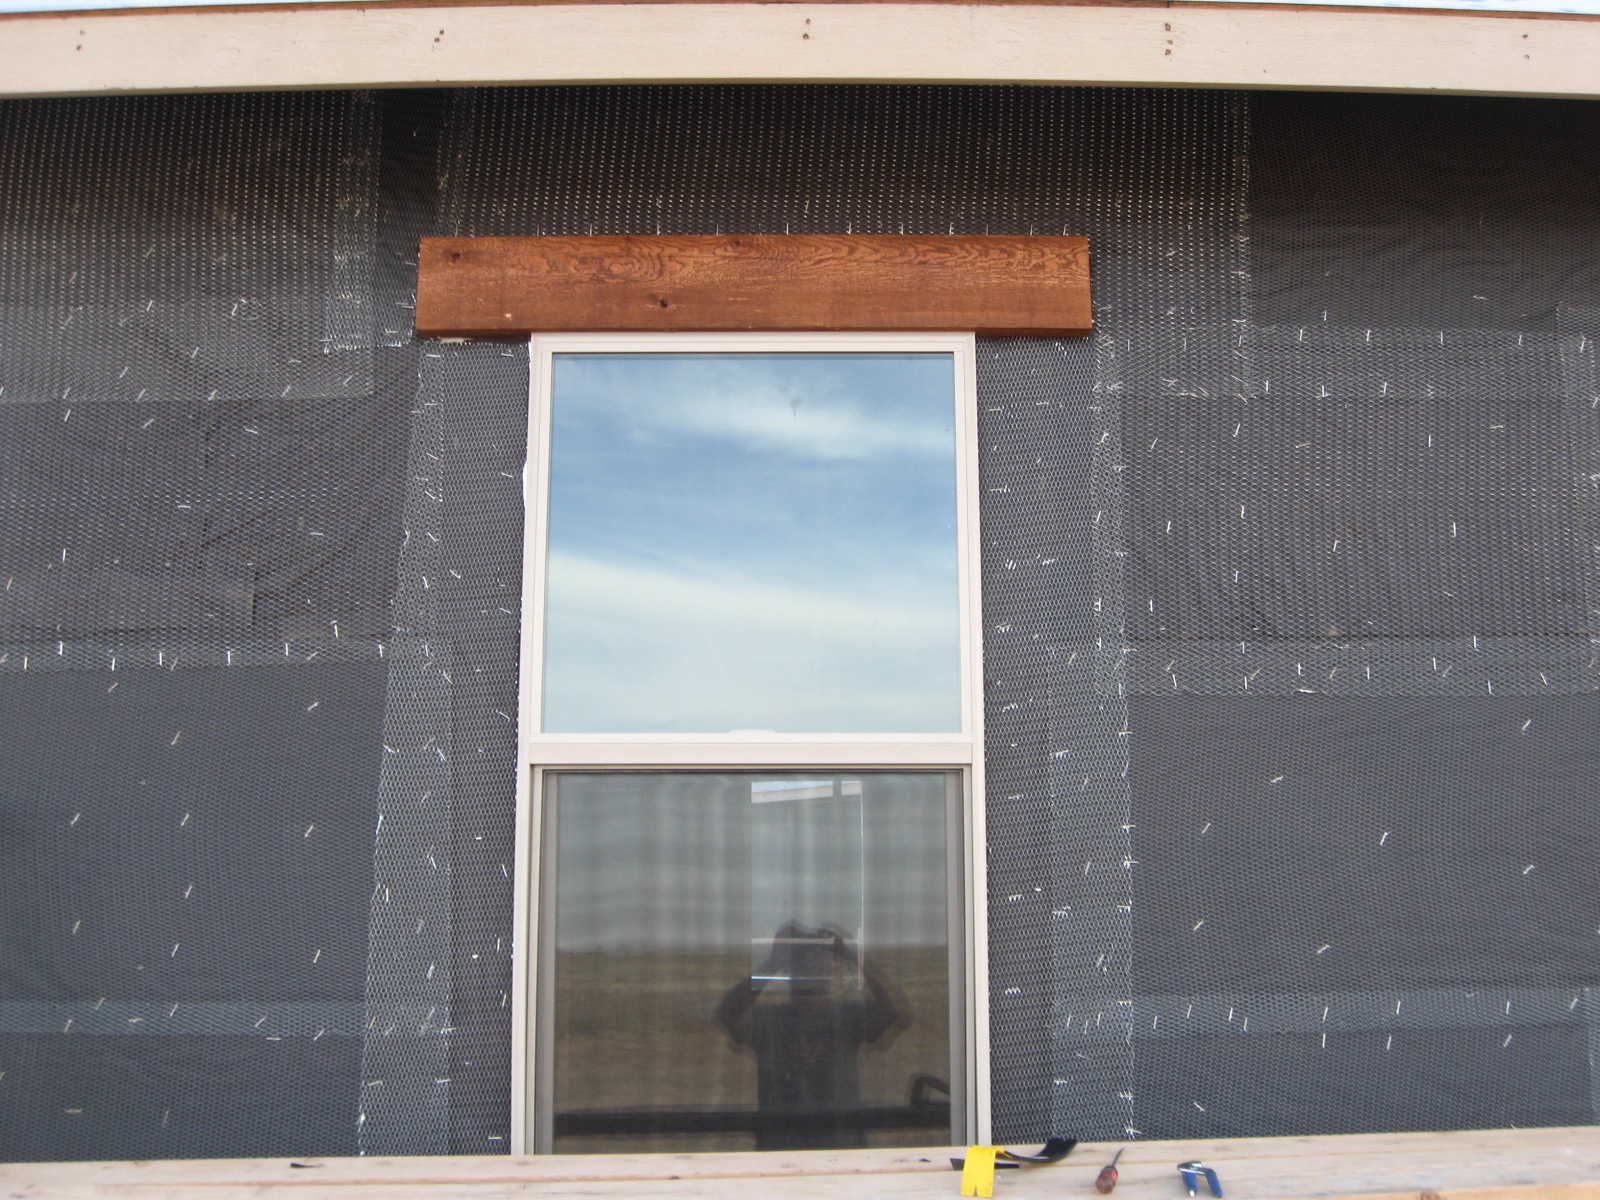
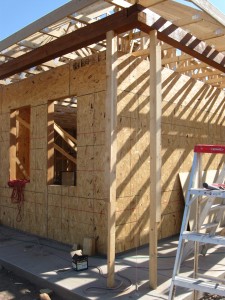
I have relearned the military principle of war-Simplicity-many times. I was taught at West point: “Issue clear, concise and simple instructions.” Doing so will minimize the possibility of confusion and enhance effective mission accomplishment. Obviously I failed to observe this principle when directing the Stucco Subcontractor.
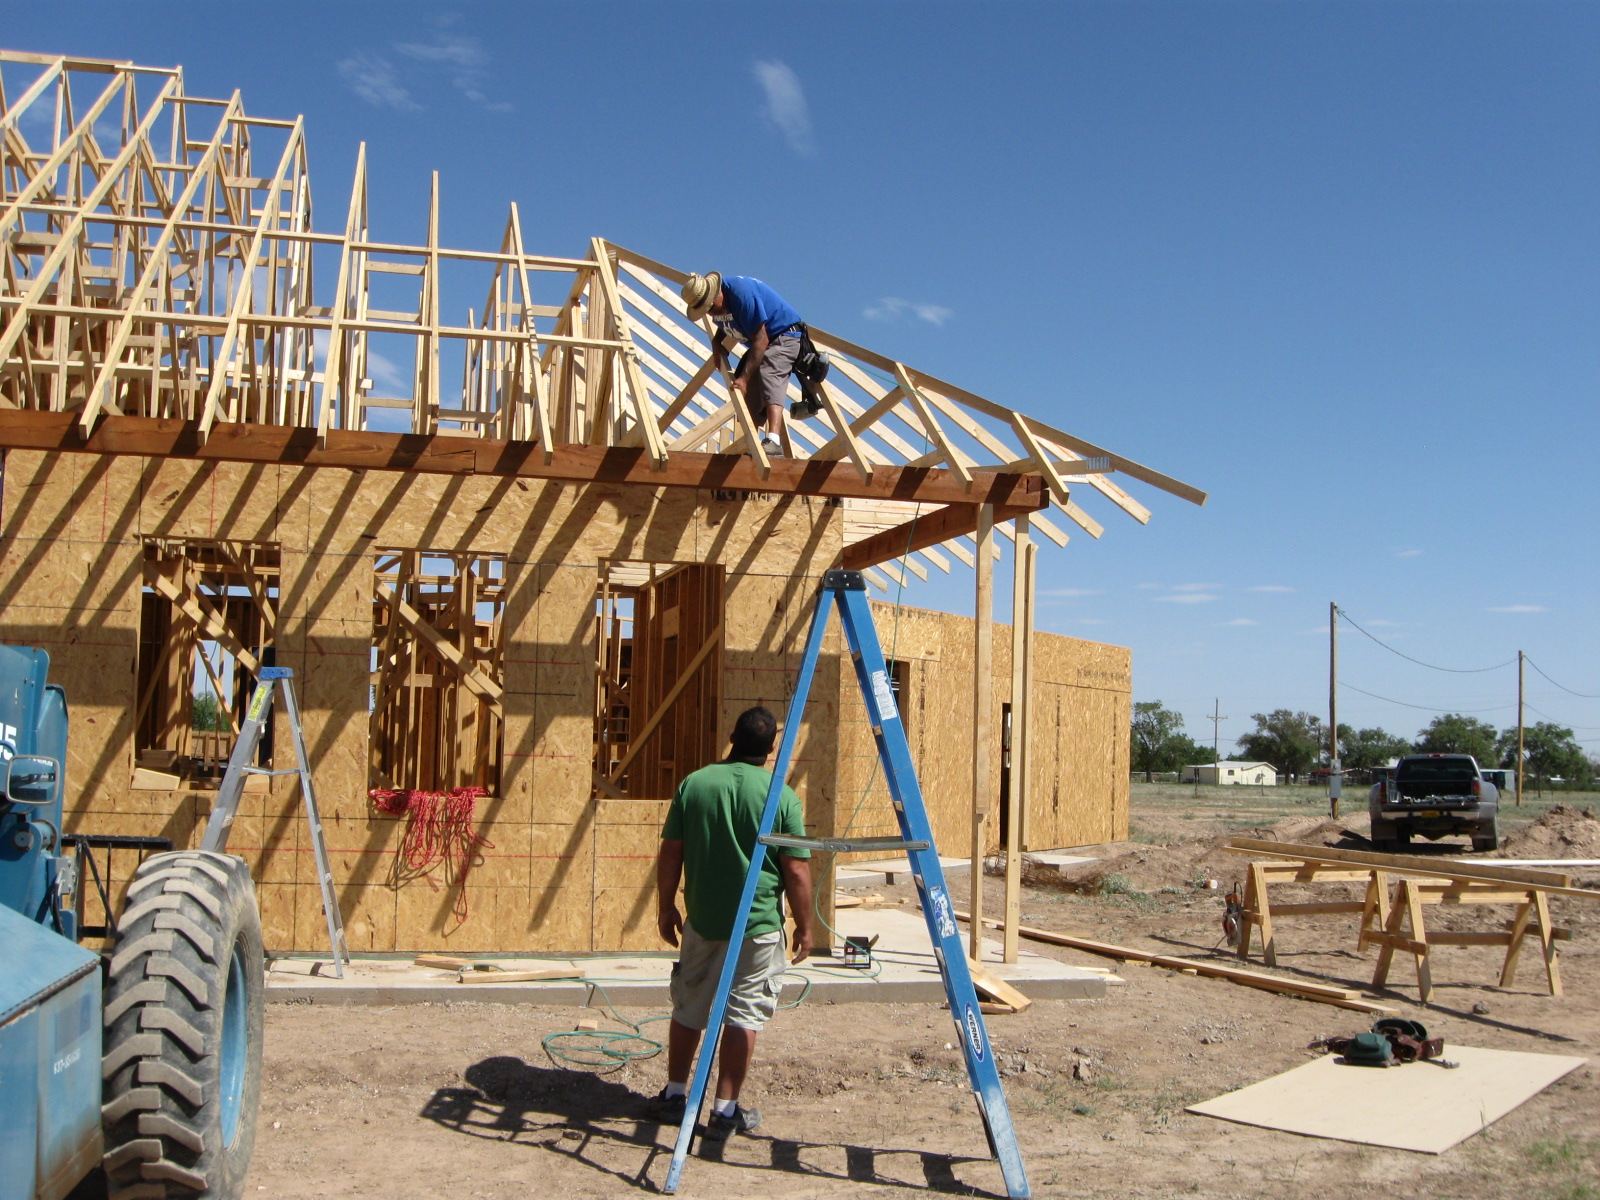
What I thought I conveyed(first image):
After issuing clear and concise orders my wife and i move to the opposite side of the house to install some more windows……

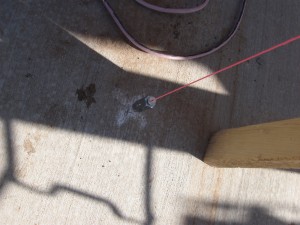
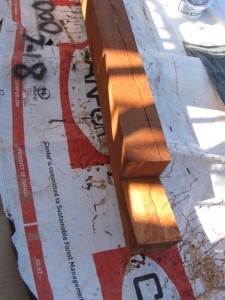
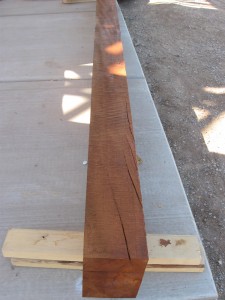
What the subcontractor heard (second image):

Meanwhile, the sub is busy covering up those expensive cedar beams which have been beveled, stained and neatly installed above the windows. Why the heck would they want those ugly things showing…let’s stucco over them.

Bonus Room Framing

As G.N. Construction continues working on the roof decking and soffits, they are also continuing with the framing of the bonus room above the garage (in case you’ve forgotten, it is really the future home of the WWII Museum and Research Center). The progress is moving along well as we continue to complete small jobs around the house while they work. Most of the bracing from the interior of the house has been removed, so you can safely navigate without fear of head-bonking. Also, Oz finished building the water heater platform and has been working on the plans for the woodburning stove installation and chimney. We also bought paint to begin painting the soffits before the roof flashing is installed.

Additionally, we got our exterior door for the kitchen ordered, windows on order and have gotten word that our interior doors have arrived and are ready to be delivered. After the roof decking is in place, the roof will be wrapped with Titanium 30 to keep out future rain. That will be a very happy day! Here are a few photos showing current progress:

Framing the bonus room end window

Framing on bonus room - dormer spaces

Bonus room
Rear view of house...

Decking continues

Pillars and Corbels

A short post with photos of the pillars and corbels that Oz is installing before they start the soffits:

Beams and Corbels Going in...
Looks Pretty...
Staining needed on short piece...
Corner plumb line...
Not bad planning for a rookie.

We think the stain looks great… still have more to do — probably another coat on all the pillars and then the clear coat on top. We were trying to hurry to get as much done before the pillars and corbels were put into place as possible… but we didn’t want to delay the guys who are putting on the trusses, decking and soffits.

In case you are interested in stains, chinking materials, deck protectors, etc., check out Mountain Home Building Products — excellent service and fast delivery.

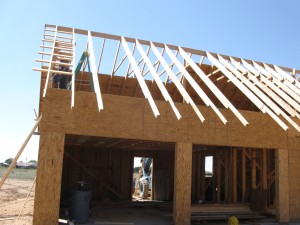
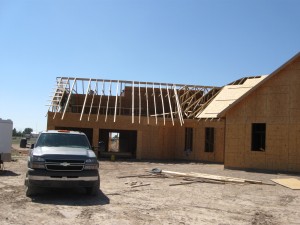
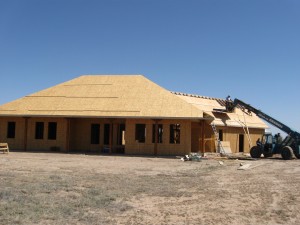
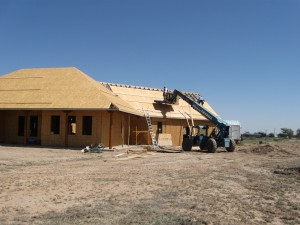
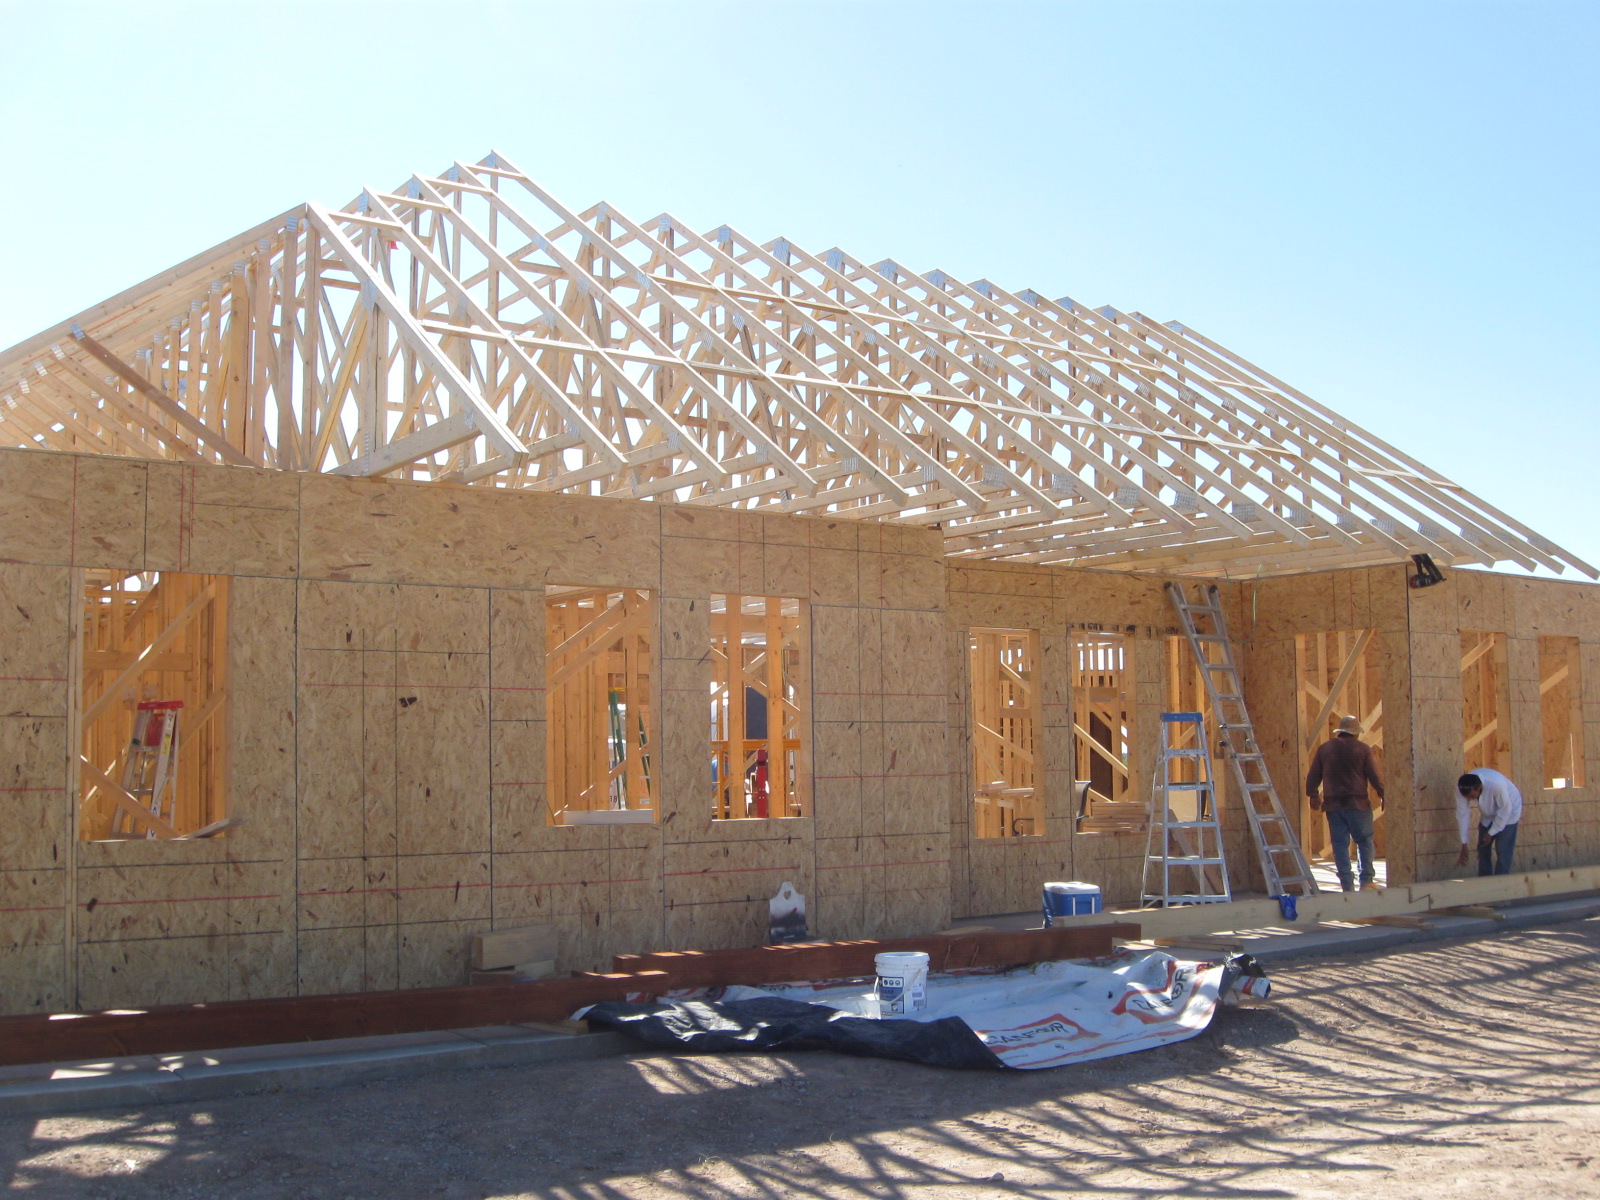
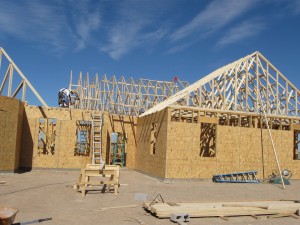
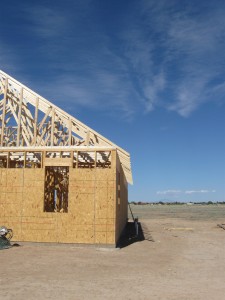
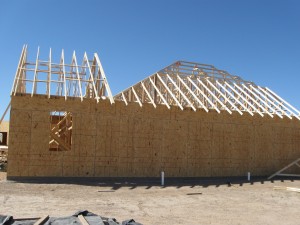
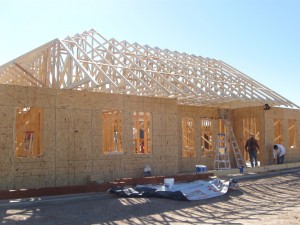
The Trusses and Decking Take Shape

Framing the valley...

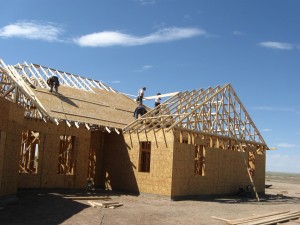
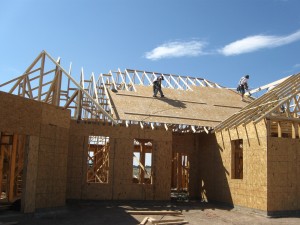
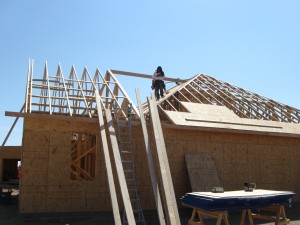
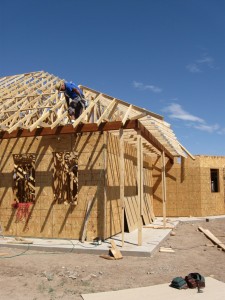
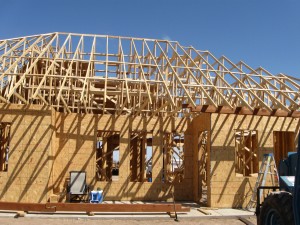
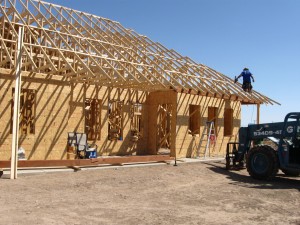
As the work continues on setting the trusses, the shape of the house and how the roofline will look is becoming more clear. I was surprised that they were decking the portion of the roof that will have rafters above, but that provides extra stability and provides structure for setting those rafters. I took a few photos:

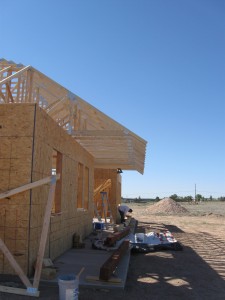
View from front

The work of setting trusses, decking the roof and framing the bonus room above the garage is being done by G.N. Construction, LLC. Freddy and his crew have been doing a great job here. You can contact them for work in the region by phone at (575) 914-0018 or (575) 420-3194.

View from the north side

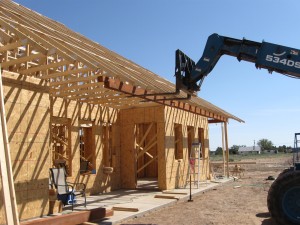
Placing the beams
View of back porch

End corbel and beam...
Freddy Nasarallah (GN Construction LLC)
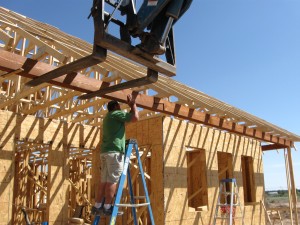
Lifting a Beam
Adjusting the Beam's position

Truss Setting Progress – Day Two

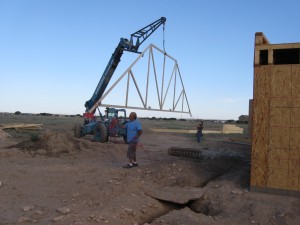
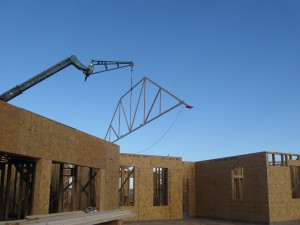
The first few photos are of the first truss being placed yesterday afternoon… After that, you can see the great progress that has been made since. It is a fairly complicated roof design, with a steep (8:12) pitch to the main part of the roof, and 10:12 over the garage, so we are very glad to have G.N. Construction, owned by Gaby and Freddy Nasarallah, doing the work for us.

Lifting the first truss
Placing the 1st Truss
1st Truss in Place
Nailing Truss to Top Plate
Steadying the 1st Truss
Truss Progress - Front View
Nice and Straight Wall...
North Side of House View - Before Stick-built tie-in
Back side view
Back Porch Overhang
Freddy & Gaby Nasarallah, Construction

To contact Freddy about all types of construction projects in the Roswell, Ruidoso, Artesia, Carlsbad area, call them at: (575) 914-0018 or (575) 420-3194.

Setting Trusses – Work Begins

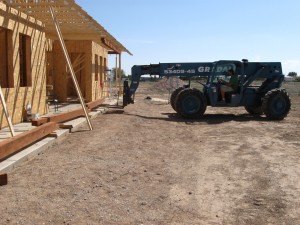
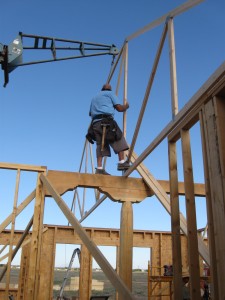
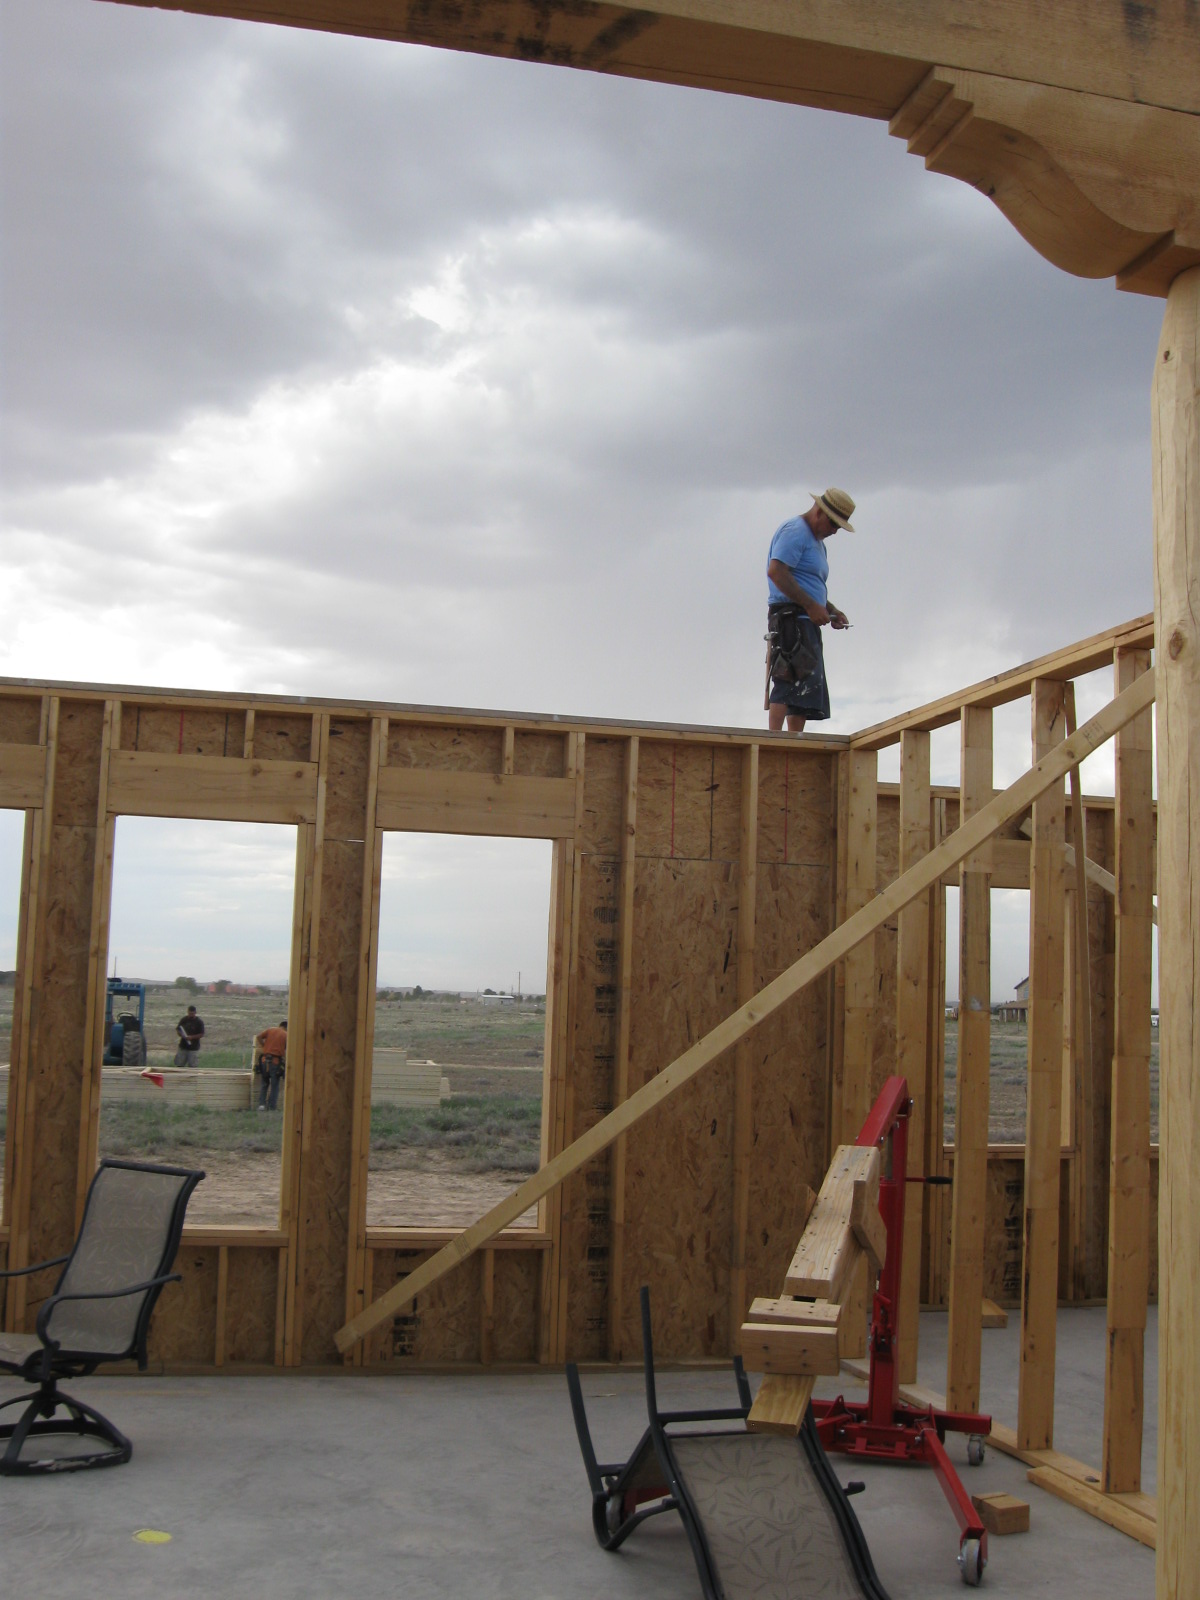
At a little after 3 pm the work is finally begun on setting trusses. I was amazed to see one of the framers walking around the top of the framing like a balance beam… quite a good balancing act. He was walking along the top plates marking truss locations. The wind has kicked up a bit and it would make me more than a little nervous.

Marking truss locations

Sorting out the trusses...

Notching Beams – Back Porch

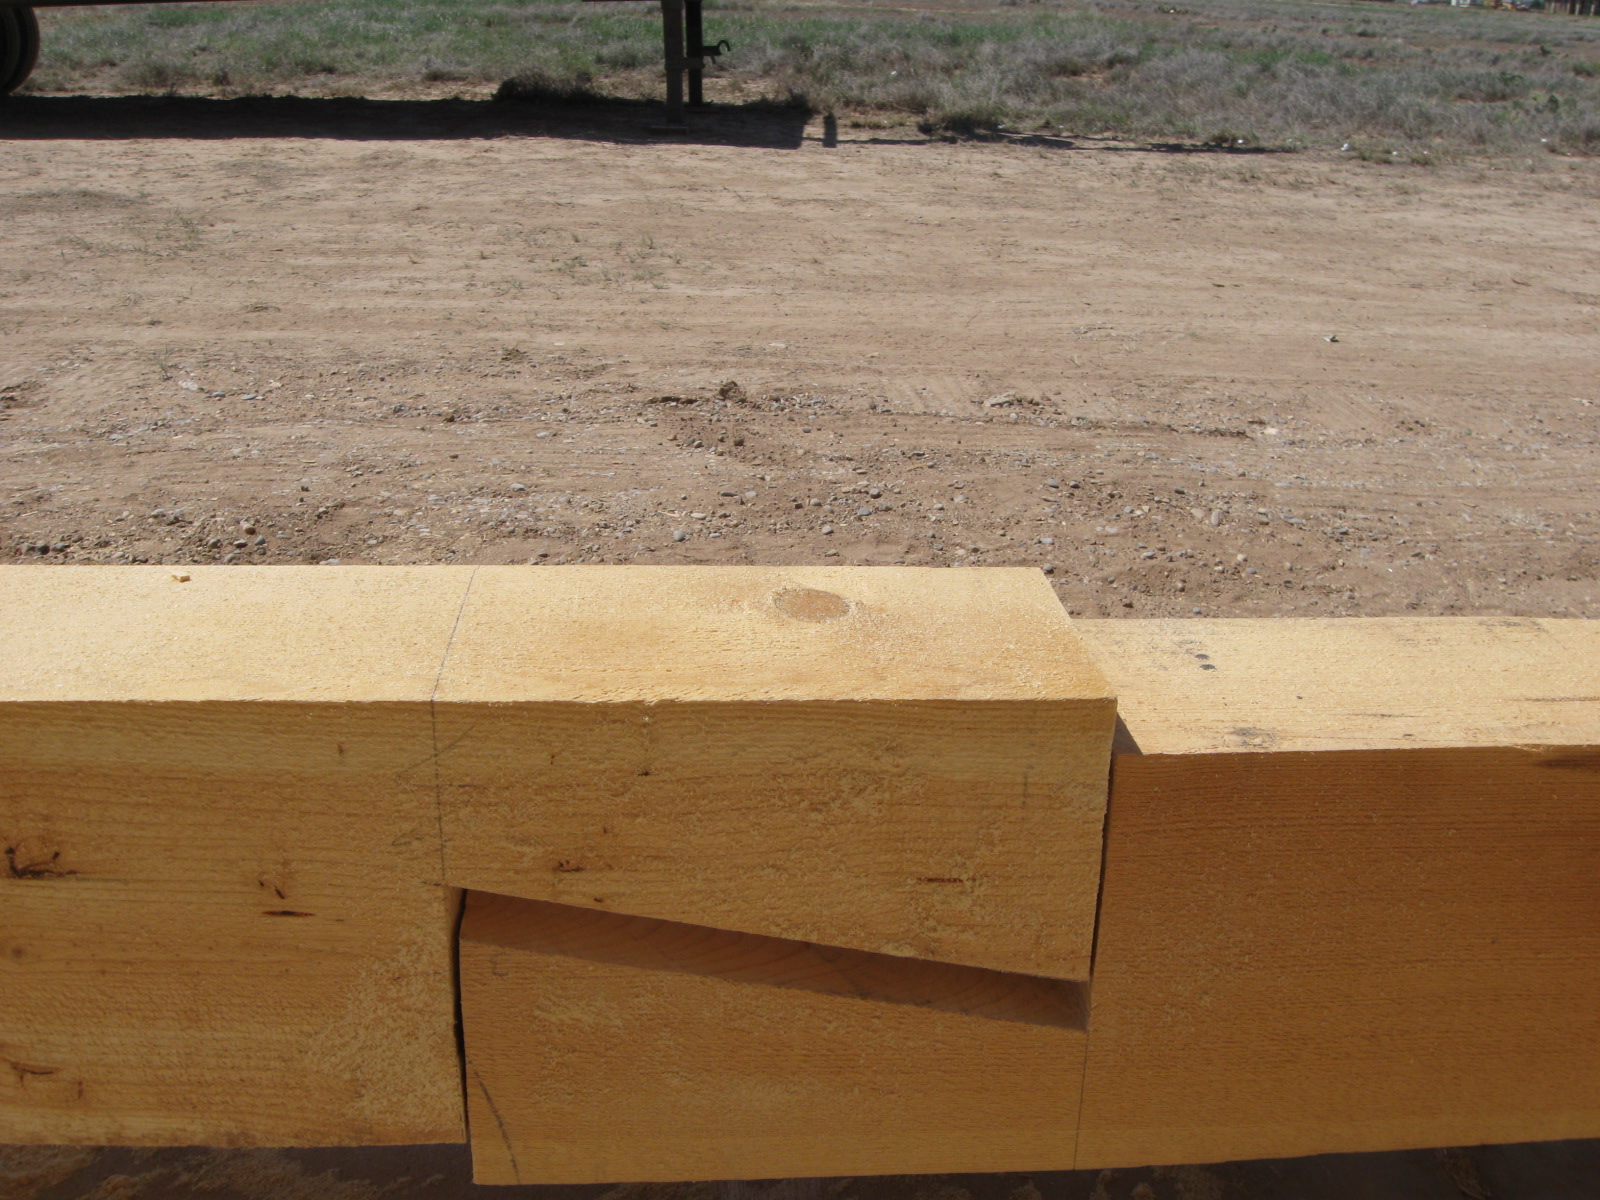
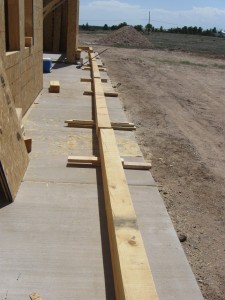
The last job we had planned in preparation for the framing crew was to get all the porch support beams notched and ready for installation. The framing contractor has a lift that will allow putting them in place easily, so having them fitted and ready for installation was the plan.

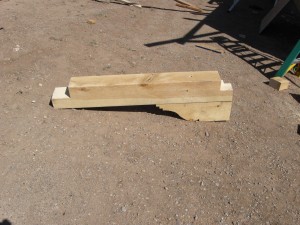
After laying them out in place, they were cut to size. At each joint, a pillar with corbels will be placed below. Using a circular saw to start the cuts, and a hand saw to finish them (due to the massive size of the beams, the blade couldn’t reach the complete depth), the job was done.

Closeup of joint between two beam sections

Beams laid on on the length of the back porch
Corner joint
Imagine these beams in place about 10 feet up...

Interior Beams and Posts in Place

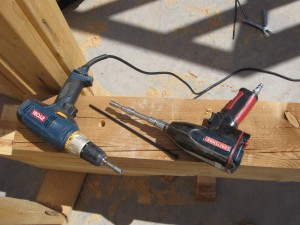
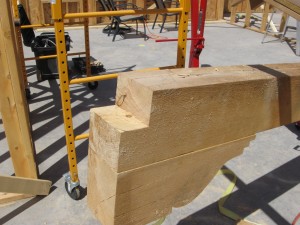
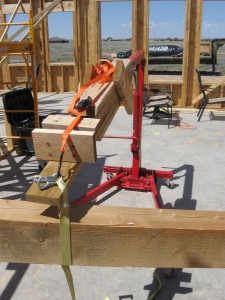
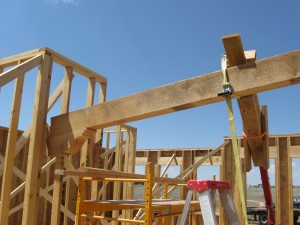
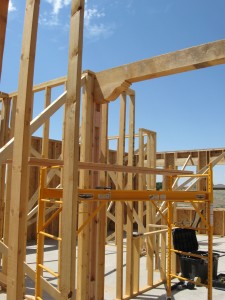
While I was busy in town (haircuts, canning and lawn-mowing), Oz was able to get the interior beams and posts into place. He used a standard drill, the impact drill, hand saw, circular saw,  scaffolding and our fondly named “T-Rex” modified engine lift. Again, it proved helpful in getting the beam lifted into place without back strain or injury. In preparation for the project, the beam was cut to size and then notched so that it fit into the interior framing. After the notch was prepared on each end, the beam was attached to the corbels using 10″ wood screws. Support framing was built to fit into the interior framing to support the beam.

Tools Used for the job…
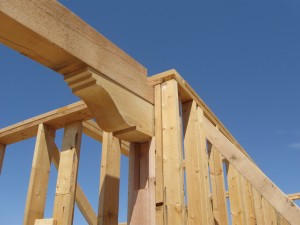
Notched Beam and Corbel

T-Rex was then used to lift one side of the beam to the height of the scaffolding.

T-Rex lifting the beam

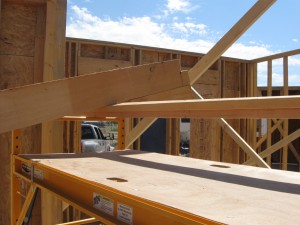
After the first side was set onto the scaffolding,

One end propped on scaffolding

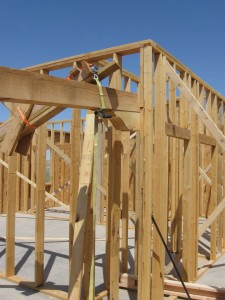
the other side was lifted into place into the wall. Support framing was put into place beneath it. The process was duplicated at the other end, again using T-Rex.

Lifting top into place
1st end in place
Final lifting on other end…
Vertical Box beam support in place

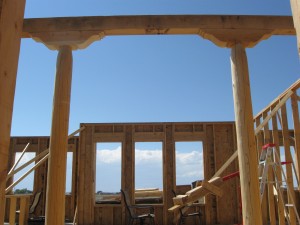
Once both ends of the beam were secure, the posts and their corbels were attached to the beam. Still to be done: drilling anchors for the posts into the concrete and covering the bolts with wooden dowels and sanding to match the surface.

Finished product with posts in place