Fruit Trees Planted

We had a cold front move through the area, with the coldest night being last night… since we’ve been watching the weather forecasts since the bare root trees arrived, we decided to wait until that really cold night was past before planting.

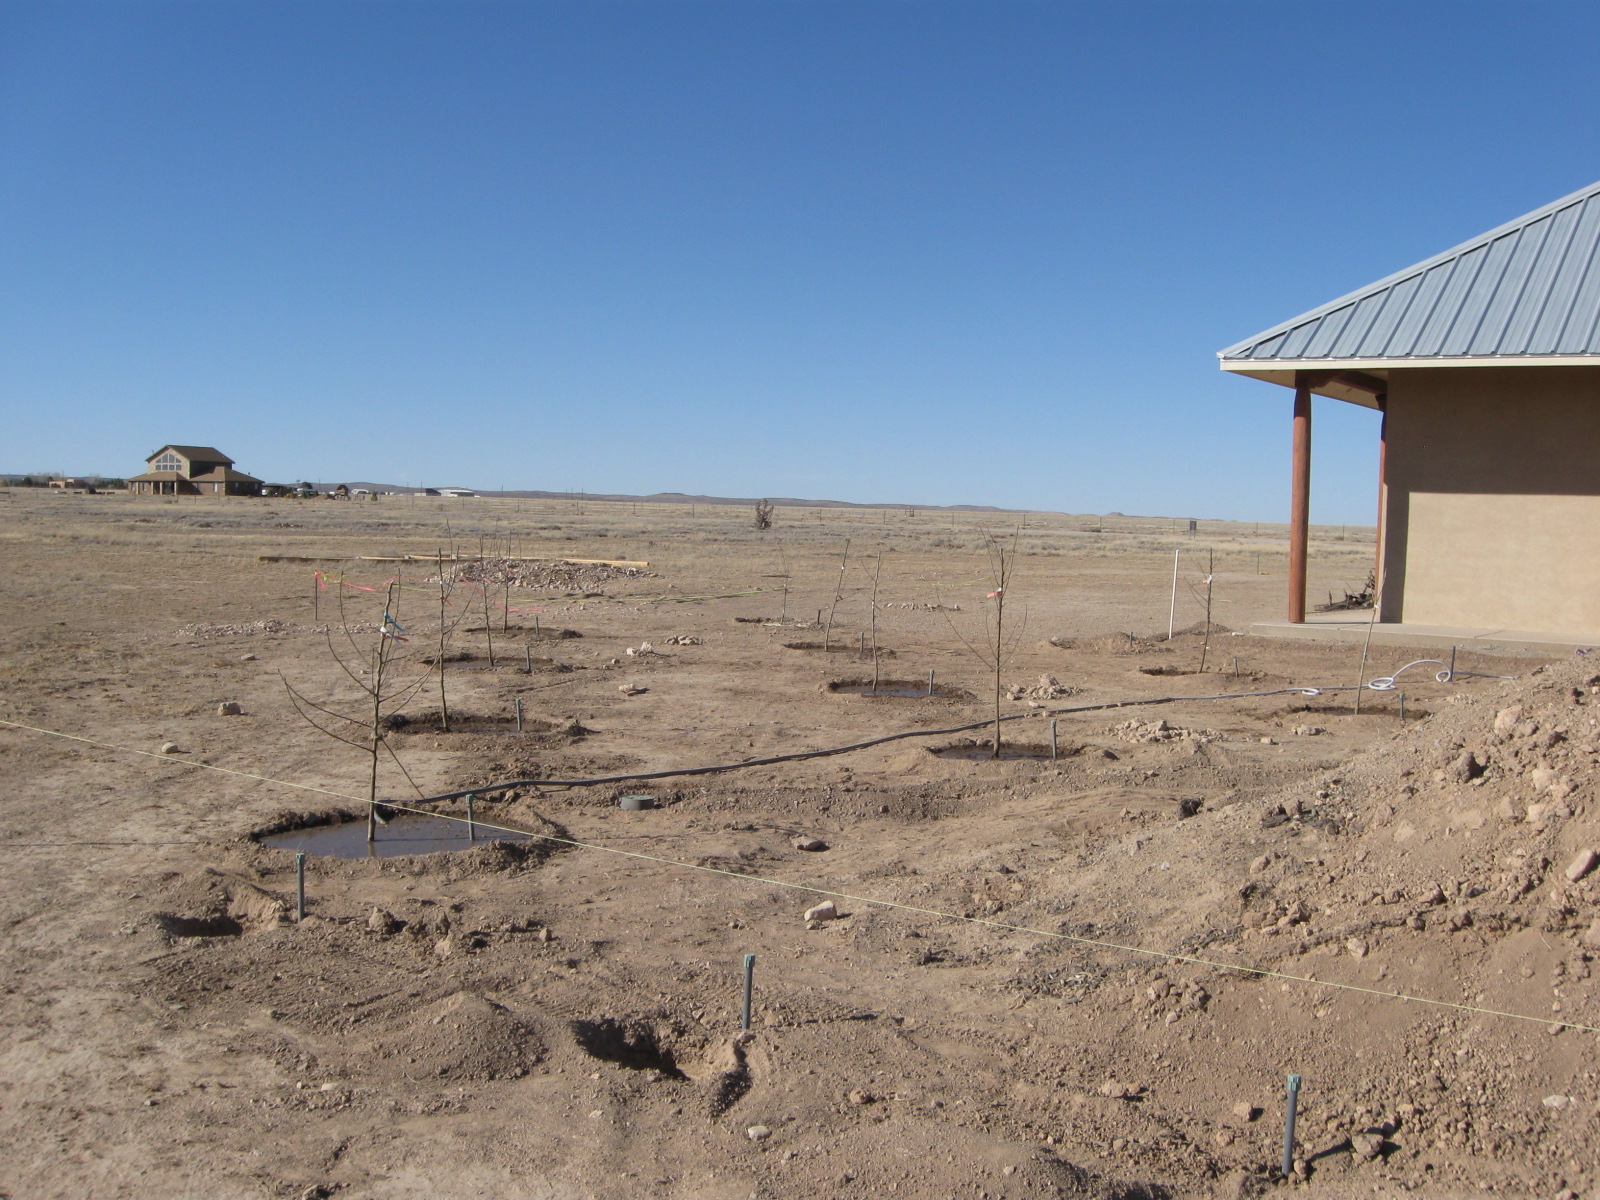
I had the trees soaking in water before planting today. I had to clean out the holes again in preparation for planting. It has been so windy, that the holes keep filling up with blowing dirt. Yesterday, I had prepared wells around the tree locations, so things were ready to go.

Peaceful Valley was running a special when I ordered the 10 trees. They sent along 10- 3 lb. bags of their Primestart Booster Blend to help the trees get off to a great start. So… after cleaning out the pre-dug hole, I mixed a bag of the primestart with the remaining dirt and compost to backfill the hole as I placed each tree. We still have a pretty good supply of the pecan compost we bought last May, so it went in with each tree as well.

We have a very intense afternoon sun here, so I placed the rounded side of the graft toward the south. After planting, we watered each tree well…
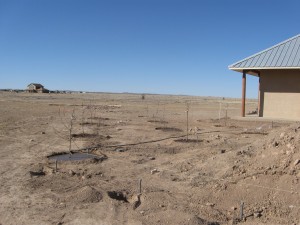
Ten fruit trees ready to grow!
I still need to prune a few of the broken branches, but I think they look pretty good out there.

Irrigation System in Place

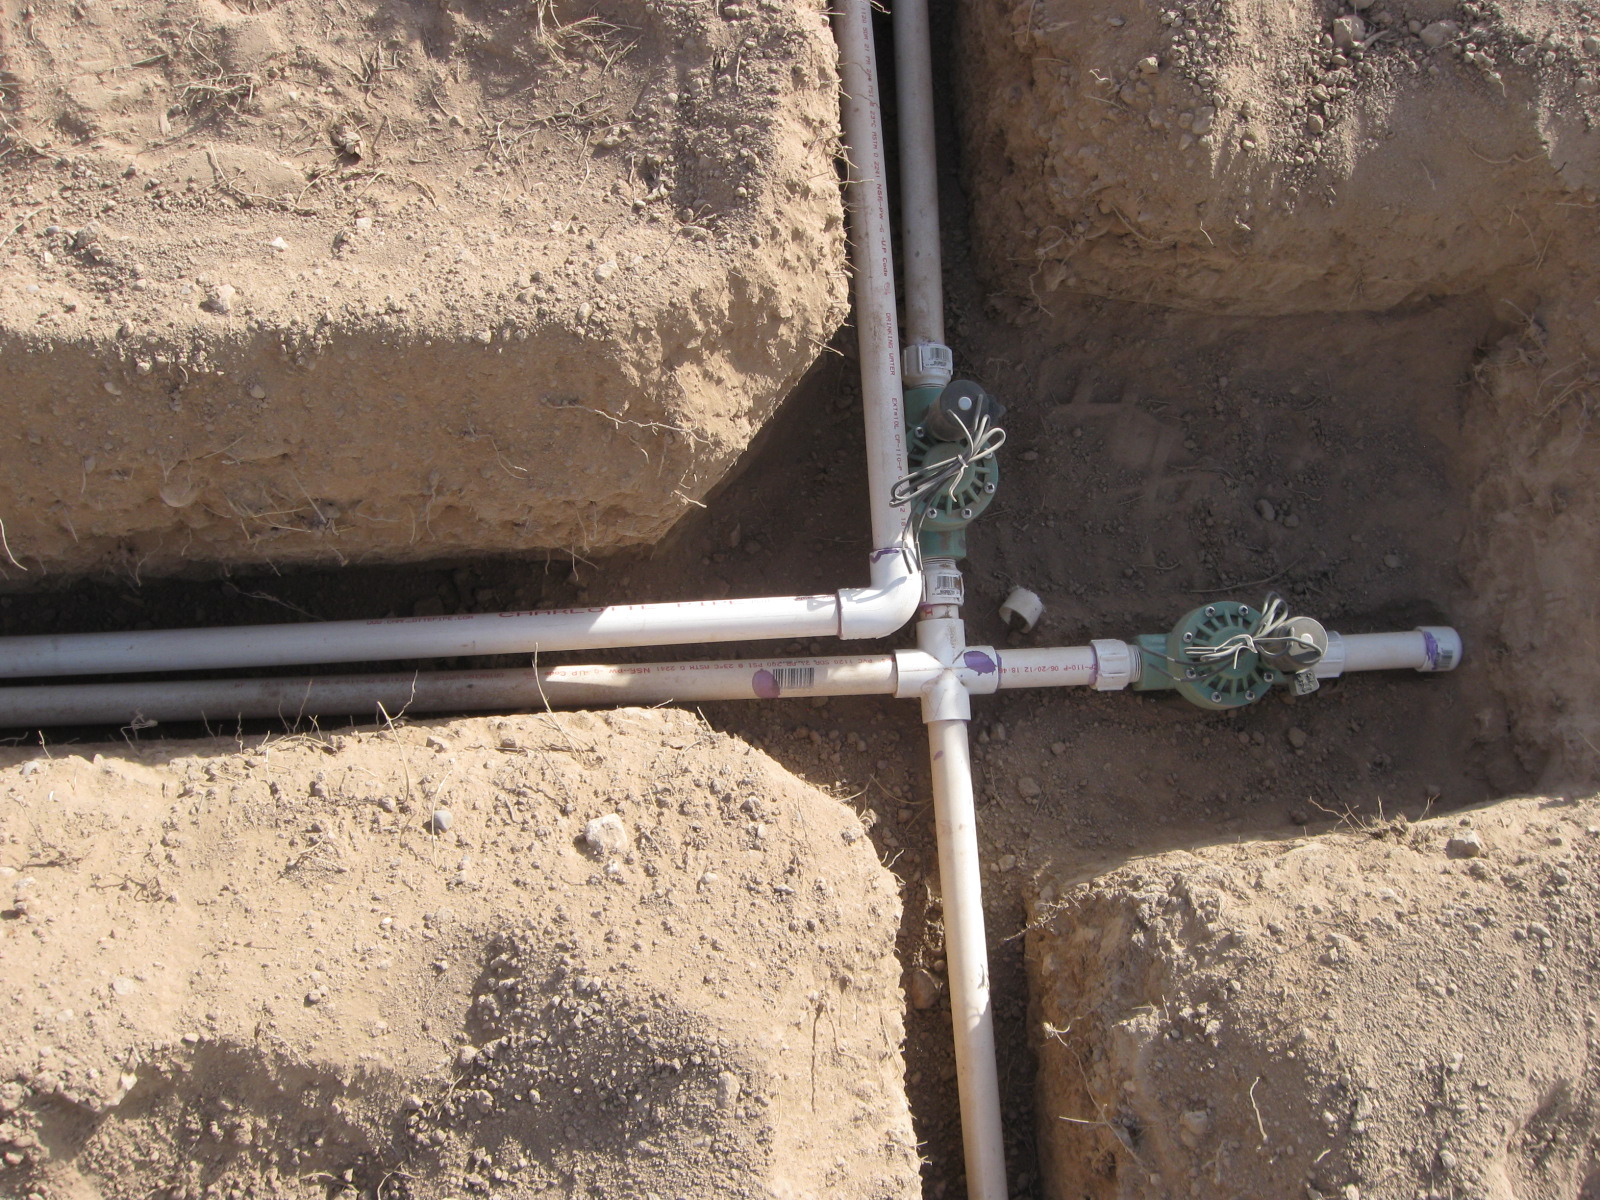
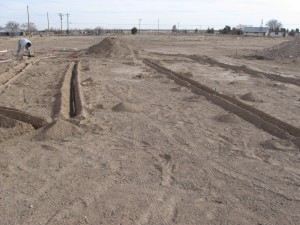
We spent a good half day putting in the irrigation system for the garden and orchard. Since we are not in the house, so cannot really use the automatic feature of the system until all the finish plumbing is completed, we will have to manually turn water on to each zone in the meantime. However, it will be nice to have the biggest part of it done early and it does give us a more efficient way of watering trees and garden raised beds until then.

We planned the lines so that each zone covers a particular part of either the orchard or garden and ran a line and capped it for future expansion in the back patio area.

While Oz put the lines together, I was the ditch-digger, cleaning out all the trenches with a trenching shovel. Our first test of the lines showed that we had no leaks in the system, but that dirt and small pebbles were caught in the valves, keeping them from operating properly. After taking them apart and running water to clear the lines, everything works well now.

This project cost about $300, including the controller box. Easily it would have cost $1500 if we paid a subcontractor to do it… another example of the value of sweat equity.

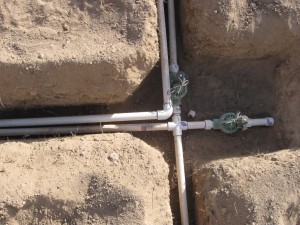
PVC lines

Closeup of valve placement

Fruit Trees are on the Way

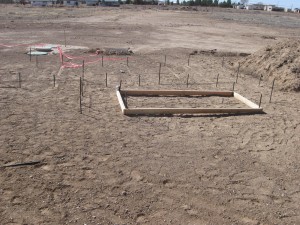
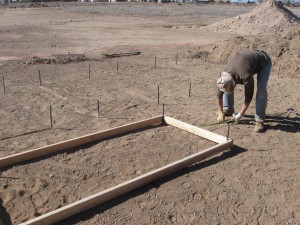
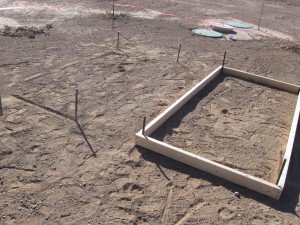
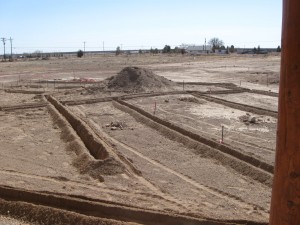
I got email notice earlier this week that our fruit trees will be here on Saturday! So… preparation of the orchard, including irrigation system, hole-drilling, etc. had to be done. We mapped out where we want the garden beds to be and planned the irrigation system for them and the grape arbor all at the same time. Together, Oz and I measured out where everything would be and tried to design an efficient system of valves and lines. First, we had planned the tree location (photos earlier); now we planned the layout of the raised beds, marking them with stakes. Using a 4′ x 8′ wood frame for a template, we marked the corners of the bed locations.

6th Bed location

Locating Bed #5
Staking out 4'x8' beds

To begin with, we’ll have 6 raised beds, with planned space for 3 more when time and energy allow… we have 6 grape starts promised from a local retired Veterinarian who has an amazing garden, so we planned for those plants along the back garden fenceline, too.

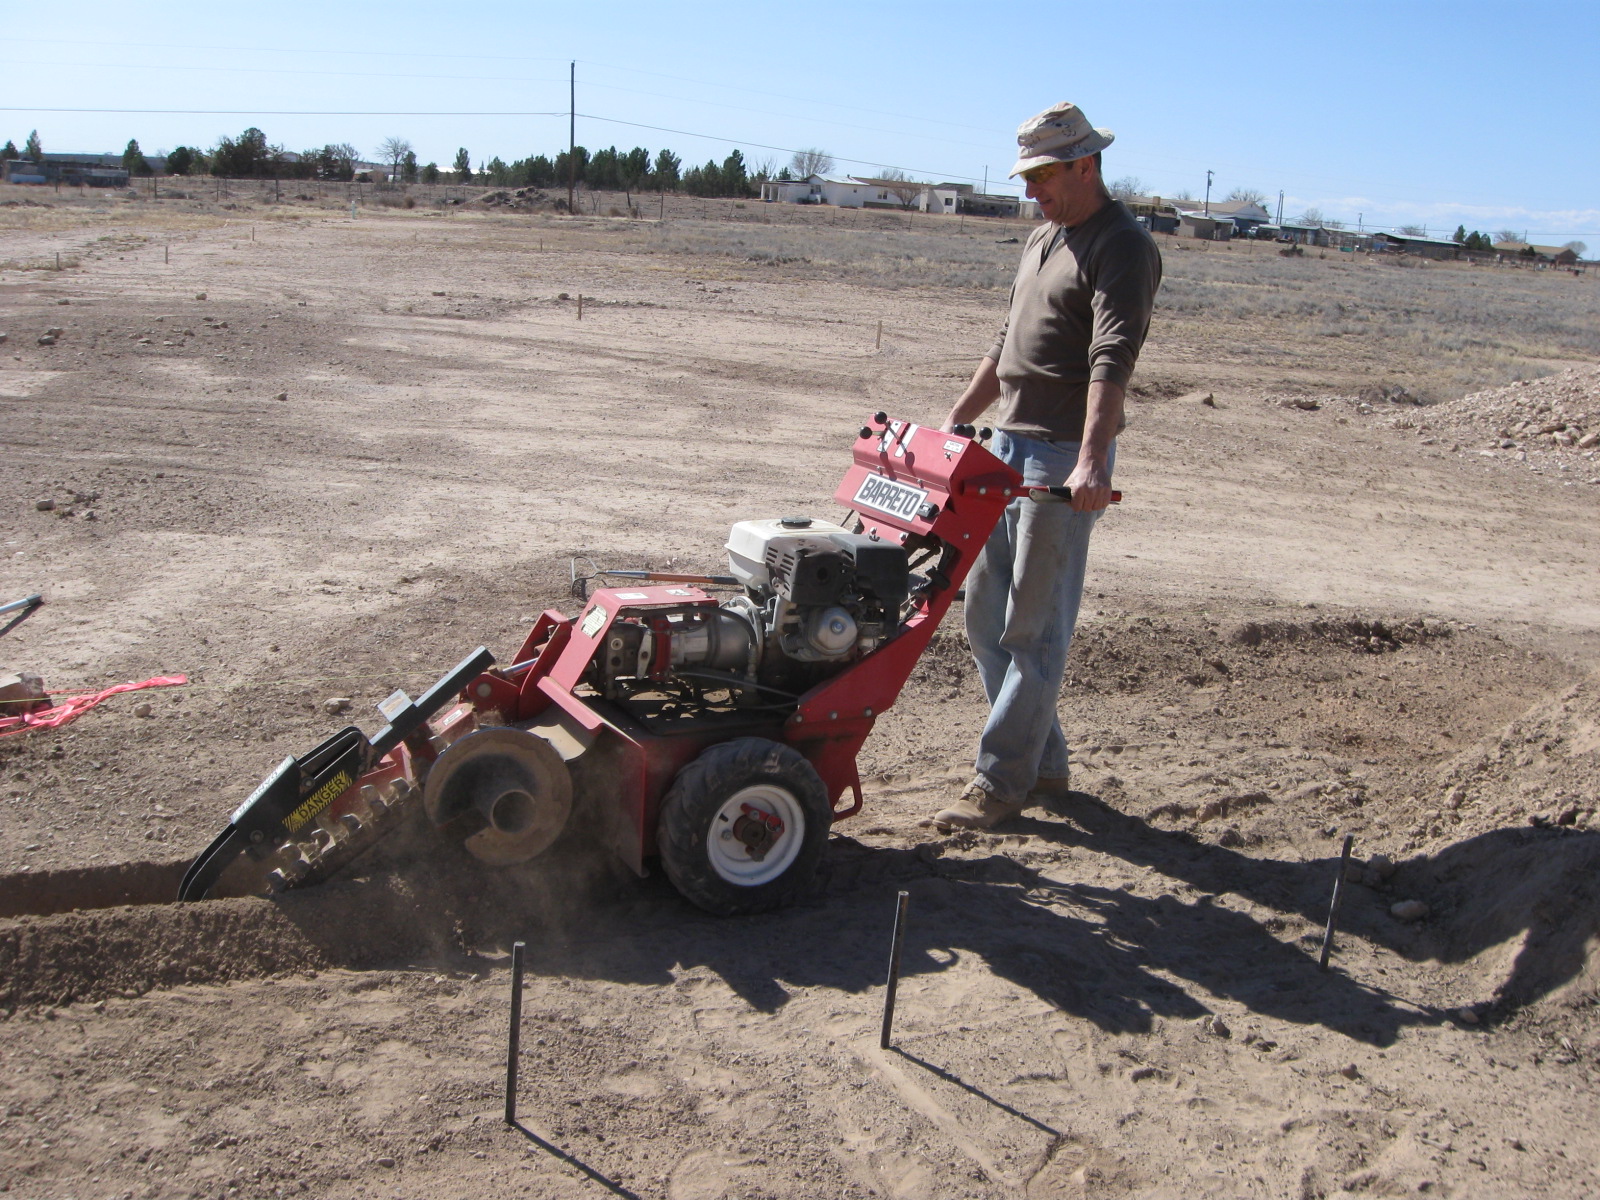
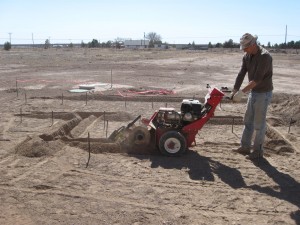
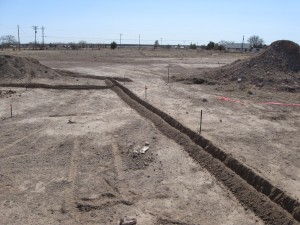
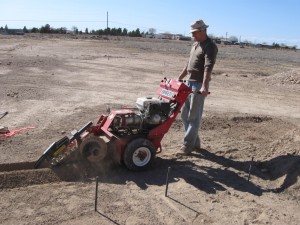
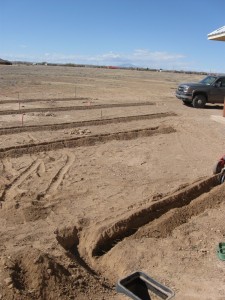
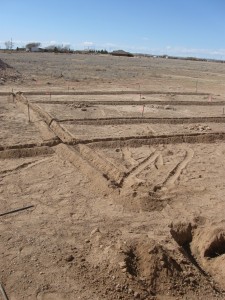
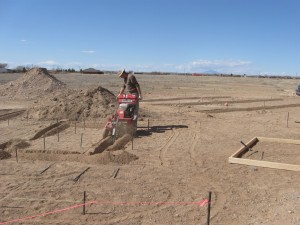
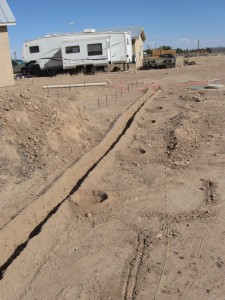
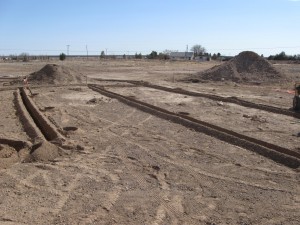
To make the trench-digging easy, we rented a trencher from Davis Hardware (great folks to work with) in Roswell. In only a couple of hours, we had all the trenches for this project dug and returned the machine.

Garden Bed Trenching

Hand Trencher in action

View from the back porch

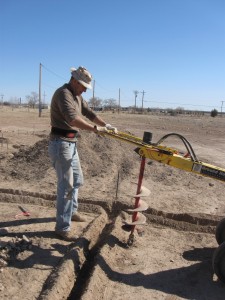
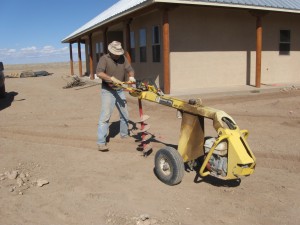
After trenching was complete… we rented an auger to make hole-digging easier. With 11 fruit trees (yes, the number has increased due to the generosity of a friend, who purchased a fig tree to add to the orchard) and 6 grape plants, we’d never have gotten the holes prepared in time (and would have needed the pickaxe with the ground as hard as it is). In less than an hour, everything was done…

Six grapevines aligned with irrigation lines
Tree locations prepped

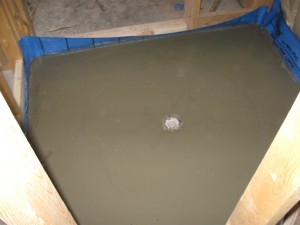
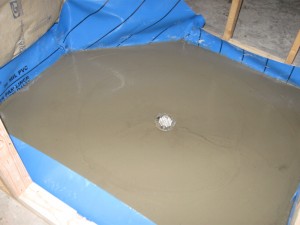
Shower Pans

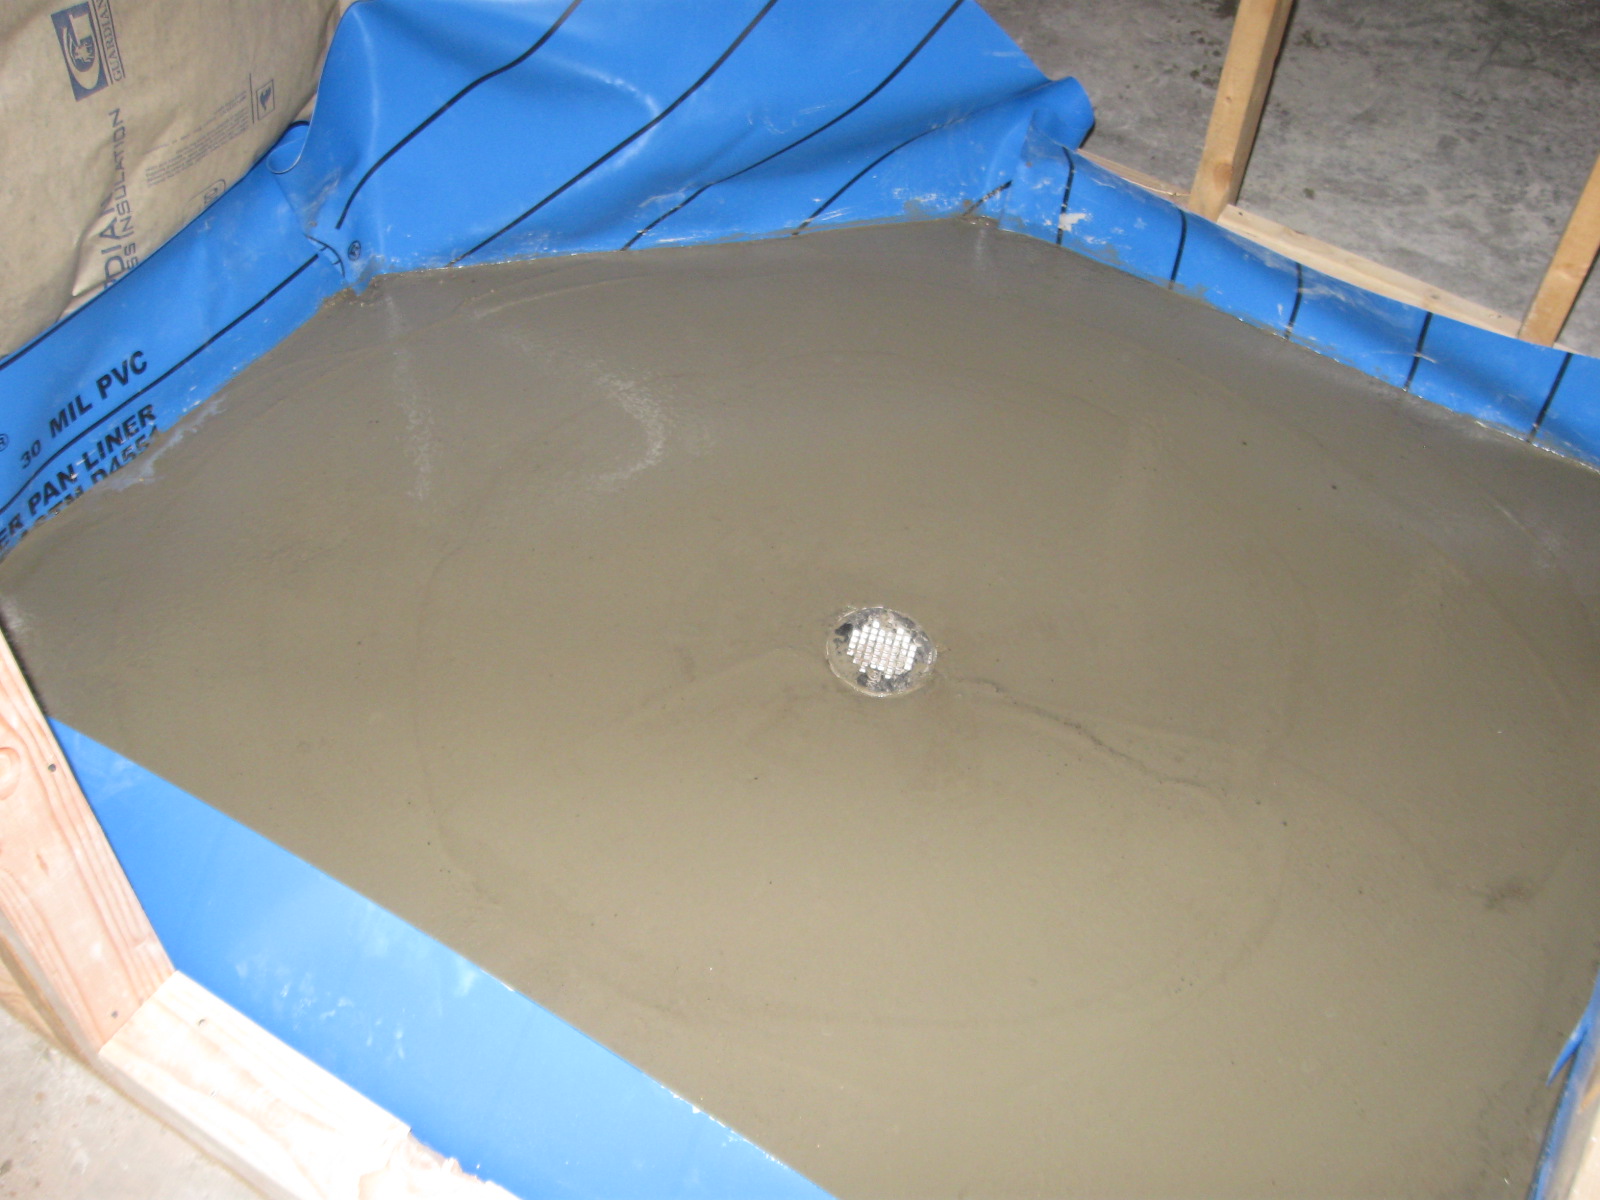
Being a bit uncertain as to how much time it would take to do these, we decided to hire this part… Having never done it before, and wanting to be very sure the shower pans don’t leak, we got a quote from the same fellow who did the workshop for us before we came here. For three shower pans, he charged $500 for labor (not including materials). In hindsight, we may have overpaid, considering that it took one guy (plus a little time by the boss) one day to do them (and it wasn’t an early start — 10 a.m.). But, we are happy to know that it was done correctly and it did save time and irritation (learning curve woes) to have it done by the subcontractor…

Photos of the process:

Liner put into place

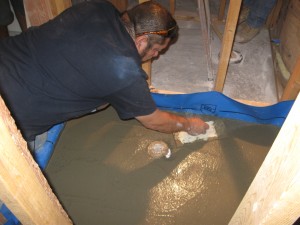
Smoothing the quikrete
Boy's bathroom shower
Master bath shower