Fruit Orchard

So… even though the house progress isn’t to the point that we can concentrate on the outside, based on the urgings of a very good friend, we decided to go ahead and start the orchard. Peaceful Valley has a special going on right now on their bare root fruit trees — 10 of them delivered for only $199. Here’s what we ordered:

1 Honey Crisp Apple Tree (Semi-dwarf)
1 Gala Apple Tree (Semi-dwarf) (the gala is a good pollinator for some of the other apple trees that are not self-fertile)
1 Cox`s Orange Pippin Apple Tree (Semi-dwarf)
1 Gravenstein Red Apple Tree (Semi-dwarf)
1 Montmorency Cherry Tree (Standard) (wonderful pie cherries)
1 Craig’s Crimson® Cherry Tree (Dwarf)
1 Bartlett Pear Tree, European Type (Semi-dwarf) (pears do very well in our climate — the bartlett is a good pollinator for the D’Anjou)
1 Red D’Anjou Pear Tree, European Type (Semi-dwarf)
1 Harcot Apricot Tree (Semi-dwarf)
1 Late Santa Rosa Plum Tree, Japanese Type (Semi-dwarf)

We took some time yesterday to mark out the planned planting locations for the 10 trees when they arrive. We are placing them approximately 12′ apart in a zigzag pattern to maximize efficiency. Most of the trees are semi-dwarf, so this should be adequate. The full-size Montmorency needs a bit more, so we’ll place it on the outside north-most spot. We’ll put in the watering system pipes and rig it so we can water on a timer until the entire irrigation system is finished after the house interior is done. We are in zone 6-7, so we made sure all of the trees do well in zone 6 to ensure we don’t lose them in a year with an especially cold winter.

Photos of the staked out orchard:
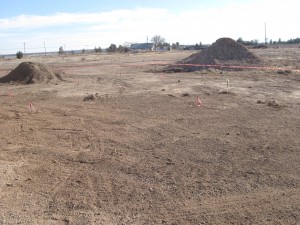
View from the north

View to the west
Planned orchard

Rockin’ the Walls

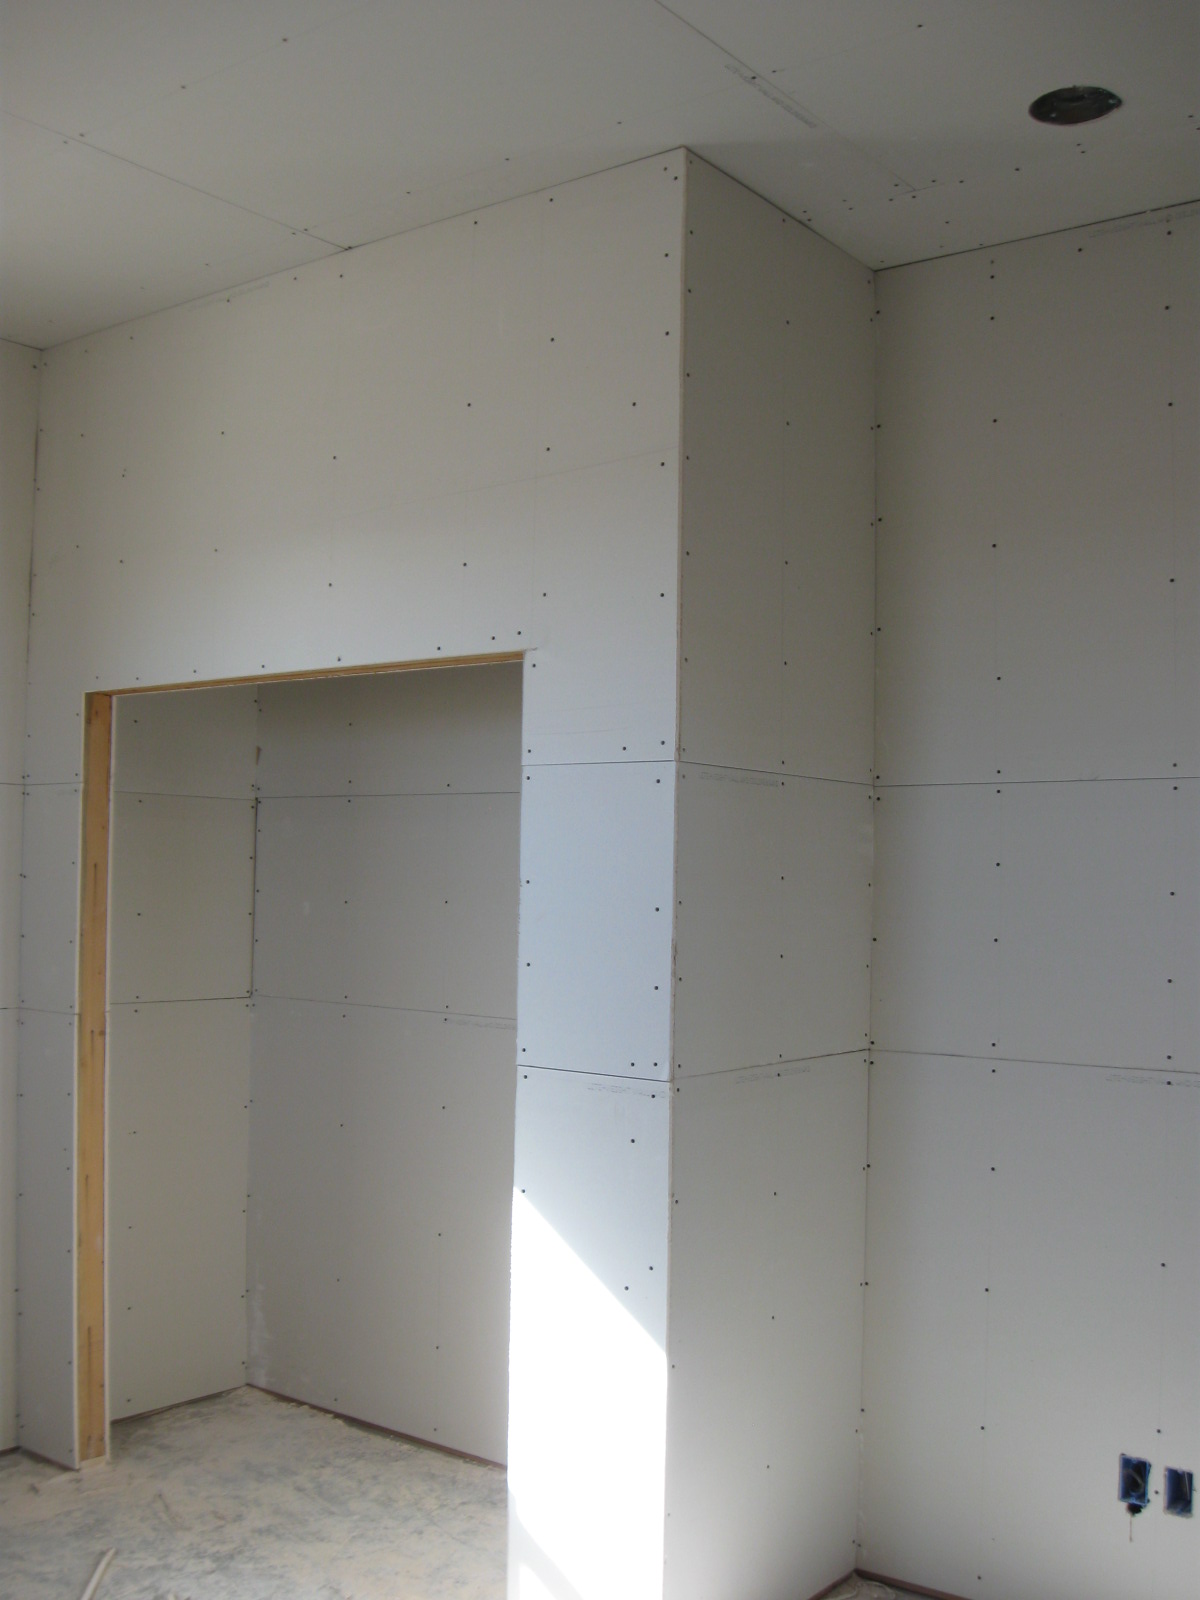
Bedroom sheet rock
We began hanging sheet rock on the walls. Thankfully it is much quicker than doing the ceilings, with the exception of interior closets. They seem to slow the process down with the many smaller sections and cuts. Using the Roto-Zip tool on the wall edges, door and window frames saves the heartache of making exacting measurements on the edges. In those areas I simply add a bit of overhang and zip the excess off. Many of our walls are slightly less than 12′ wide, so the need to match edges along a 1 1/2″ edge was minimized. It also will make the mud/tape process easier since there will be fewer vertical seams to feather out. I began on the top section with as long a section of 4×12 as I could fit and covered the window openings. I used the Roto-Zip to cut out the windows. This gave me a continuous section with no seams above the window headers. I was able to use the cut out section for the inside top window edge after filling the window-wall gap with open cell foam for added insulation. I then rocked the window inside edges left and right.

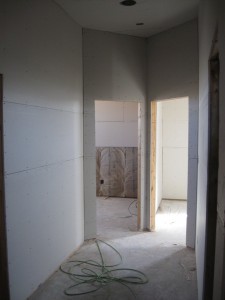
Hallway sheet rock

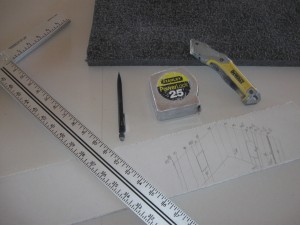
I found the most time consuming process to be the measuring and layout. Looking at the image of the rock tools you can see I drew a 3D diagram of two walls and laid out the studs and windows ensuring I maximized a 12″ length where possible. This way i only had to measure once. On a few occasions I failed to locate and mark the electrical outlets. Bummer, but if you guess right, you can find em pretty easy as the rock bulges out and the electricians usually place the socket at a standard height.

Tools needed

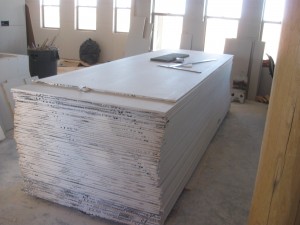
We loaded all of our rock into the largest central room and used the stack as our layout and cutting table. I did not buy any saw horses. It was only problematic when measuring and cutting the last few pieces as the stack is close to the ground and one has to kneel down to measure and cut.

Yes, we hand-loaded them into place...

Attic Insulation

Well, after the Christmas break, we got back to it, finishing up the attic insulation.

Initially, we had thought we would subcontract this job, never having attempted it before ourselves. So, we got a quote on the job from a recommended subcontractor. He quoted us a rate of $1.50/sf for R-30 insulation blown in to the attic. For approximately 2600 sf (just the main part of the house — not the WWII museum and research center), this equates to a cost of $3900. We actually wanted more insulation — up to R44, so we decided to see how difficult it might be to do it ourselves.

It turns out not to be very difficult or time-consuming. Oz went to the local Home Depot, where he found out they allow use of their machine for free if you purchase the insulation material from them. They calculated how much material would be needed for the 2600 sf for R44 insulation. Lo and behold… it came out to be only about $1700 total. Not knowing for sure how much extra the contractor would have charged for R44 vs R30 insulation, we don’t know exactly how much we saved, but we figure it is about $2500 (certainly no less than $2200).

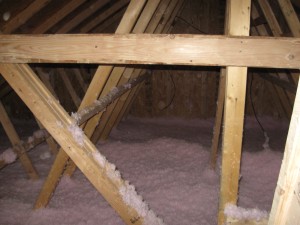
The job does take two people — one to man the blower end in the attic — one to load the machine continuously. It is messy work, requiring goggles, facemasks and gloves to be worn. However… all that being said, we were completely finished in only two days. We figured it was a good use of our time and well-earned sweat equity on the house. We have found a definite difference in the constant temperature inside the house since it was done, even though we haven’t finished all the mudding and taping of the sheetrock to seal the cracks.

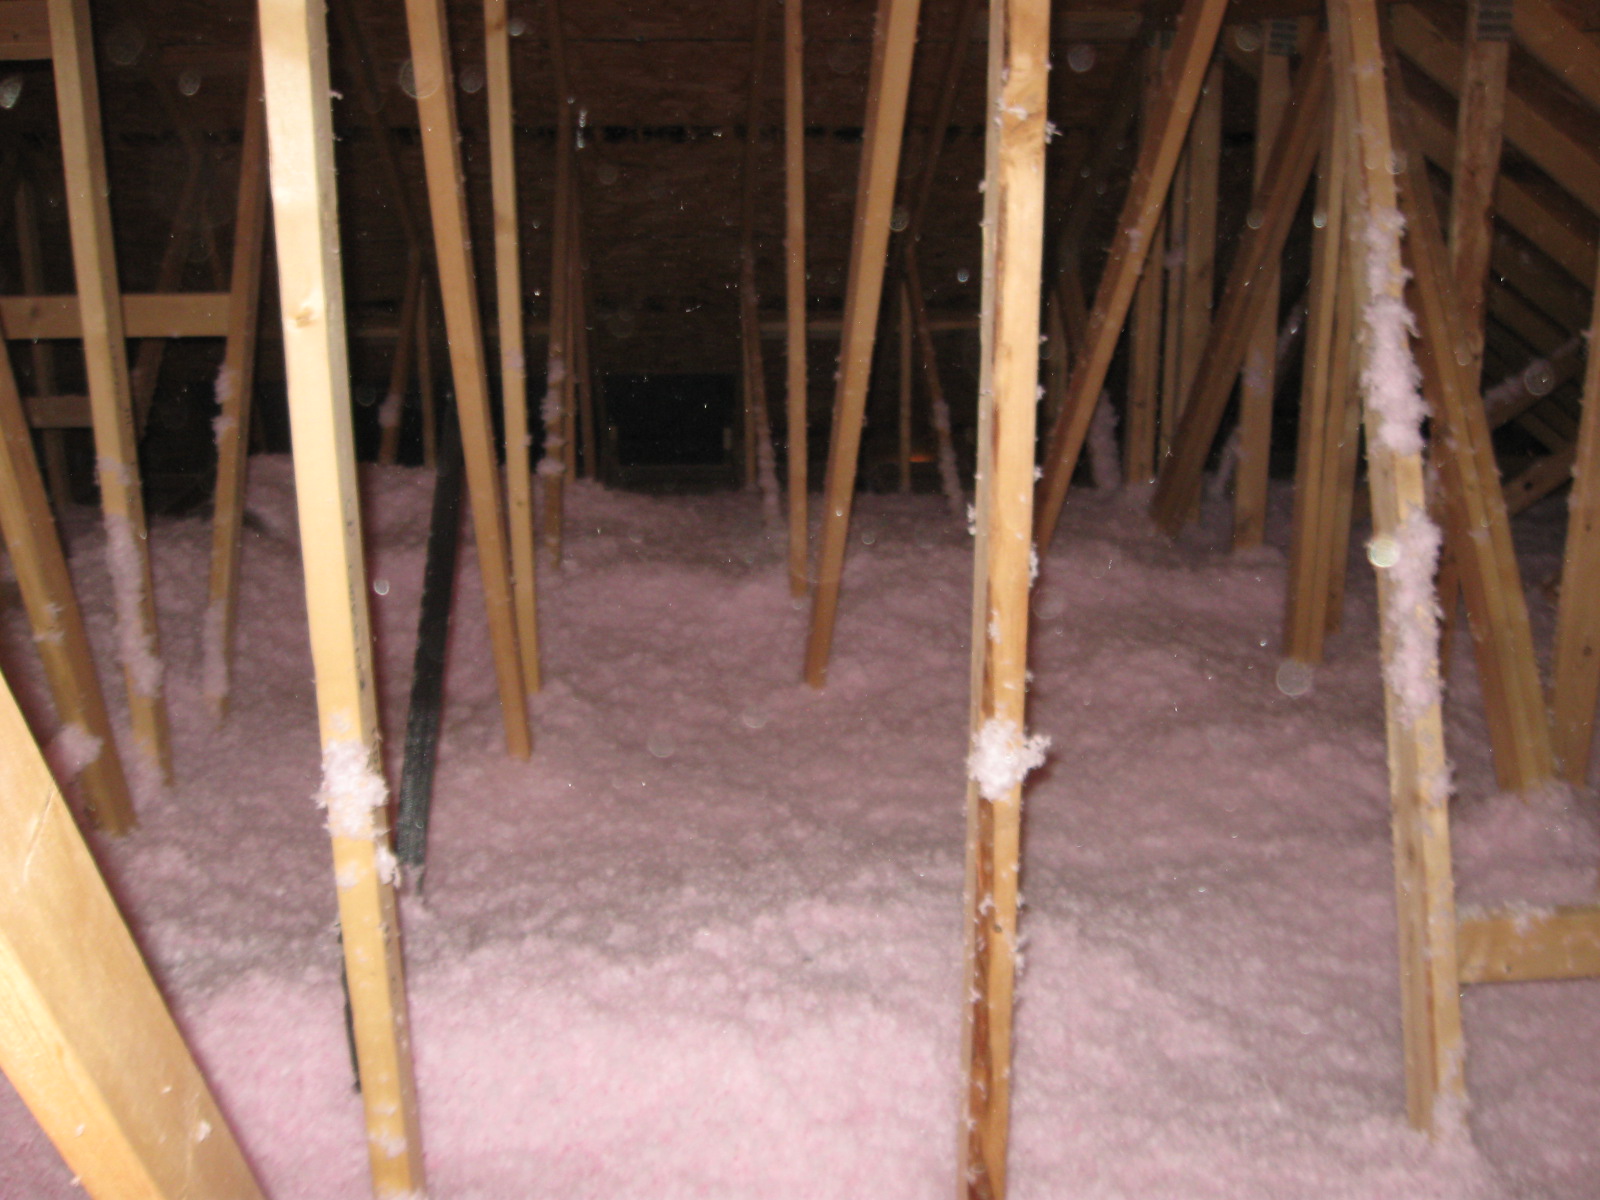
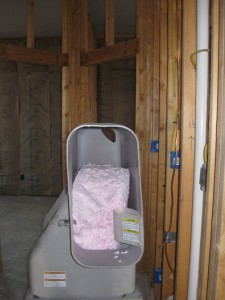
Here are photos of the machine and the result in the attic:

Attic Cat blower machine
R44 blown into the attic
...dreaming of a pink Christmas