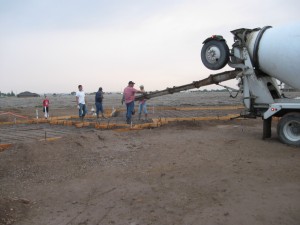
Pouring the Slab Foundation

The first truck... working on footers

After several weeks’ worth of preparation (I had no idea there was so much involved before we did this ourselves), the foundation pour happened! Two nights before the pour (Sunday evening), we got a wonderful heavy rainfall. We were concerned at first that it might do damage to the trenches, but all was well. Our concerns over the muddy road were also unfounded.
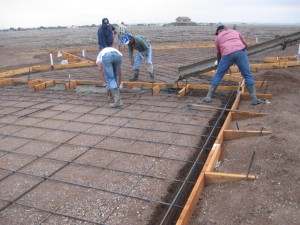
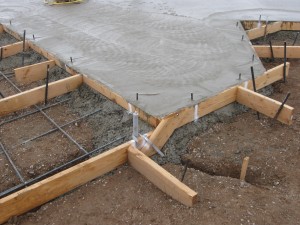
Footer between garage and house

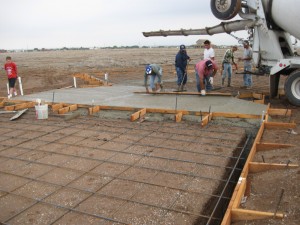
Then Monday evening, we got another heavy rainfall (have I mentioned that we have not had any rain since May prior to this?). Again, we were concerned over the road conditions and the possible damage to the trenches. At 5:05 a.m., the subcontractor who would be doing the actual pour pulled into our drive. He said all was well with the road and the trenches, so the pour was on! Soon after, his son, cousin and two other workers arrived. At just after 6:00 a.m., the first concrete truck arrived.
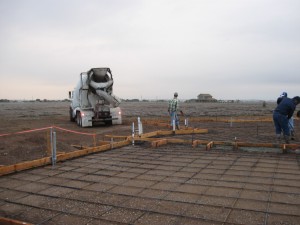
Truck #2 arrives
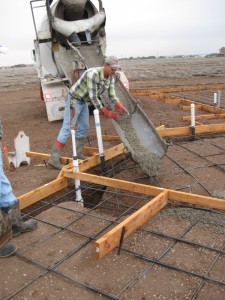
Pouring the footers
Pouring the house portion of the slab...

They began with the footers, starting with the wall between the house and garage. Since there is a step-down between house and garage, that portion needed to dry a bit before the lower garage level would be poured. Pouring it first allowed the braces to be removed before the garage pour.
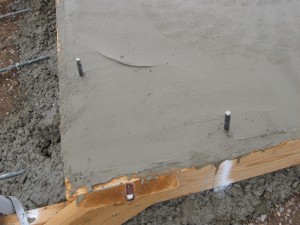
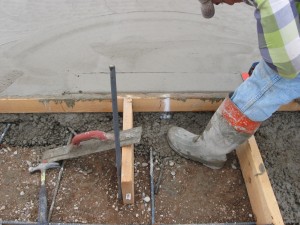
"J"-bolts inserted
Corner before finishing
Doorway from Garage to House

The subcontractors worked really well together and did a great job. If you are interested in getting concrete work done in SE New Mexico, we would highly recommend them (Samuel Castro 575-420-6615). We were also very happy with the service offered by Roswell Ready Mix (575-622-1186) . They have a large fleet of trucks and were able to handle the timing required for a good steady supply of concrete for the subcontractor.

We chose to have 3000 psi concrete plus the added fiberglass to add more strength to the foundation. Since we are considering doing a concrete floor stain, we want to try to avoid even small surface cracking as much as possible.

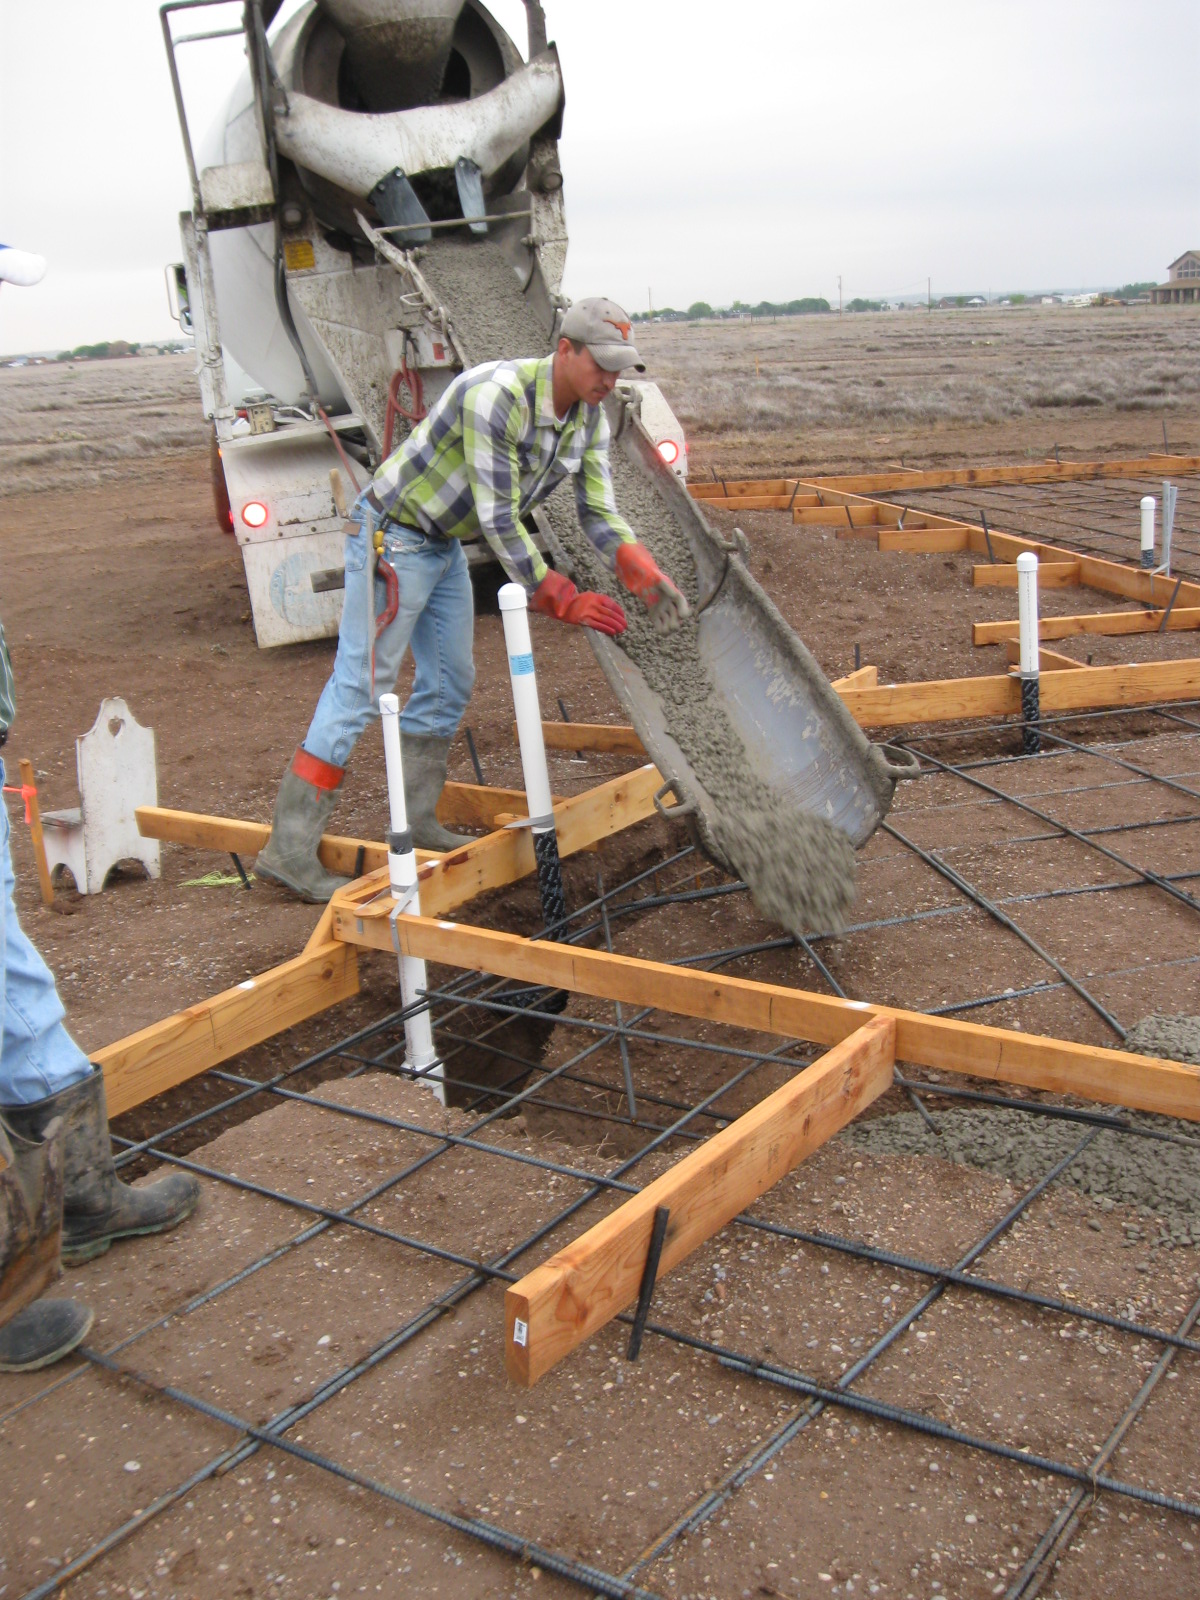
Plumbing Dab-outs

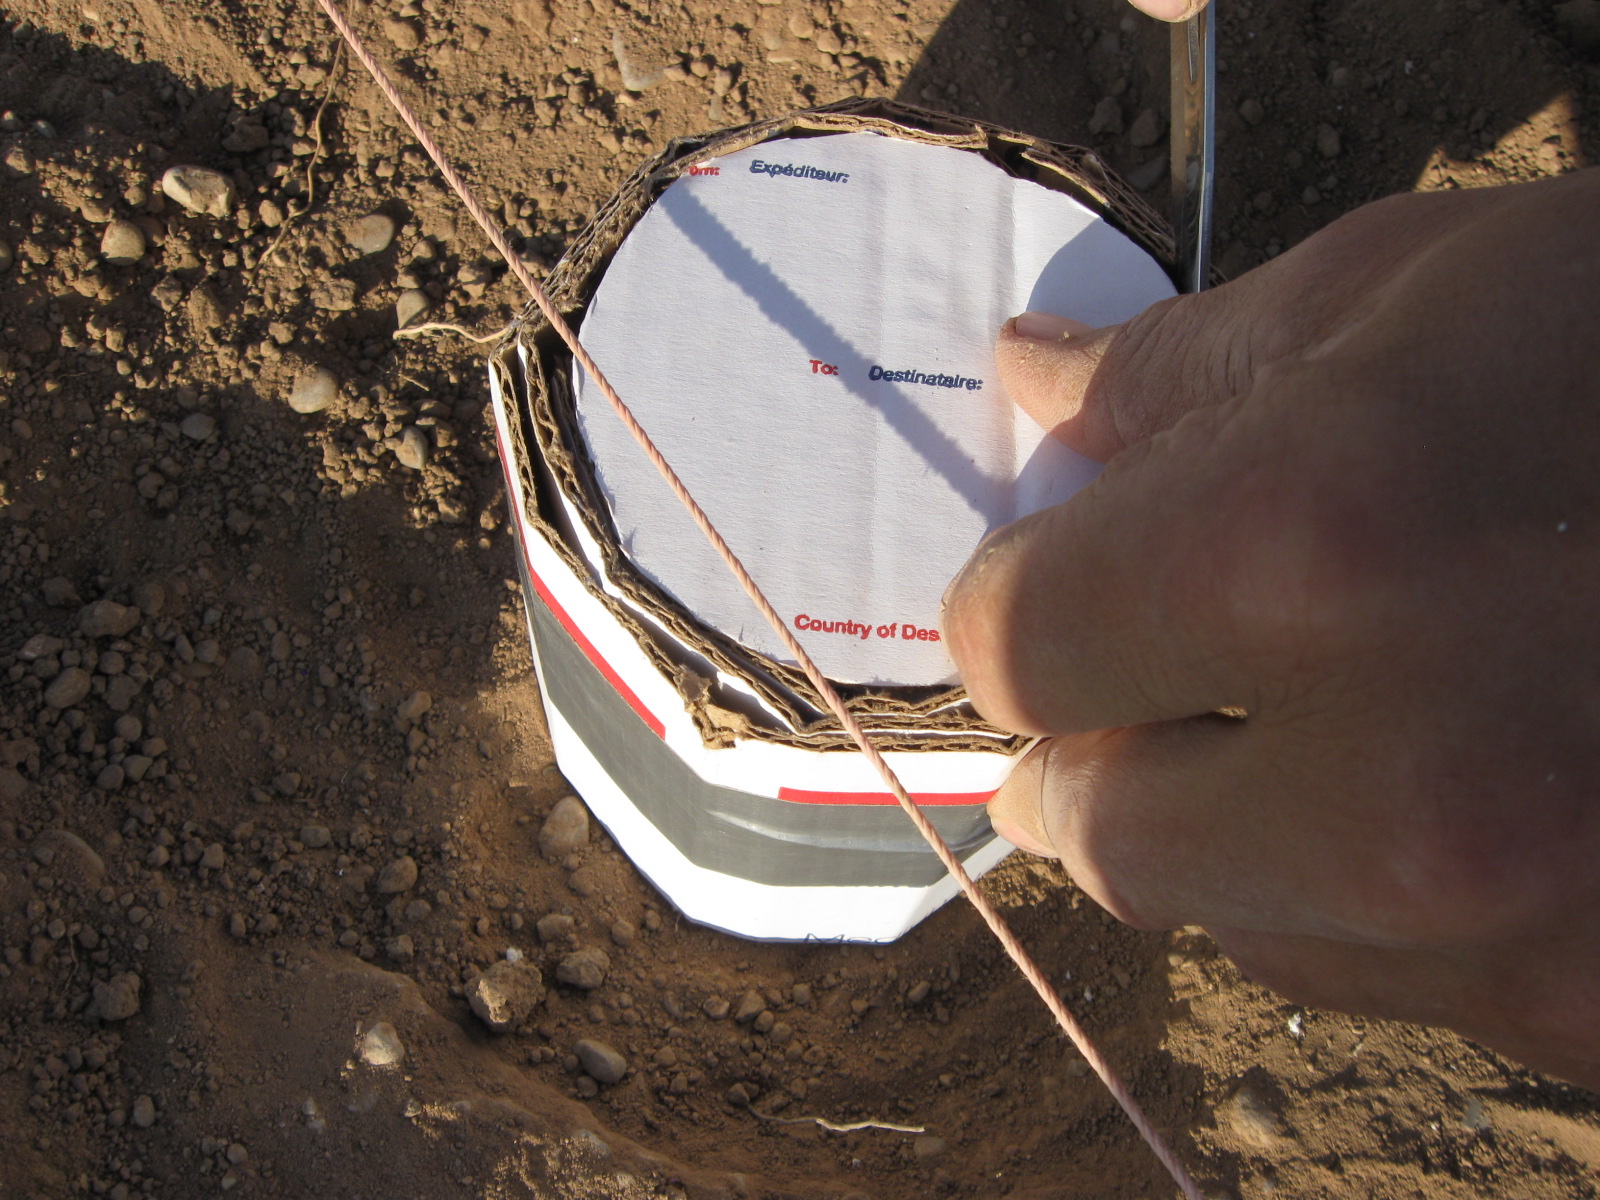
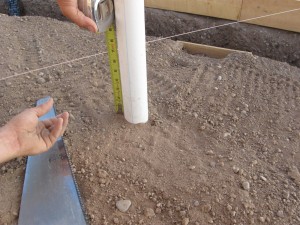
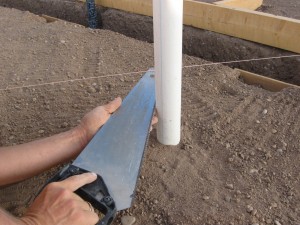
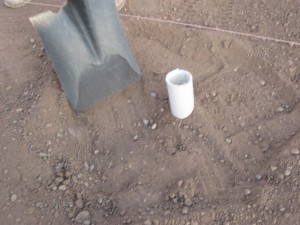
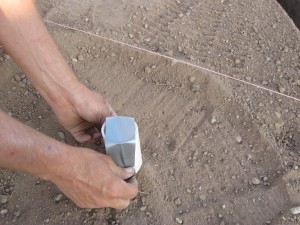
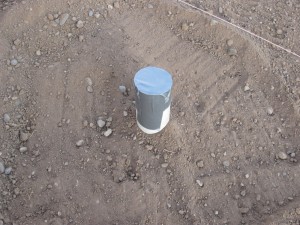
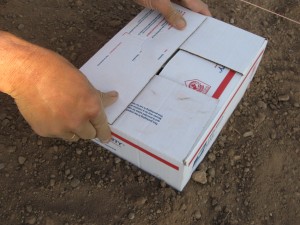
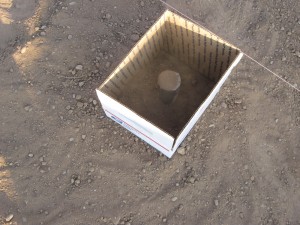
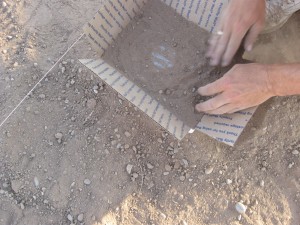
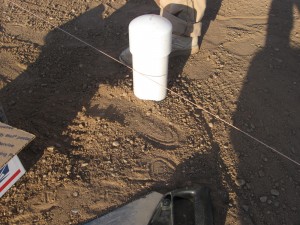
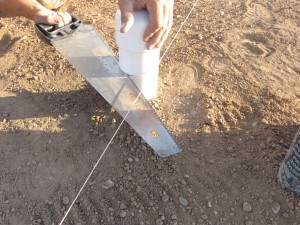
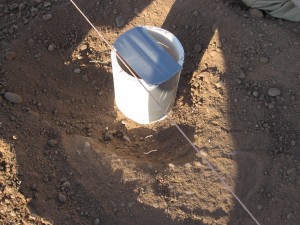
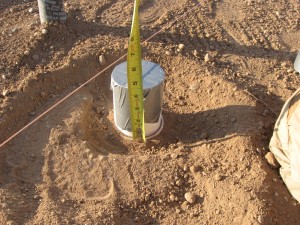
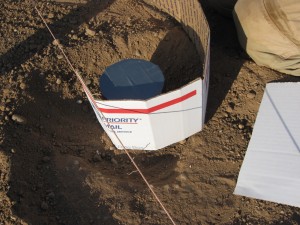
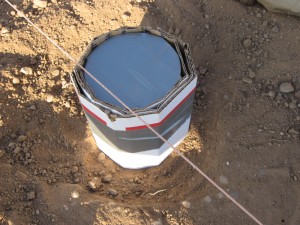
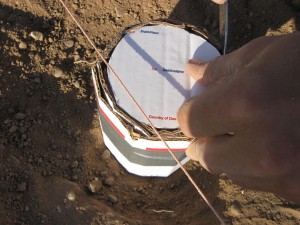
In order to protect the plumbing from the concrete during the pour, after the pipes for Showers, Toilets and Bathtubs are cut to 1/2″ below the finished surface, sealed with duct tape and then protected with cardboard. For the toilet drains, three layers of cardboard is fitting around the PVC and one layer of cardboard is cut to size for the top. For shower and tub drains, a cardboard box is cut to the correct height, filled with filldirt and sealed shut. A small amount of fill dirt is placed on the box flaps to hold its position. This allows the concrete to be poured and smoothed right over the tops of these drains. After the pour, the openings can be accessed by chipping away the small amount of concrete on the tops.

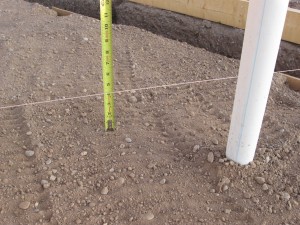
Measuring height for the cut..
Marking the pipe...
Cutting the pipe...
Cut to correct height...
Duct tape top...
Completely sealed...
Box cut to correct height...
Fill with fill dirt...
Level fill dirt

Toilet drain dab-outs are slightly different, so a separate set of photos also follow:

Toilet drain
Cut toilet drain to height...
Duct tape...
Check height...
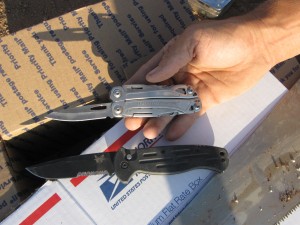
Cut box to correct height using excellent multitool.
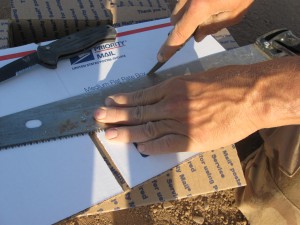
Using the saw as a straight edge...
Wrap cardboard around toilet drain.
Three layers of cardboard...
Cardboard cap for good measure.

Rebar for the Foundation

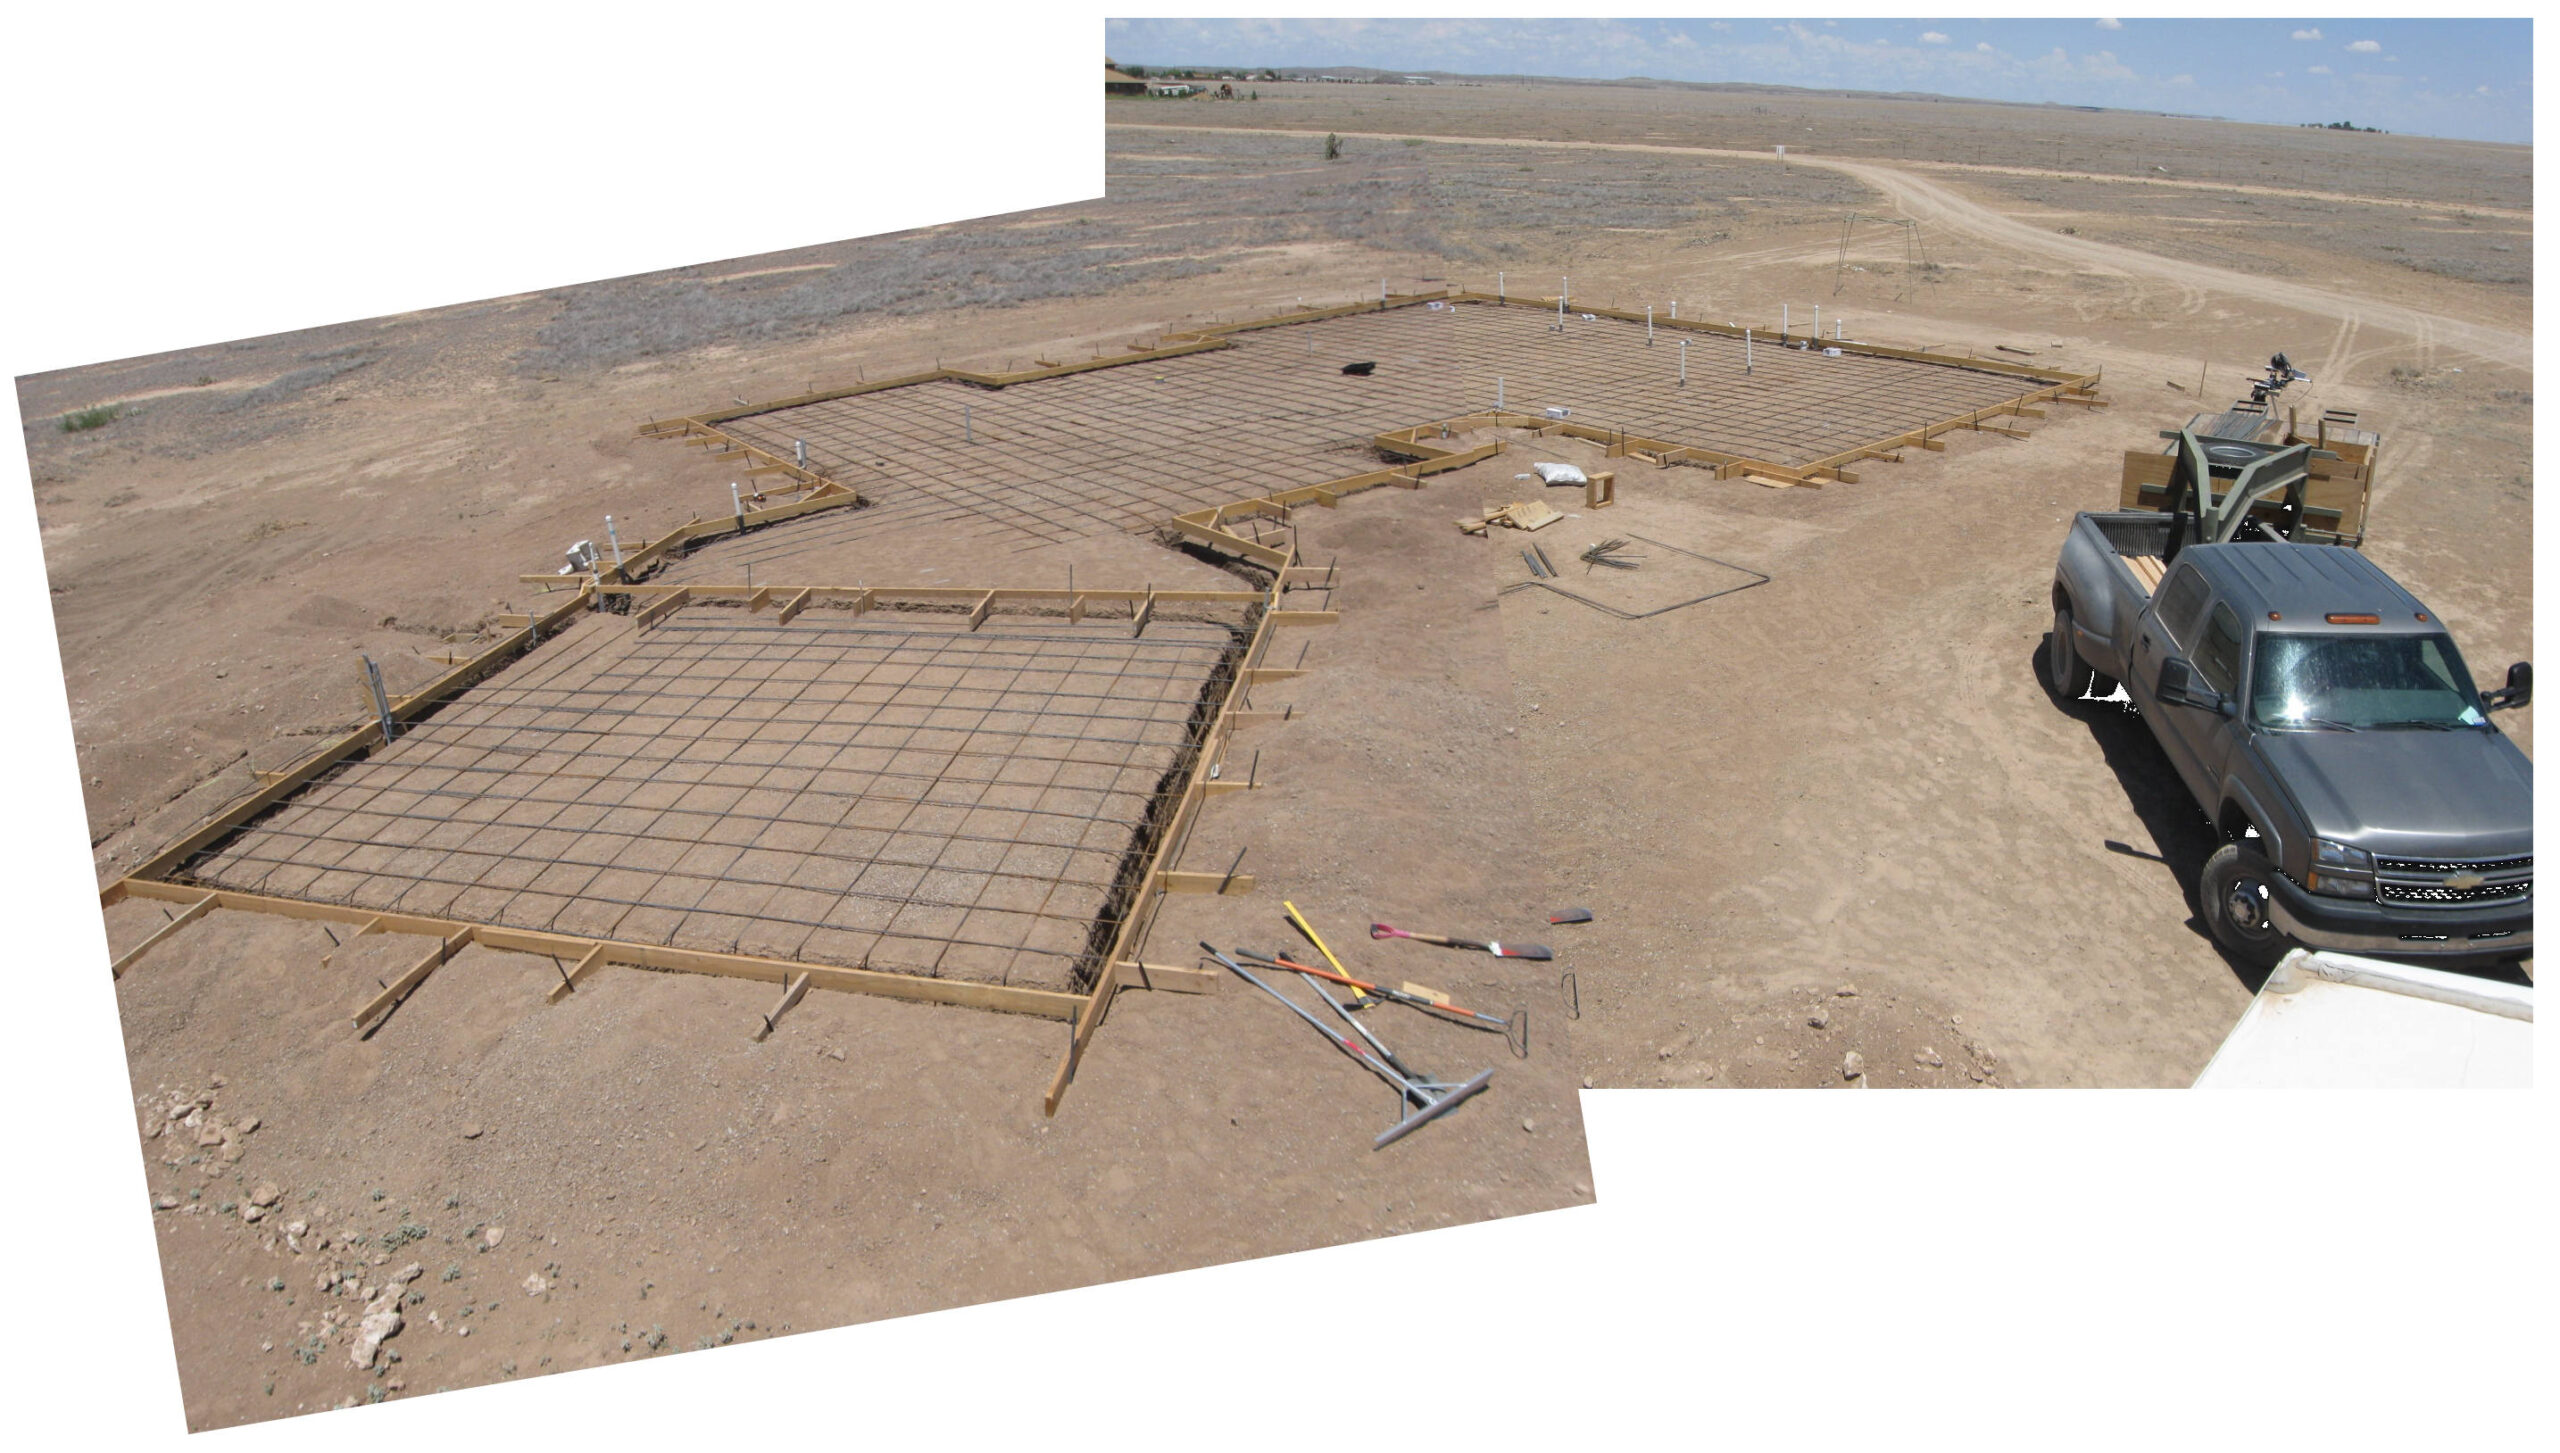
Since we are doing all the prep work ourselves for the slab foundation, we also did the installation of the rebar for the foundation. We did get some help from a couple of local construction workers who worked with us for an hourly wage. That helped a great deal and made the work go much more quickly. The entire family did learn how to wire rebar and how to insert support rebar for the footers. Here are a few photos of the process:

Nearly all rebar in place...
Corners bent without Cheater pipes.
18" apart Rebar meets footers
Laying out the rebar