Colorado Well Costs Update


COST UPDATE: After talking with the driller, we found out that all the drillers in the region have a minimum fee for drilling that is about $2500. Apparently, even though it was not quoted to us, it is the going price for the work involved in hauling out all the equipment, setting up, etc. We are still thrilled with the fact that the well came in at only 40 feet, but would caution folks to ask what the minimum charge will be in a case of this sort so that they are not surprised.

Based on my research online, this seems to be quite a bit higher than some areas (it ended up being $62.50/foot). I don’t understand it, but based on the results we had of talking to several other drillers in the local area, it seems to be standard. Since we just had a well drilled in New Mexico not long before, in a similar situation and region, we were surprised.

I know in New Mexico the quote we received was done differently. The fixed costs were charged as separate line items (mobilization (if charged), gravel pack, cement surface seal (if required by state law), well cap, steel surface liner (if required due to formations), permit), and the cost per foot varied at a lower rate including drilling and casing. The cost for drilling and casing in NM was $21/foot, with the other costs being fixed. I think this is a much more fair way to quote without surprises.

In Colorado they all seem to quote at the standard $34-$36/foot, regardless of depth. They have a minimum which tends to make the break-even point at about 75 feet. After that depth, they make a lot of profit.

Example 1: Based on a 300 foot well:

NM rates for a 300 foot well:
Drilling/casing @ $21/foot $6300.00
Gravel pack, surface seal, cap, steel surface liner $797.50
Total cost: $7097.50 (not including tax)

Colorado rates: $34/foot including everything: $10,200.

Example 2: Based on a 40 foot well:

NM rates for a 40 foot well:
Drilling/casing @ $21/foot $840.00
Gravel pack, surface seal, cap, steel surface liner $797.50
Total cost: $1637.50 (not including tax)

Colorado rates: minimum charge: $2,500.

In both states, the permit charge was about $125 from the state.

Knowing what we do now, I’d probably ask for the quotation to be done differently for the Colorado well. (As they say, hindsight is 20/20). It appears to me that the Colorado drillers are overcharging a bit. (Or, at least, I haven’t been convinced that the pricing is fair). It does seem to be standard in the area so far. In all fairness, our driller wasn’t charging much more than the others in the region. He even matched the lowest minimum price for us.

The driller we worked with was Scott Heersink, out of Alamosa, Colorado.

Pack ’em up… move ’em out.

This week has been marked by large quantities of stuff being packed into cardboard boxes. I have long said that the only advantage that is universally true as a result of making a geographical move is that it forces you to sort through your stuff.

Each time this happens (this is move number 19 for us), I am amazed at the amount of stuff we have that we don’t really need. Things I might have thought would be useful to have ended up stuffed in drawers or cupboards… only to be discarded on the next chance to examine it in the light of day.

We have a room in the house that is becoming full of packed boxes. As we go through the process, leaving the things we think we need to live with for the next 26 days, the house looks strangely neater and more organized. It actually is looking much better around here without all our stuff!

We have houseguests visiting this weekend, and I’m frantically trying to get most of the packing done before I have to buckle down and give the house a good scrubbing…

Winemaking on the Homestead

Yummy!
When we moved here to Georgia, we knew this was a temporary move. Living in a rented house, we were not able to have a garden. One of the things I decided I’d like to learn about was making wine at home. I had read about the basic process online and decided to give it a try.

My first batch of wine – Apple Wine (1 gallon)

Before I went whole-hog on the winemaking thing, I decided to try a simple, inexpensive project to see just how it would work. I found a very good recipe and plenty of instructions online for EdWorts apfelwein.

Since I didn’t have a glass jug for the 1st experiment, I used the plastic gallon jug the apple juice came in, poured half out into a sanitized bowl, poured in 1 c. sugar, shook well, poured in part of the apple juice from the bowl, added 1/2 packet of the montrachet yeast, poured almost all of the rest of the juice in, leaving a bit of headspace in the jug.

The lids I ordered for the project didn’t fit the opening of the plastic jug, so had my 12 yr. old use his drill to drill a hole in the plastic lid that came with the jug to use with the airlock (and then sanitized). Using a tip I saw online, I filled the airlock with vodka about halfway.

Since I couldn’t find a local supply of glass jugs, I bought a bottle of that Carlo Rossi Cabernet in a gallon jug (really wanted the jug mostly) for future brewing in gallon batches.

After about a month, I racked the juice into the (empty of wine) glass gallon jug and let it continue fermenting. After the fermentation ended, we bottled it into recycled wine bottles and corked it. The addition of the sugar made it have a pretty good kick. This wine was very dry, a beautiful yellow color and definitely smelled like apples. It had a slight yeasty taste, so I might want to branch out on a more sophisticated recipe on the next try with apple wine.

Concord Grape Wine (1 gallon)

I’ve also tried using Welch’s grape juice concentrate from the freezer for a batch of red wine (and I ordered the other supplies listed for the recipe)… I found this recipe online for a 1 gallon batch:

32 ozs. Concord Frozen Concentrate
12 cups Warm Water
1 cup Table Sugar
1/2 teaspoon Acid Blend
1/8 teaspoon Pectic Enzymes
1 teaspoon Yeast Nutrient
1 Campden Tablet, crushed
1 pkg. Wine Yeast

This was another seriously easy wine that we fermented in the recycled glass gallon jug. After fermentation, racking and letting settle, we bottled it as well. This wine still tastes a lot like concord grape juice (can you say Mogen David?). Since we both much prefer a dryer wine, this one was relegated to service with wine coolers and sangrias.

Beaujolais (5 gallons)

I found a fabulous deal on wine-making equipment on Craigslist, including two 5 gallon glass carboys, a plastic primary fermentation bucket, a wonderful stand corker and all sorts of small winemaking tools (hydrometer, bubblers, etc.). This allowed us to move into larger quantity batches. Still considering ourselves complete newbs, I ordered a juice concentrate to make a batch of Beaujolais from ECKraus.

I followed the instructions that came with the concentrate, adding the ingredients recommended and following the procedure. We bought a siphon system to help with racking (and have been very happy we did).

This batch of wine never was as clear as we would have liked, but it was still pronounced “drinkable” and is completely gone! I used it in cooking and also as a holiday Gluehwein with good success.

Vintner’s Reserve Merlot (5 gallons)

We bought a better kit for the most recent batch of wine — a Vintner’s Reserve Brand Merlot kit from Midwest Supplies.

This is most definitely our best batch yet… only 5 bottles left and going fast. We have no more wine in process since the move to NM is imminent. This batch gave us the encouragement to continue…


Future Plans

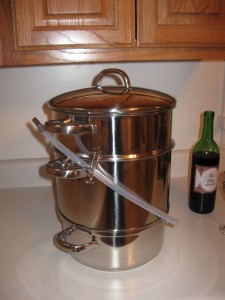
I recently got a new stainless steel juice extractor so that we can make our own juice to start the wine-making from scratch. We will probably continue to order juice kits in the meantime, but I look forward to making juices to store in the pantry and also for winemaking in the future. Isn’t this a cool gadget?

We cannot wait to get settled so we can get back to brewing. Did I mention we also tried our luck at brewing beer? That’s another post in the future…

Colorado Well Drilled and Capped

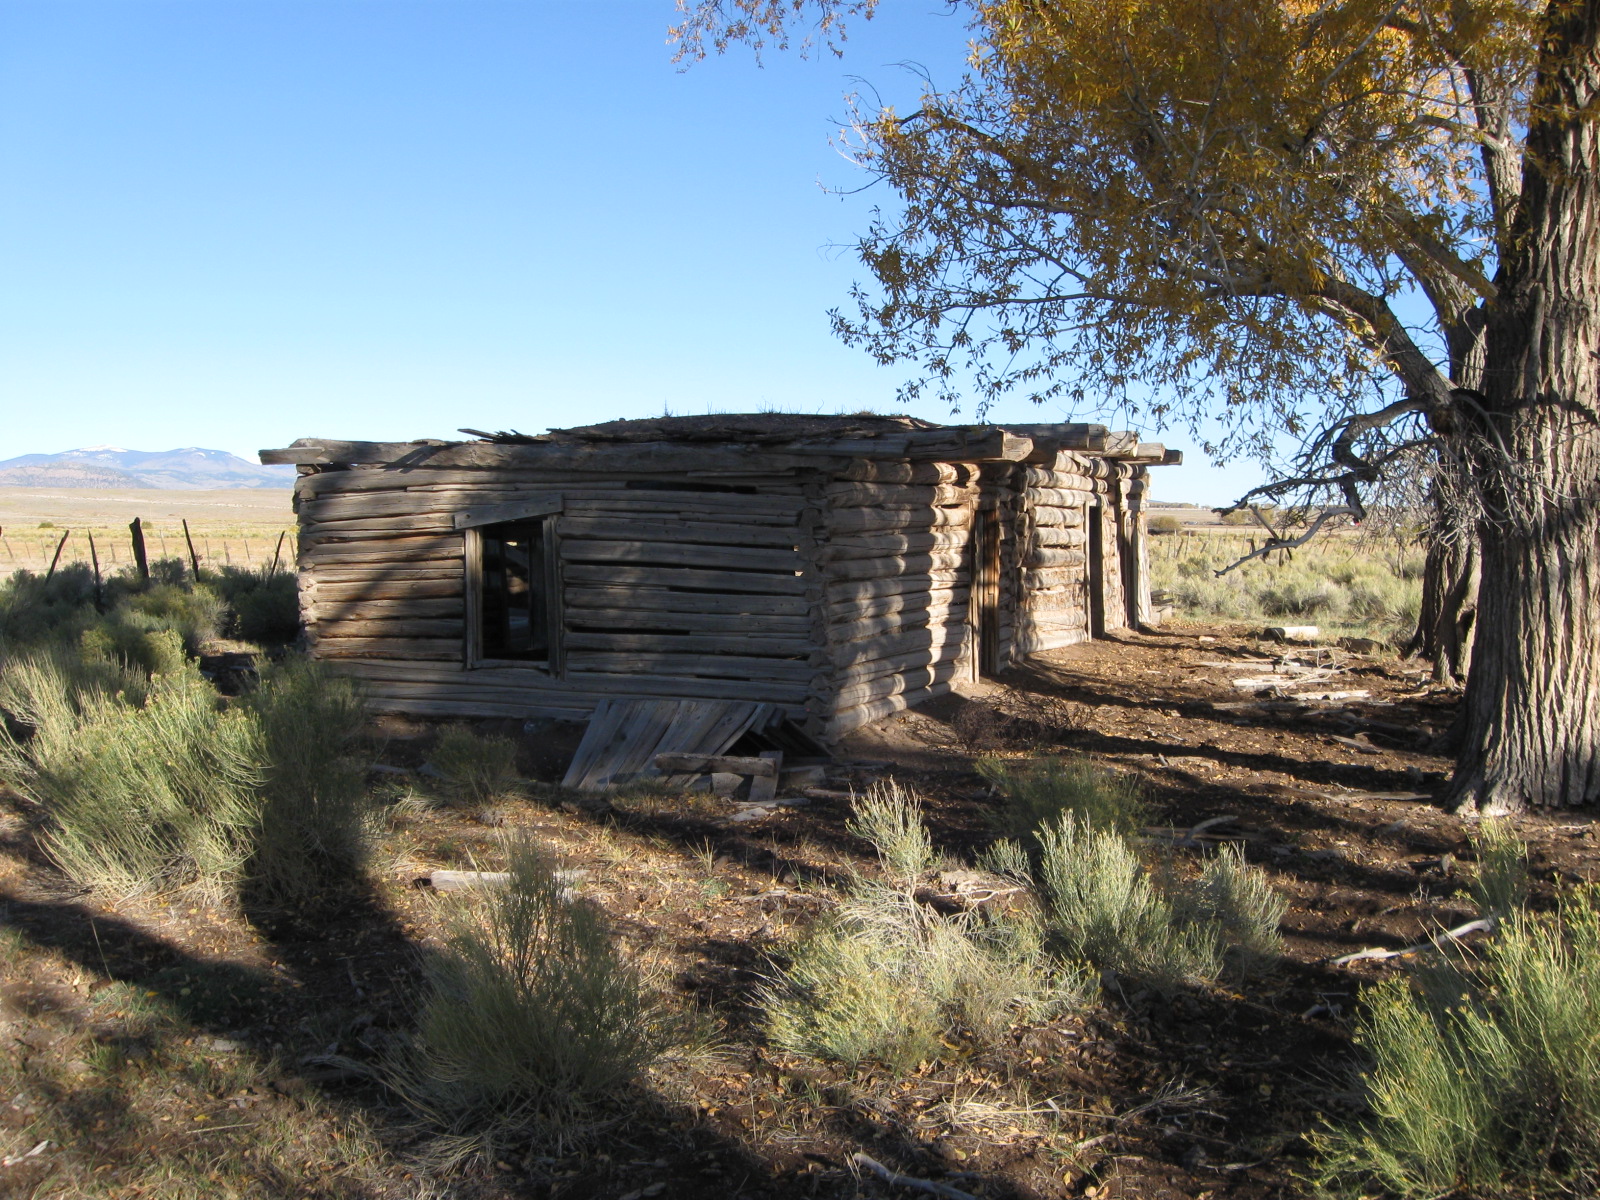
We have thirty-five acres in southern Colorado, which we bought a couple of years ago. Some of the photos we have posted here on the site are from that land. It is absolutely beautiful and is where we plan to spend free time once we have finished building the homestead in southeastern NM.

The acreage in Colorado has a trout stream running through one corner of the property, so water was available already. However, when we bought the land, the previous owner had already applied for and been granted a homestead well permit for the property. We decided to go ahead and make use of the permit and get a well dug and capped for future building.

Obviously, we are not currently in urgent need of the well, so we told the well-digger to put us on his schedule when it worked best for him and sort of put it to the back of our minds.

This morning he called and told us the great news: We have a well!

Originally, when we talked to him about the job, he told us that other wells in the general area were drilled from 100-180 feet in depth to get a good supply of water, so we had prepared ourselves for that cost (hoping it wouldn’t go much more than 100 feet). At $36/foot for the drilling cost (not including a pump or any accessories — just the digging and capping) in the area, we were expecting a hefty bill to be due.

We got a wonderful surprise… the well only needed to be drilled to 40 feet in depth. He said the water level is only 8-10 feet below the surface, so we are very happy. Instead of a potential cost of $6480, we think the cost will be about $1440.

(with all the bulldozer purchases, we need all the savings we can get!)

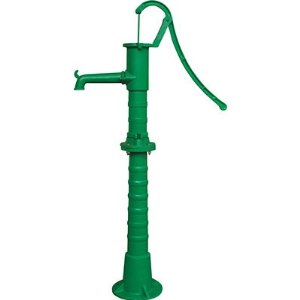
With only 40 feet in depth, we have a lot more options available to us on the type of pump we use. Even a hand pump (like the photo) would work for this well. We have a wide range of choices… manual pump ($99 – $1000, depending on quality and features — the Bison pumps are pricey), solar pump and tank (investigation still needed). We don’t plan to have the pump left on-site when we aren’t there for the time being. Too much temptation for a would-be pump thief.

Workshop Progress

Well… as the infrequent postings have given testament to, the family has been very preoccupied with preparations for the big move to NM. We are packing up belongings in cardboard boxes, finalizing plans and routes, and getting more and more excited about it.

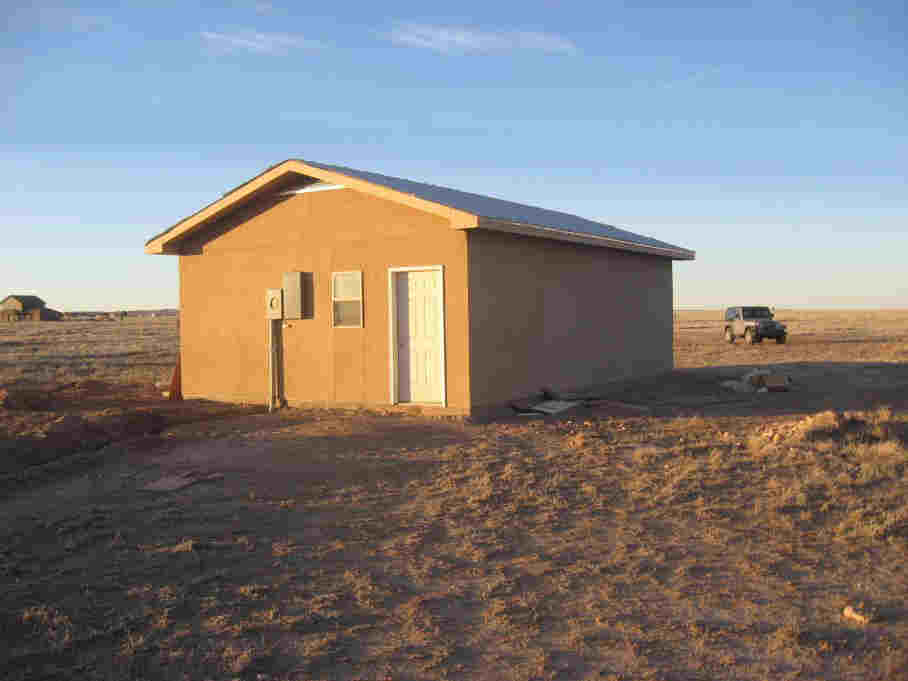
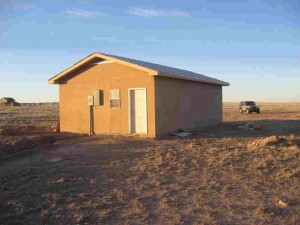
The workshop is nearly complete and we are very happy with the progress. We’ve had a nice driveway finished with stone and a small concrete slab poured at the workshop entrance. The interior is nearly complete. The job was made a bit more difficult for the subcontractors since hooking up the water and electricity are about the last things to happen. It no doubt made the cost higher since a generator had to be used for power, but it seems to have gone very well.

All that remains is the final plumbing hookup to the septic system, the installation of the pressure tank and pump for the well (as well as plumbing and wiring for that system) and the final installation of all electrical fixtures.

Here are a few photos of the progress as of this past weekend:

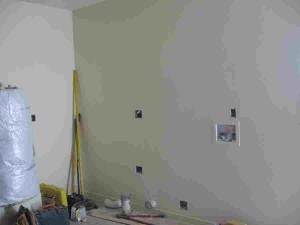
First, a view of the wall with water heater and laundry hookups. The pressure tank will be in the corner next to the water heater.

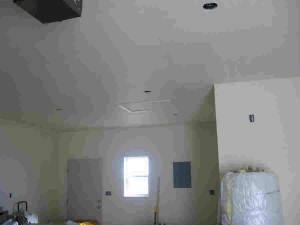
Next, a view of the interior of the garage looking toward the bathroom:

The photos were sent to us by my Dad, on a pdf. I’m sorry the quality of the resolution isn’t better, but it still gives a very good idea of the overall appearance.

We will have a somewhat circuitous route in our travels as we make the first trip from Georgia. We will be driving in a northerly route through Oklahoma so that we can pick up a second Clark Airborne bulldozer there. It takes us a bit out of the way, but is still much less time required than to make an entirely separate trip. We’ll be driving a caravan of sorts on this trip, driving both vehicles — the dually with the gooseneck trailer and two bulldozers plus parts and me in the Tahoe pulling a small U-Haul with the WLA motorcycle and bulky items packed to the gills.

{Can you notice the heavy emphasis on military vehicles that are featured in our belongings?}

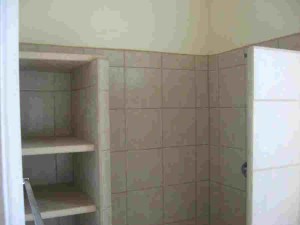
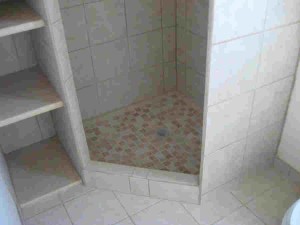
The guys did a very nice job on the bathroom, adding in a fully tiled shelving area. The glass shower door is still to be installed.

Once those tasks are complete, we’ll have the pad for the RV poured so that convenient living can happen while we build the house.

The move will require us to make another cross-country trek to haul all the belongings. We’ll return with just one vehicle and use a rented truck to load all the rest of our furniture from the house in Georgia back to New Mexico for the final trip.

{Did I mention that we’ll be making another detour on the trip back to Georgia in order to drop off some bulldozer parts in Texas along the way… just thought I’d mention that…}

31 days and a wakeup until the move begins!